I love decorating for Christmas. No surprise there, right? This year holds a little more meaning in the decorating department since I’ve incorporated a number of my own DIY projects. Would you believe a black and white striped ribbon was the inspiration behind most of my Christmas projects this year? I used it to enhance a simple burlap bow.
Today, I’m excited to share a “Winter Holiday Canvas Wreath” I created as part of the “Home for Christmas” Blog hop, hosted by Hometalk.com and CountryLiving.com.
INSTRUCTIONS
For this project, I used a square canvas (15 1/2 By 15 1/2 inches).
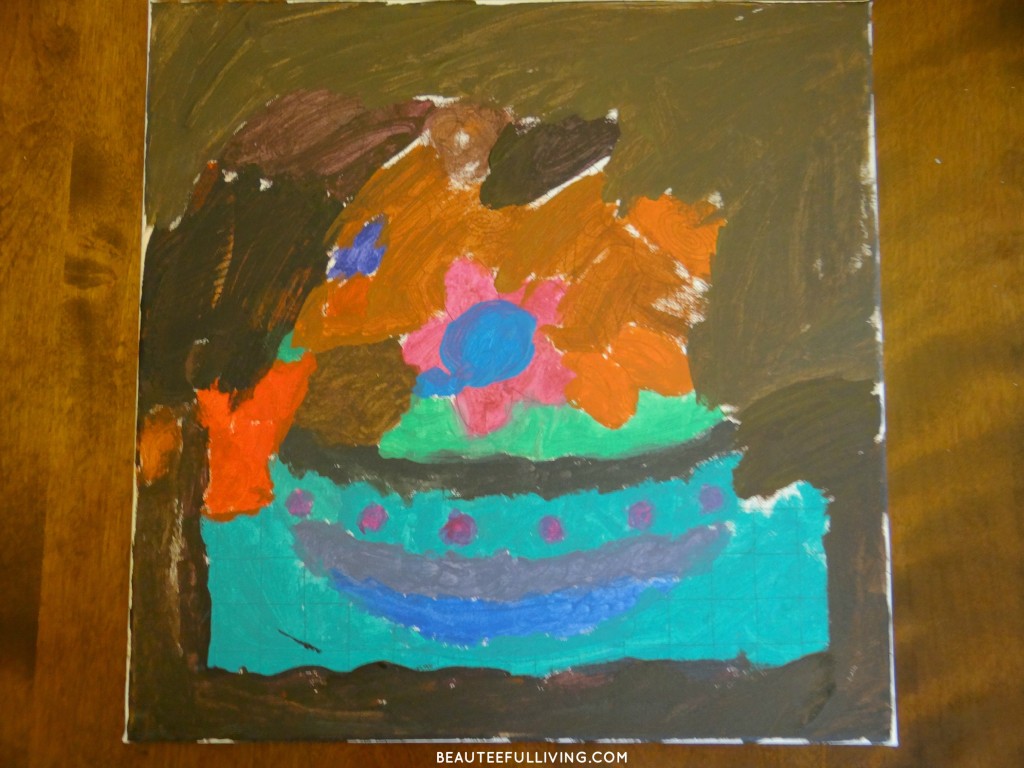
The art canvas you see below happens to be an old “practice” piece that one of my daughters did a couple of years ago. Let’s be real, not all of their artwork happens to be masterpieces. For those that don’t quite make the mark, I like to re-purpose them instead of throwing them out. 🙂
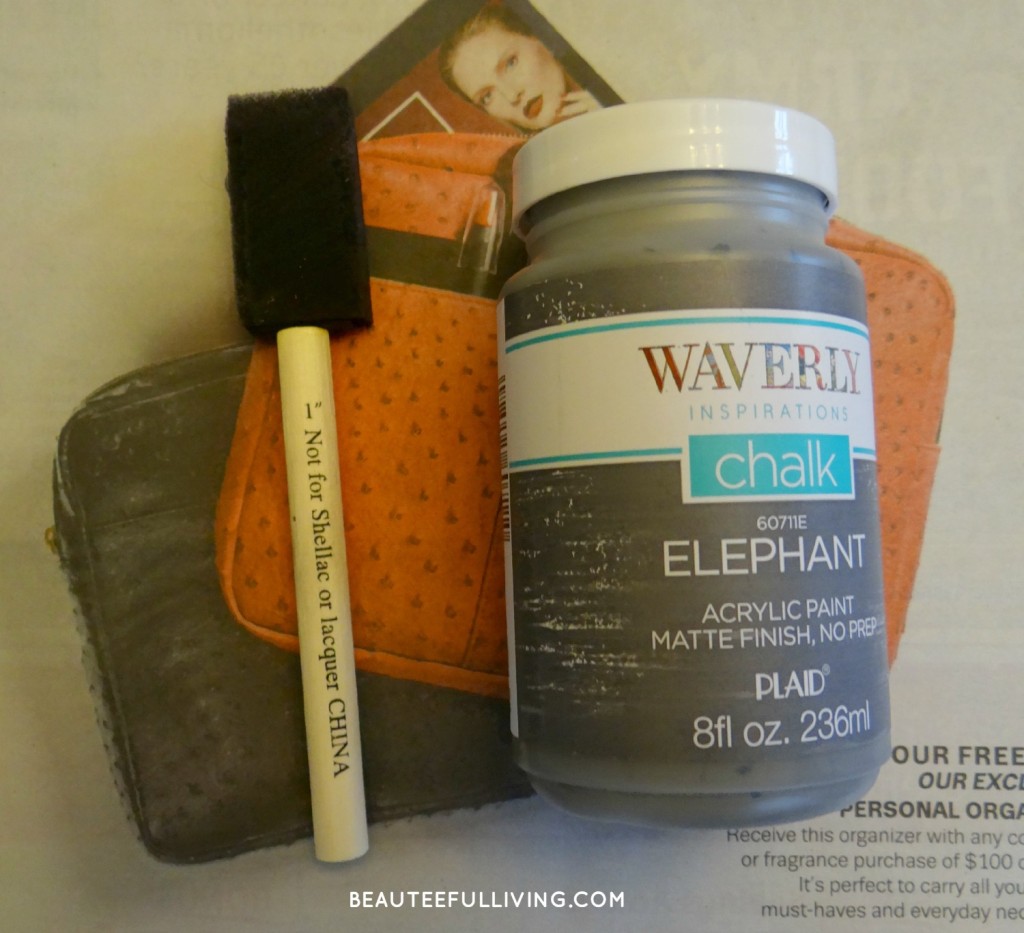
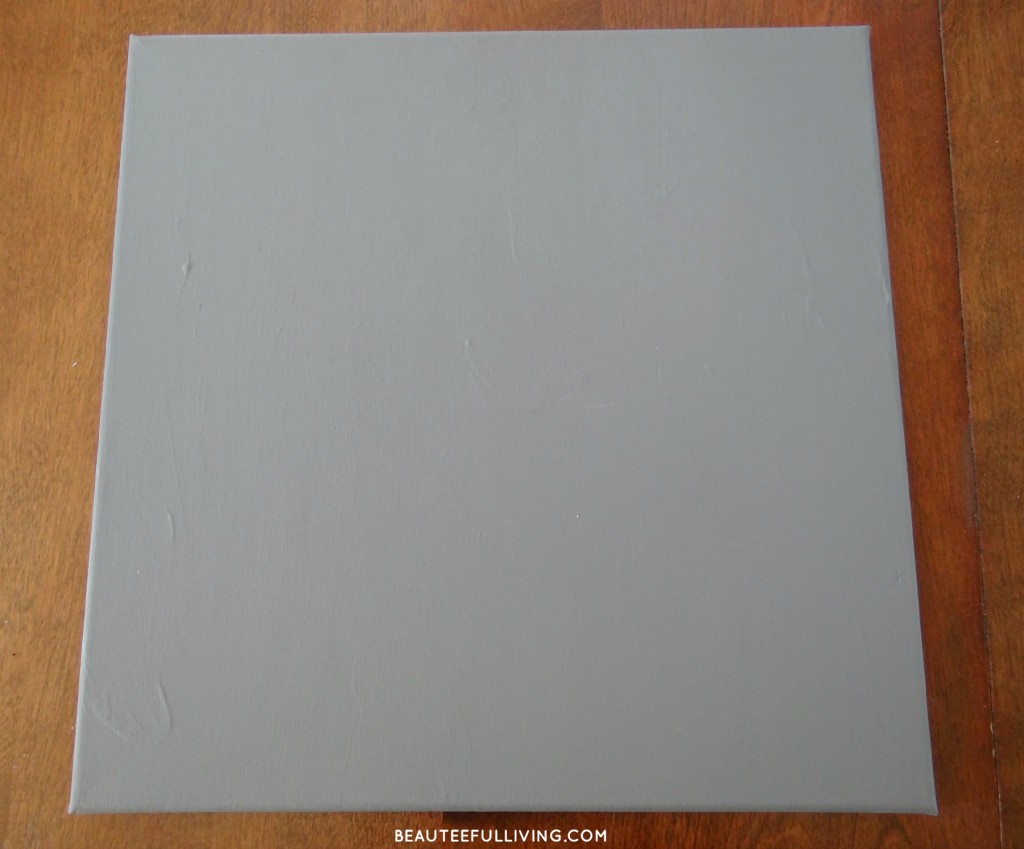
To repaint the canvas, I used a sponge brush to apply the Waverly brand chalk paint (purchased at Walmart). “Elephant” was the name of the color.
After 2 coats of paint, your canvas will look like the below photo.
MAKING THE BOW
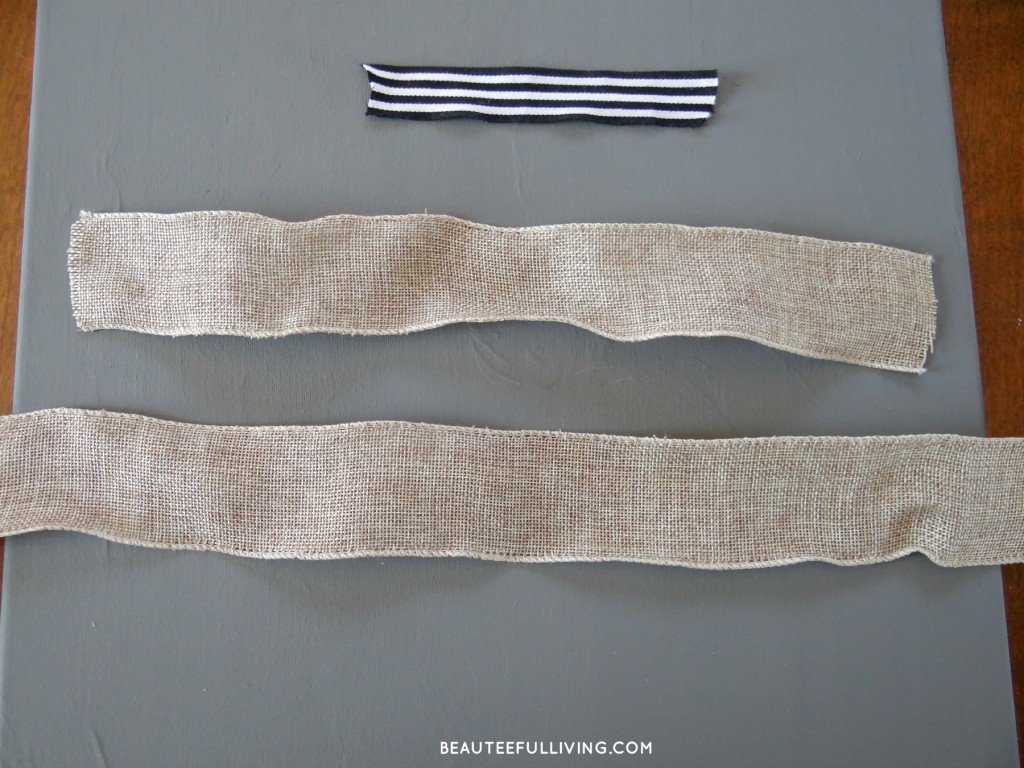
You will need to cut 2 Burlap Wire Ribbons (Long strip to measure 26 inches and shorter strip to measure 14 inches). To hold the bows together you will also need to cut a “3 inch” length ribbon (I used black & white striped ribbon) to wrap the burlap pieces together.
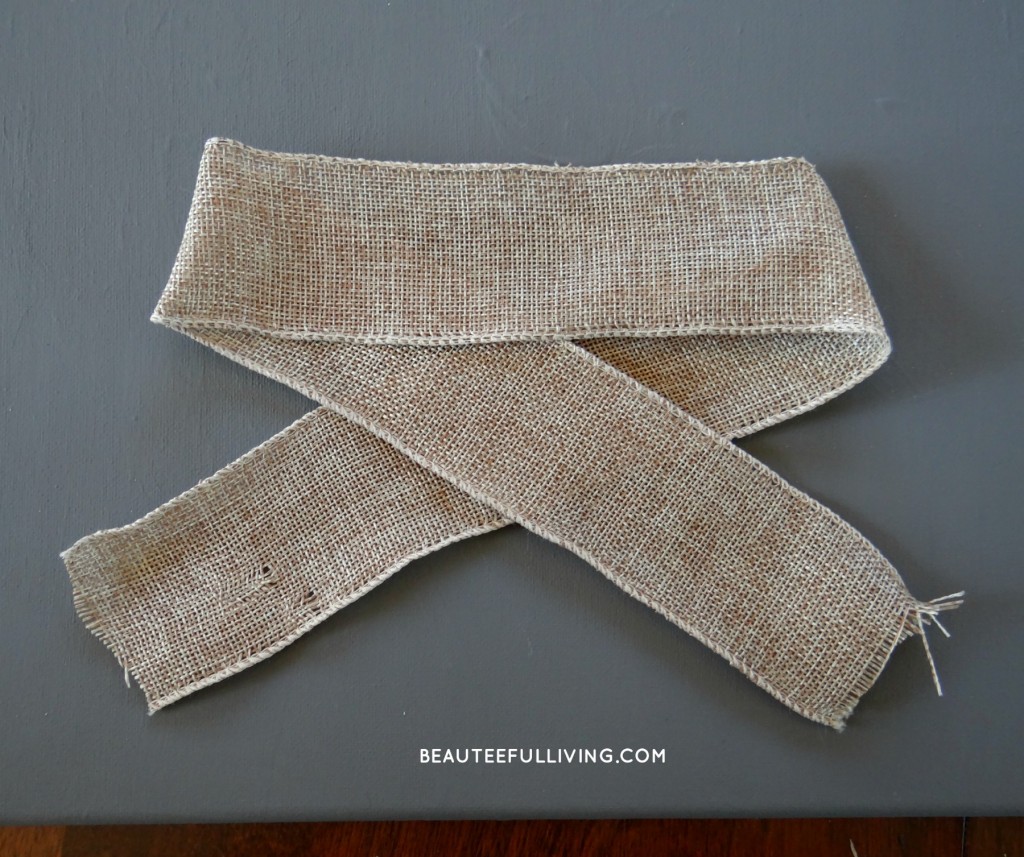
Step One: Grab the long burlap ribbon piece and form shape like below image.
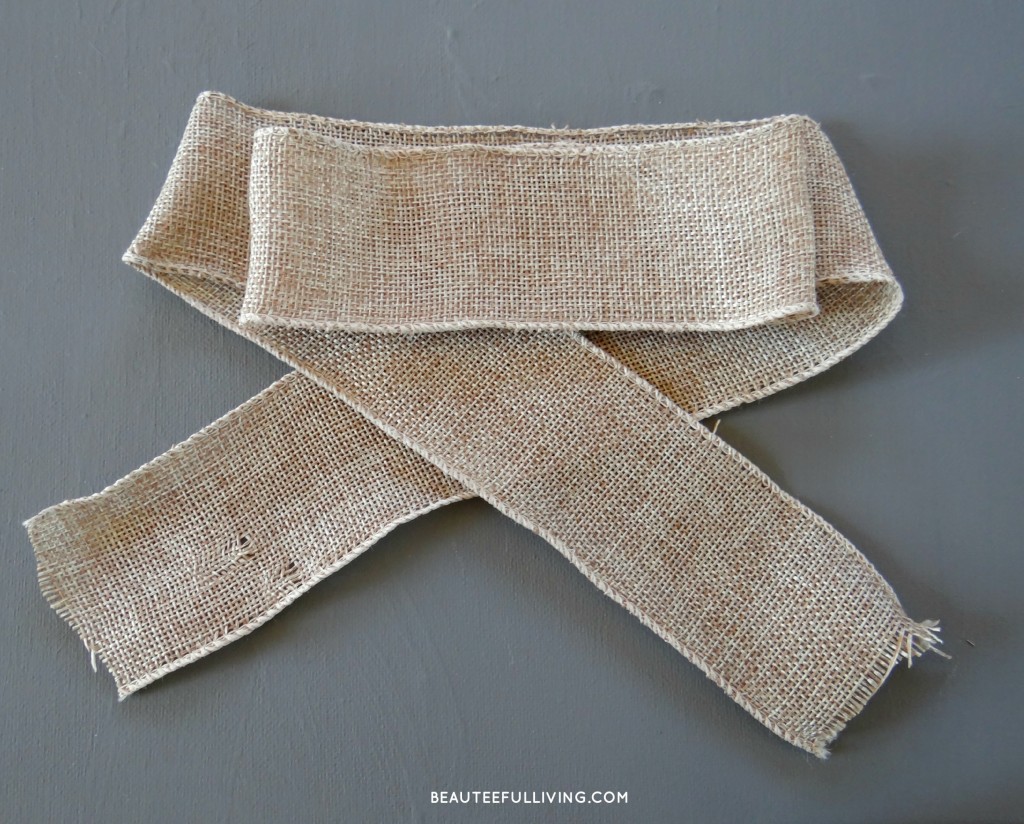
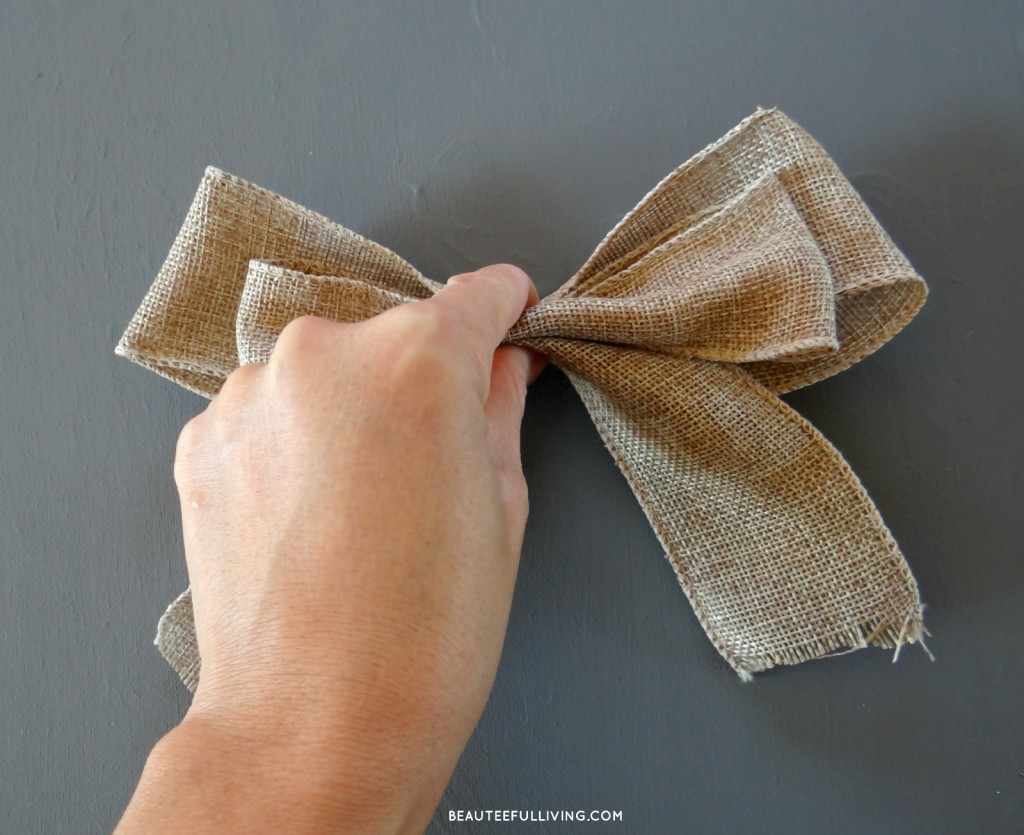
Step Two: Fold shorter ribbon piece so that the ends meet each other. Place short ribbon on top of long ribbon.
Step Three: Cinch tops of bow.
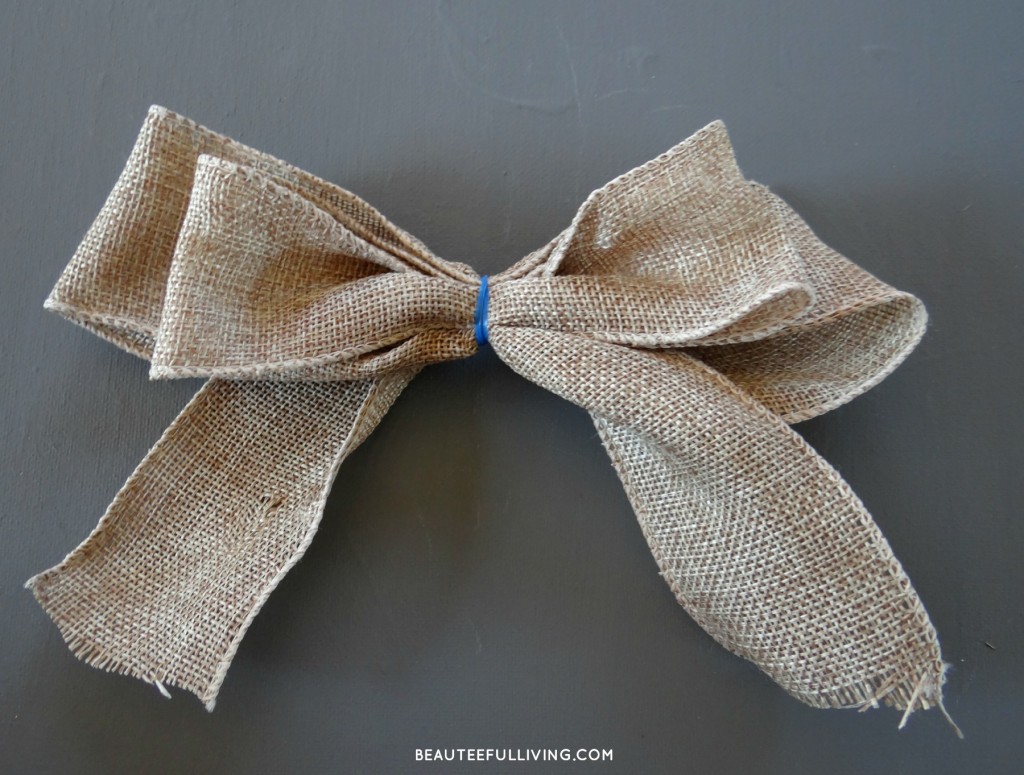
Step Four: Add plastic tie to secure bow.
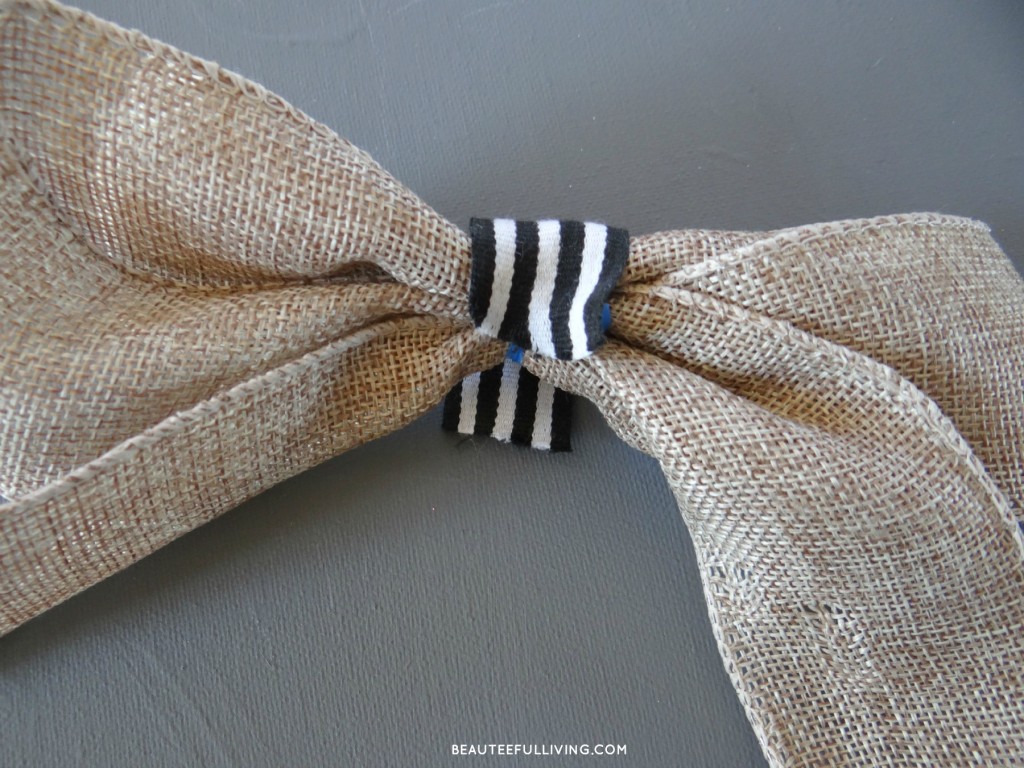
Step Five: Wrap short “decorative ribbon” around burlap bow pieces. Use glue gun to secure ribbon.
Step Six: Turn bow over and fluff to make it pretty! 🙂
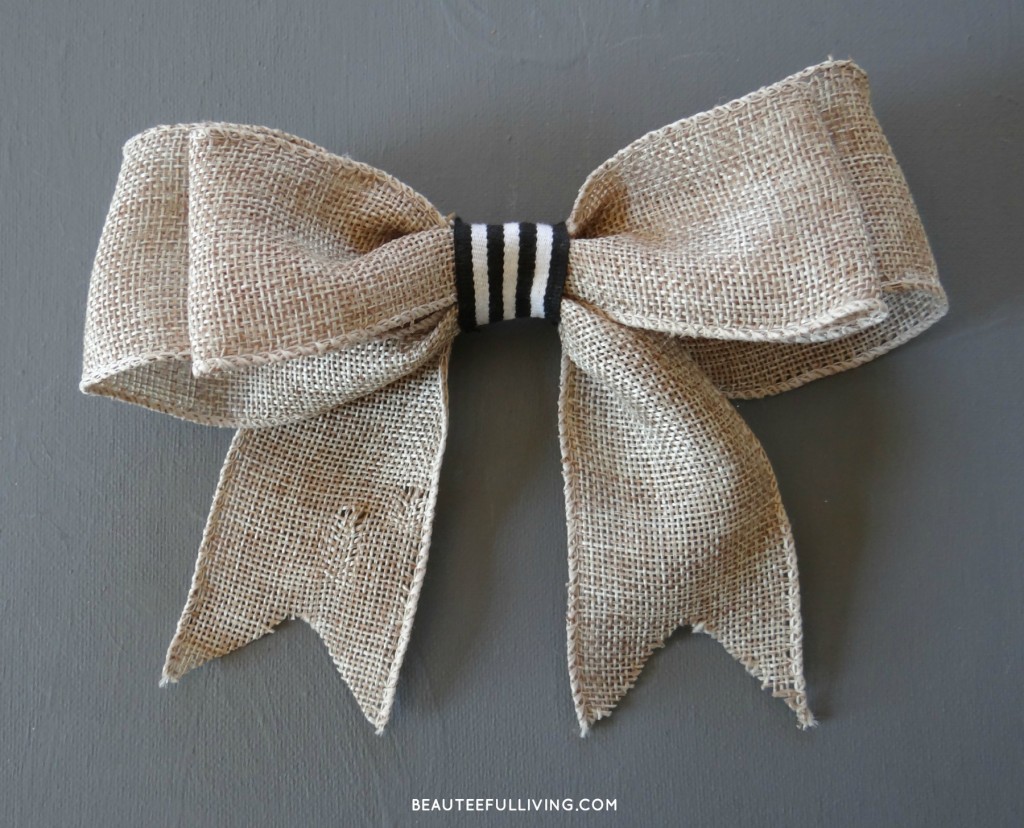
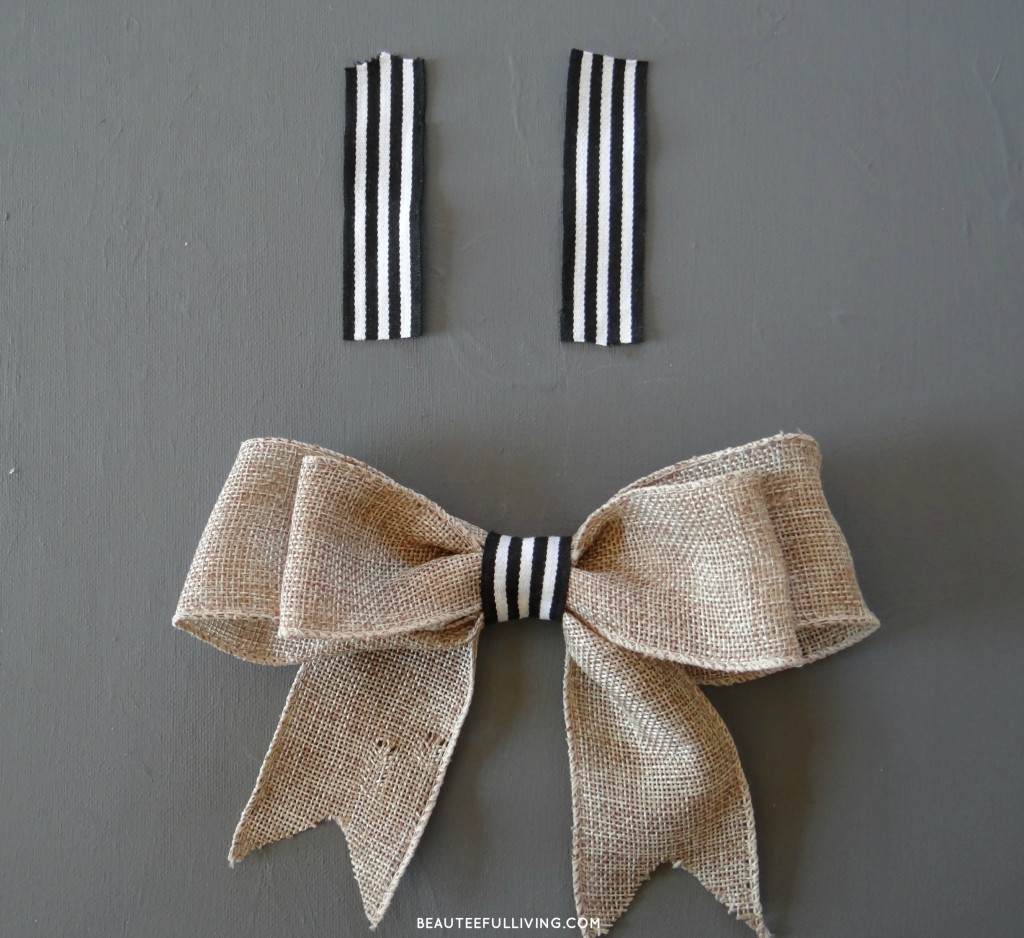
Using scissors, cut ends of bow like image below.
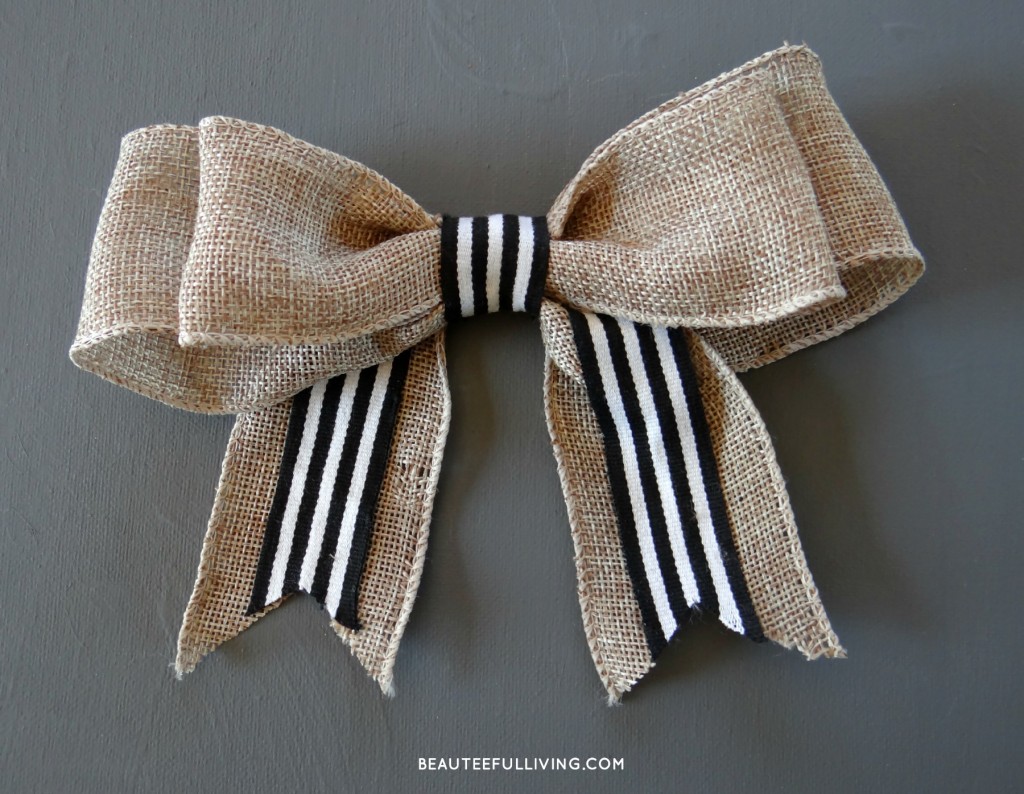
Optional Step: If you want to enhance your bow further, simply add 2 extra pieces of your “decorative ribbon.” Use glue gun to affix pieces. The strips were each 3.5 inches long.
This is how your finished bow should look:
PUTTING IT ALL TOGETHER FOR WINTER HOLIDAY CANVAS WREATH
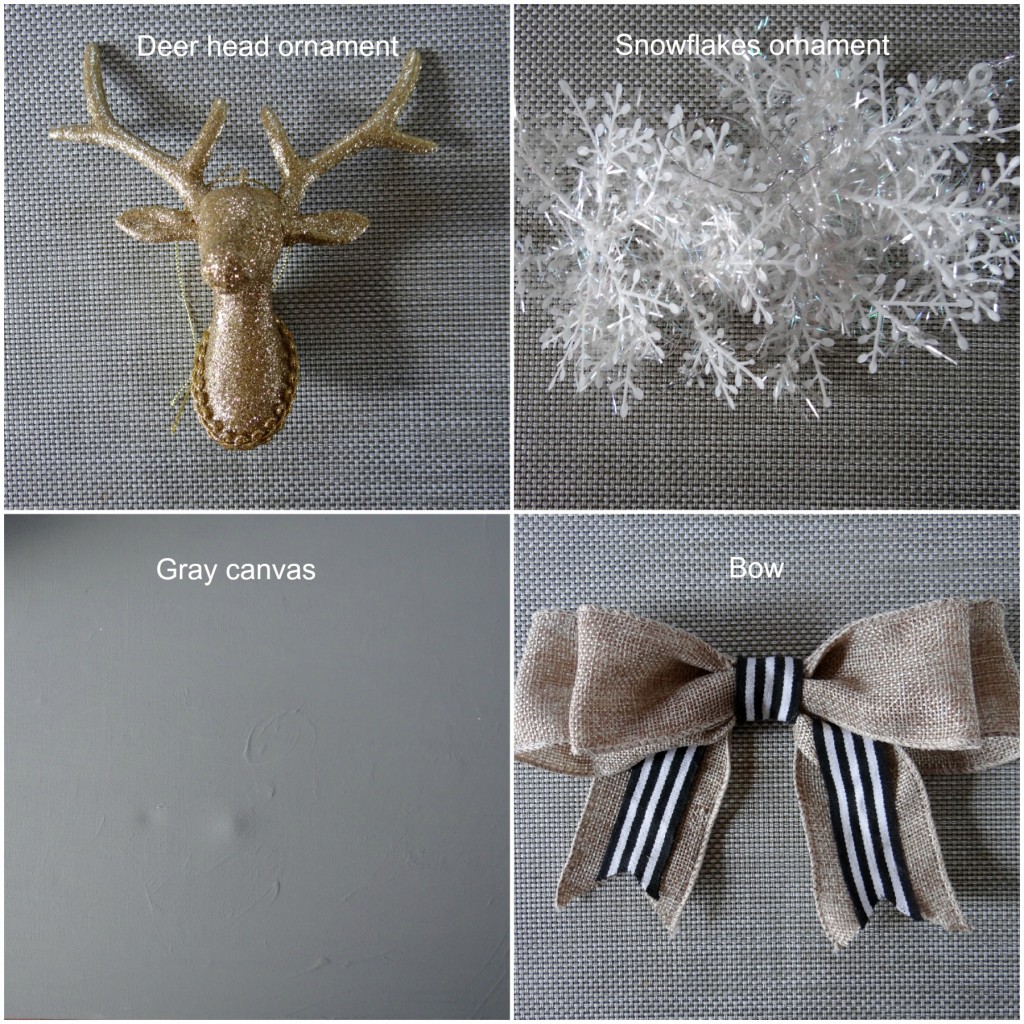
Here are the 4 main elements to my “Winter Holiday Canvas Wreath.”
P.S. I purchased the Deer head ornament from Walmart. The snowflakes were purchased several years ago from the Dollar store.
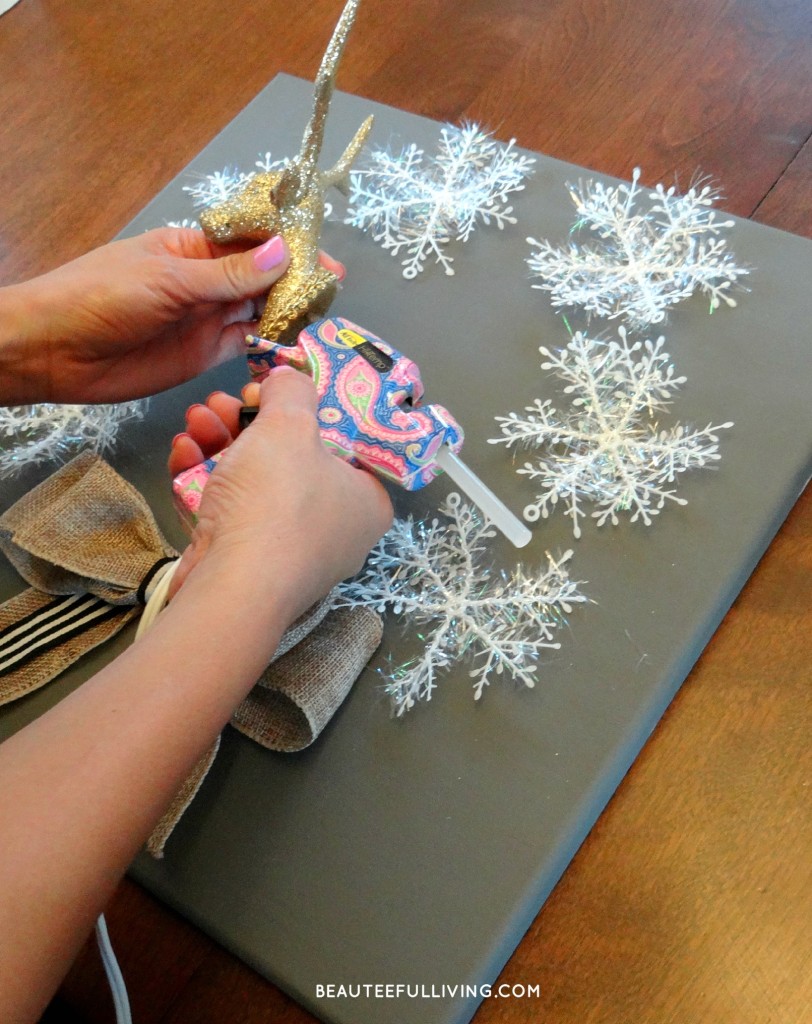
Nothing like a handy dandy glue gun to put everything together!
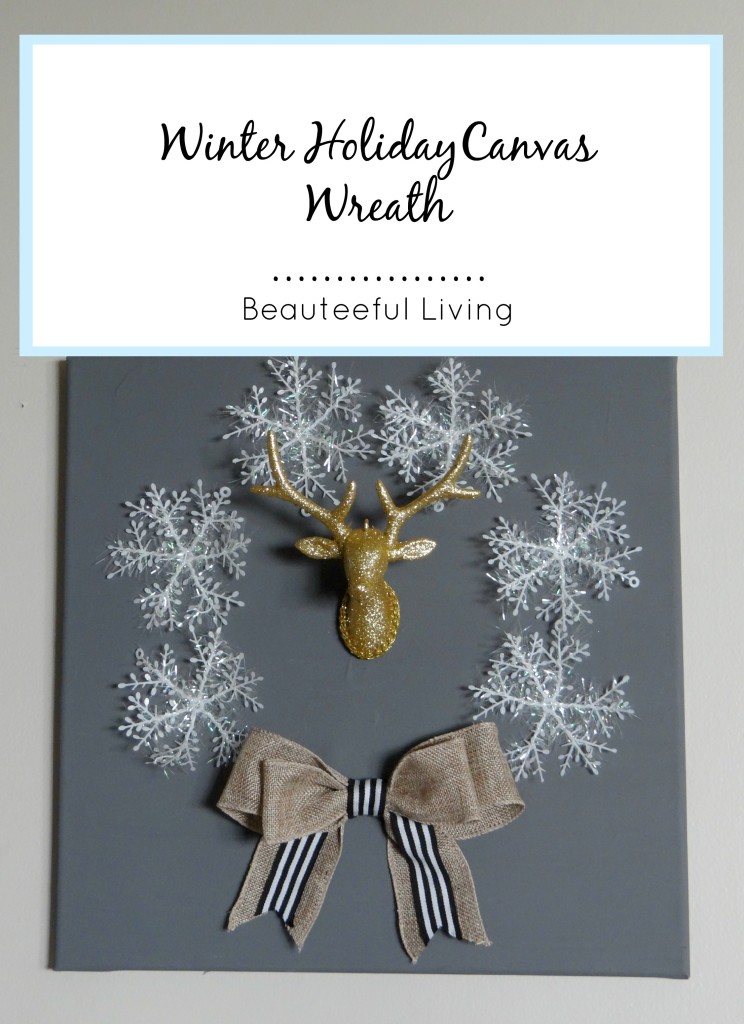
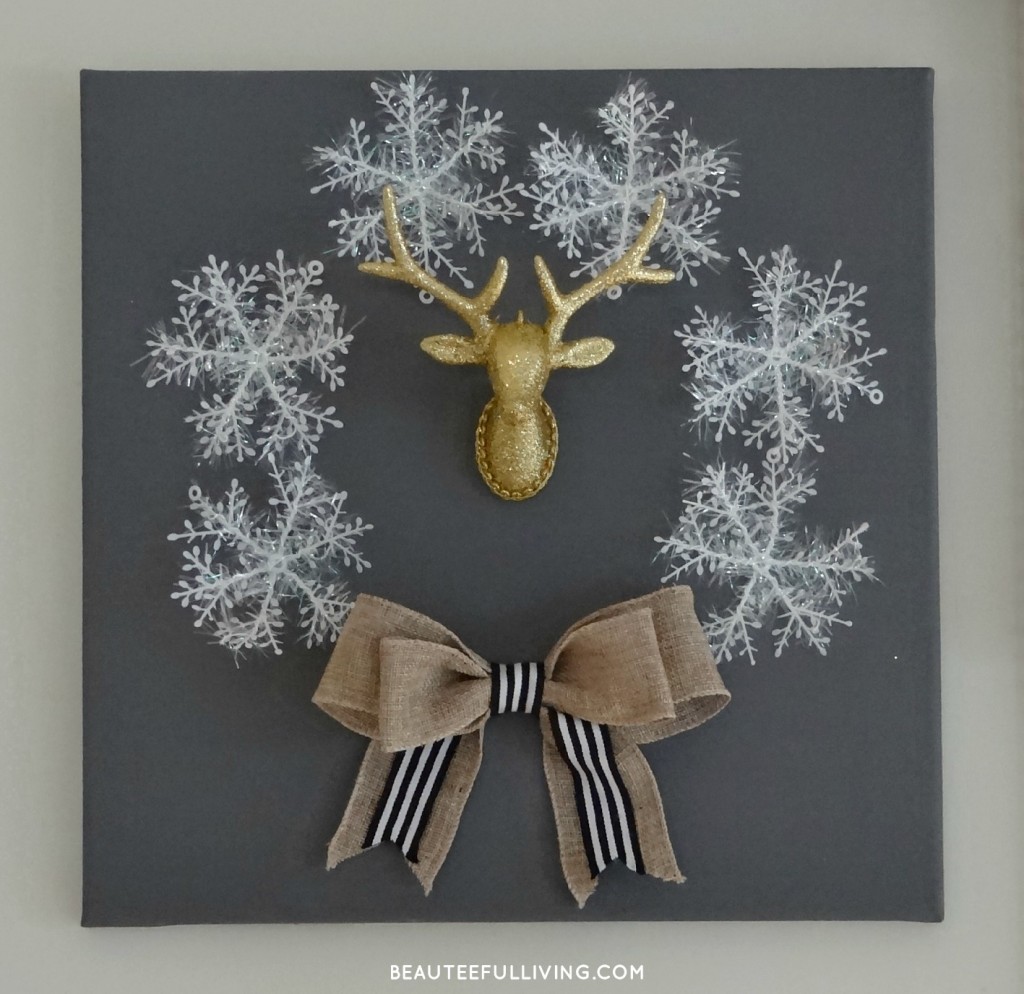
Here’s how the finished canvas looks. I think it’s a nice alternative to hanging an actual wreath! 🙂
I hope you’ve enjoyed this DIY project. Please bookmark or PIN this post. You’re the best!
By the way, here’s a sneak peek of another project I did for Christmas. I’m a little hooked on making bows lately!
Don’t forget to check out all the amazing projects that linked up to this special “Home for Christmas” Blog Hop hosted by Hometalk.com and Country Living.com! Thanks for reading. Xoxo, Tee







How sweet! I have fallen in love with it!!! I’m an avid DIYer and always try to be busy with some new projects. Was searching for a unique idea to start. The Canvas Wreath made me stop and crazy to make it asap! In a hurry to start. Wish me good luck, Tee! 🙂
Good luck, Malisha! Thank you for stopping by the blog and commenting. Enjoy this fun project 🙂
I love this! It looks so classy. I am doing this. Thank you for showing how. BTW, your website is gorgeous!
Thanks so much for your sweet words, Teri! I’m so glad you enjoyed this tutorial.
This looks sooo great!!! What a fun idea! I was so excited to see the huge amount of link ups for this hop! There is so much eye candy!! 🙂 Pinned!!
I really like this Holiday Wreath Canvas – so pretty. Pinned to share 🙂
Such a smart idea for a wreath Tee! And great tutorial, loved how you explained the bow ( I am terrible at making those:). Love the snowflakes, really pretty. Have a wonderful week and take care, Tara
I love this project – so simple and yet so elegant.
Love both of your projects and how you added a second layer to the bow. I would never have thought to do that. Thanks for the inspiration!
This is so cute! I am really feeling the reindeer decor this year and I love everything about this!
This looks great! I love the snowflakes!
Thanks, Meg!
Love this idea! Thanks for inspiring all of us! 🙂
Thanks so much, Angela! xo
Tee, I LOVE this. I’m not a fan of traditional wreaths, but this is fantastic. Pinning!
Thanks so much, April!
This looks gorgeous, and such a great way to repurposed the canvas!
~Angie @ Knick of Time
Thanks for stopping by the blog, Angie.
What a great idea! I have about 100 snowflake ornaments in my attic from our last house and never would have thought of this! Thanks for the inspiration!
Thanks so much for your sweet comment, Karen!
Beautiful….love the black and white ribbon. Lovely tour.
Thanks, Bonnie!
This is SO cute and creative! We’ve Pinned it! Happy to tour with you!
Thanks so much! I appreciate you ladies for pinning!
I love that you were able to re-purpose an old canvas. Although the first one was nice, I think I like your Christmas version better. 🙂
Thanks so much, Jenny. I’m glad you like the updated version better. 🙂
This is a great project! Good job!
Thank you!
So pretty and you make it look so simple. Great tutorial. pinning Cathy
I appreciate your kind words and wonderful feedback on the tutorial! Thanks, Cathy.
This is adorable, love it! Pinning!
Thanks so much, Roxanne!