It’s all about “CLOSET PLANNING” in my One Room Challenge (ORC) Week 2 Update. If this is the first time you’re reading about this fall’s ORC design challenge hosted by Calling It Home, you can catch up on last week’s post here. New to Beauteeful Living? I’d love to extend a warm welcome to you!
The biggest motivation to update our master bedroom is the need for a better closet system. About 9 years ago, I served an eviction notice to my husband. Well…a notice to his clothes to be exact. The explanation was simple:
“Your clothes have to go. There’s just not enough room in this closet for the both of us. Nothing personal against your dress shirts, pants, and polos in every color and stripe…but this girl needs deserves her own closet!”
Well, I think it’s time I played nice and welcomed my husband’s clothes back into our room. It’s the least I could do for a guy who does so much for the kids and me. 🙂
Last week, I mentioned how we were getting a custom closet installed by Closet POSSIBLE. Here again is the inspiration photo that started my closet goals: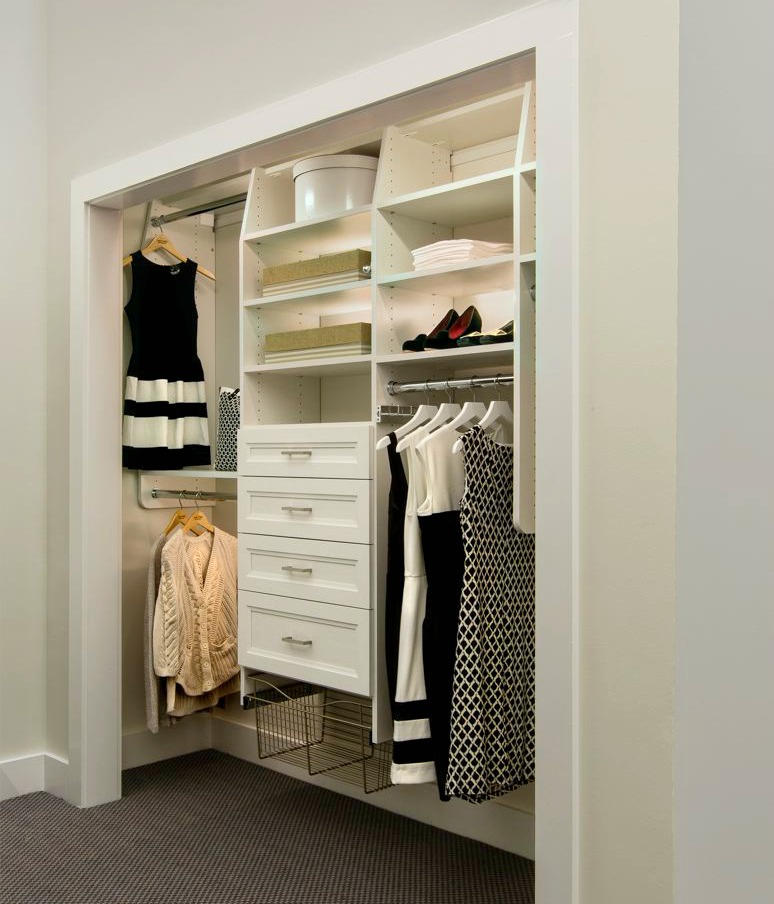
After speaking with Barry, owner of Closet POSSIBLE and checking out samples of their work, I decided to get an in-home design consultation.
Once Barry took measurements of my closet and we discussed the needs of the new closet, Barry made a recommendation that I LOVED:
Create a “BUILT-IN ARMOIRE” in existing closet opening.
I’ve always thought the small sections of wall that cover our closet to be such a waste of space. The walls make the closet look small, not to mention more difficult to reach into. The best part of the “armoire” idea is that there will be doors covering the closet. No more curtains needed!
Just because I love clothes doesn’t mean that I want to see them as soon as I walk into my room.
Fortunately, Closet POSSIBLE has an interactive showroom within driving distance from my home. Once Barry’s closet design was created, my husband and I went to the showroom to finalize the plans.
Our armoire will have 3 sections:
- 4 Hanging rods for clothing (Both Left and Right sides will have one rod on top and one on bottom).
- Center section will have 5 open shelves on top and 4 drawers on the bottom.
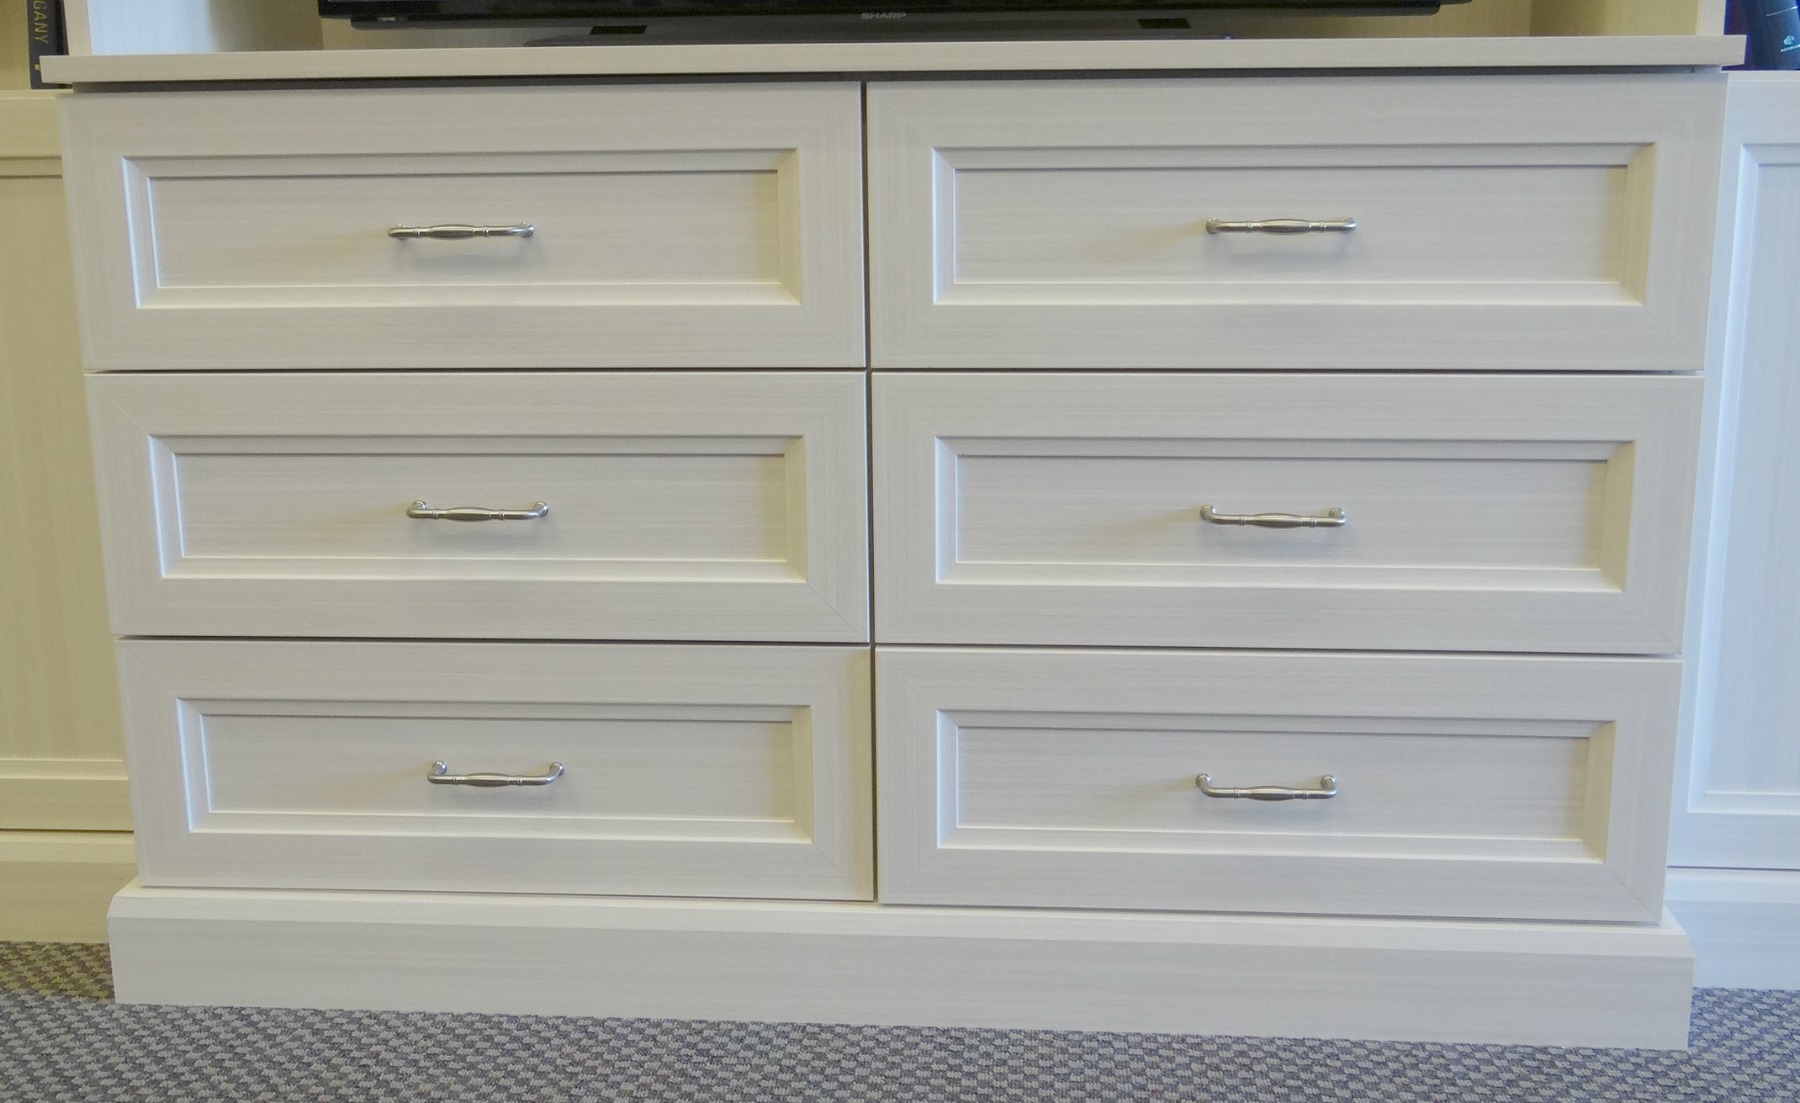
Sample Closet Finish
Biggest advantage in visiting an interactive showroom like the one from Closet POSSIBLE is viewing (in person) the wide selection of jumbo samples of cabinetry finishes available.
We went with a textured finish called “White Chocolate.” You can view the selection here. Below is a sample of the color and style that we chose for our built-in. We chose a different drawer pull from the one pictured.
Our armoire is set to be installed on October 24th, which is less than 2 weeks away! I cannot wait to see how it turns out!
Here’s a reminder of my inspiration rooms. (Left: Dear Lillie Blog Right: Roses Trading Co.) 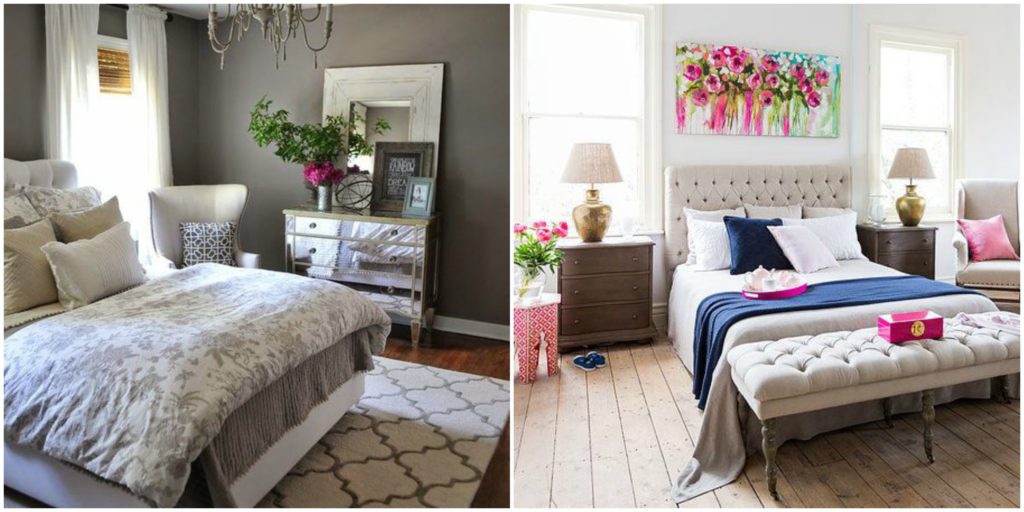
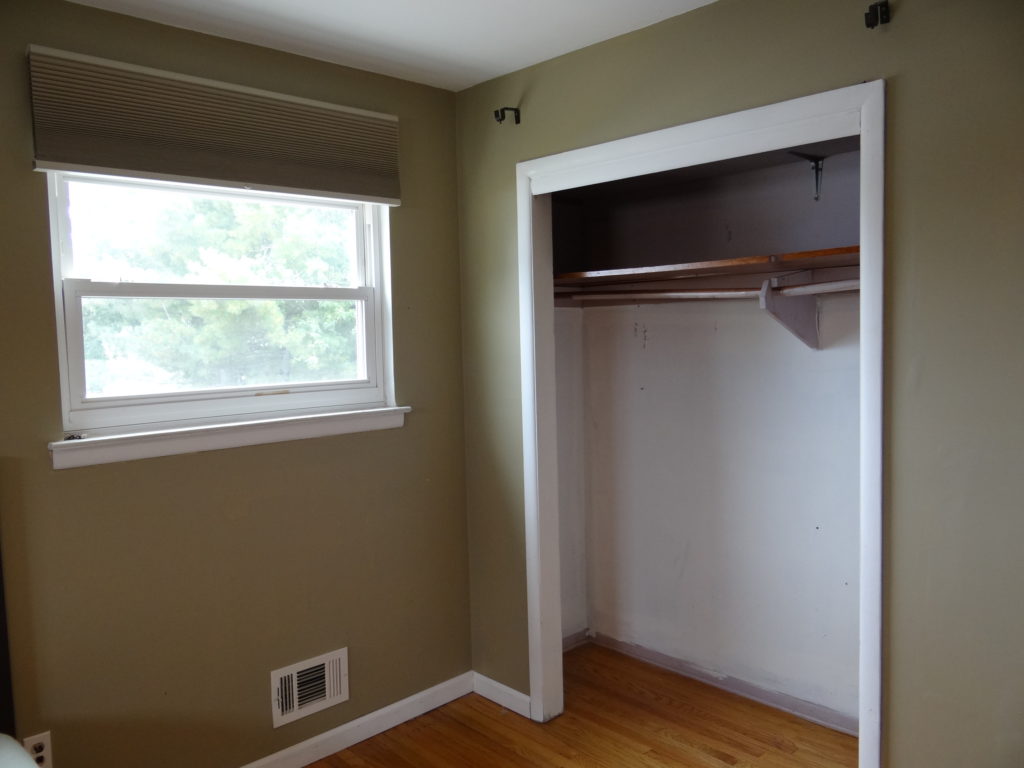
Now, I turn to the hot mess progress we did with our room in preparation for the closet installation.
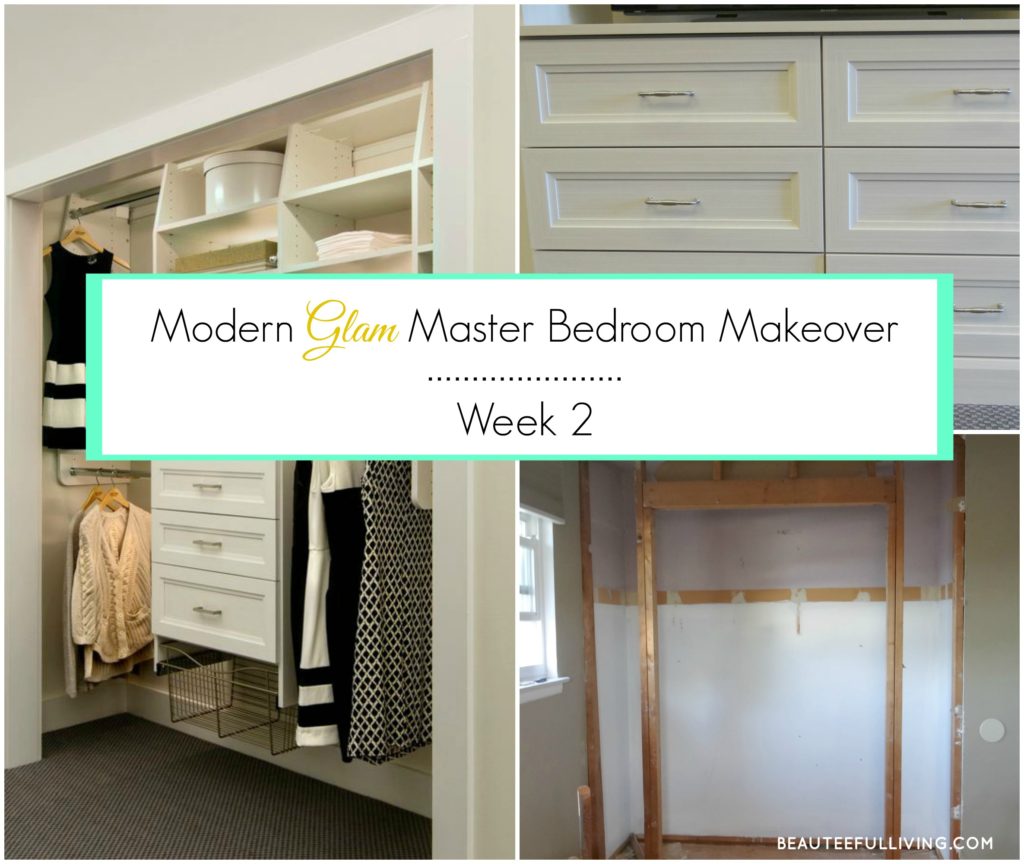
Photo 1: Clearing out the room.
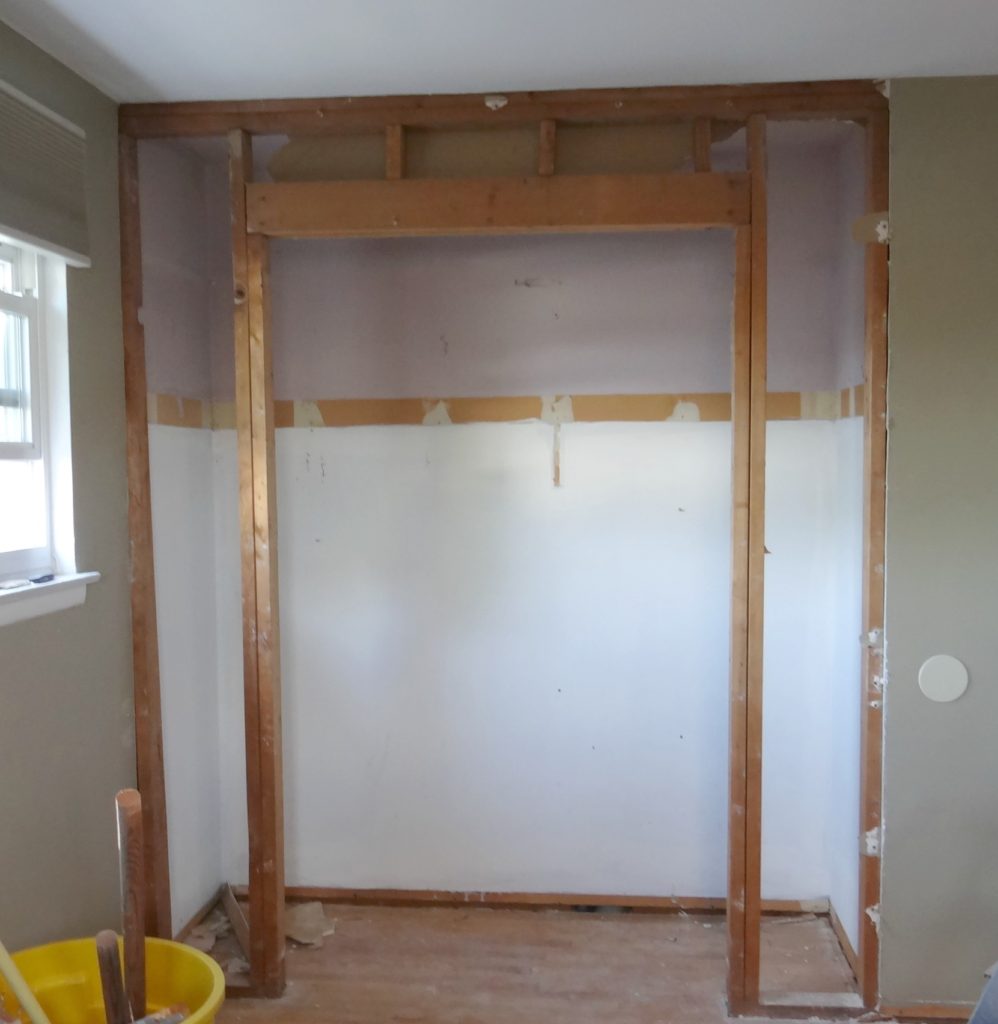
Photo 2: Removing the drywall. Woah!
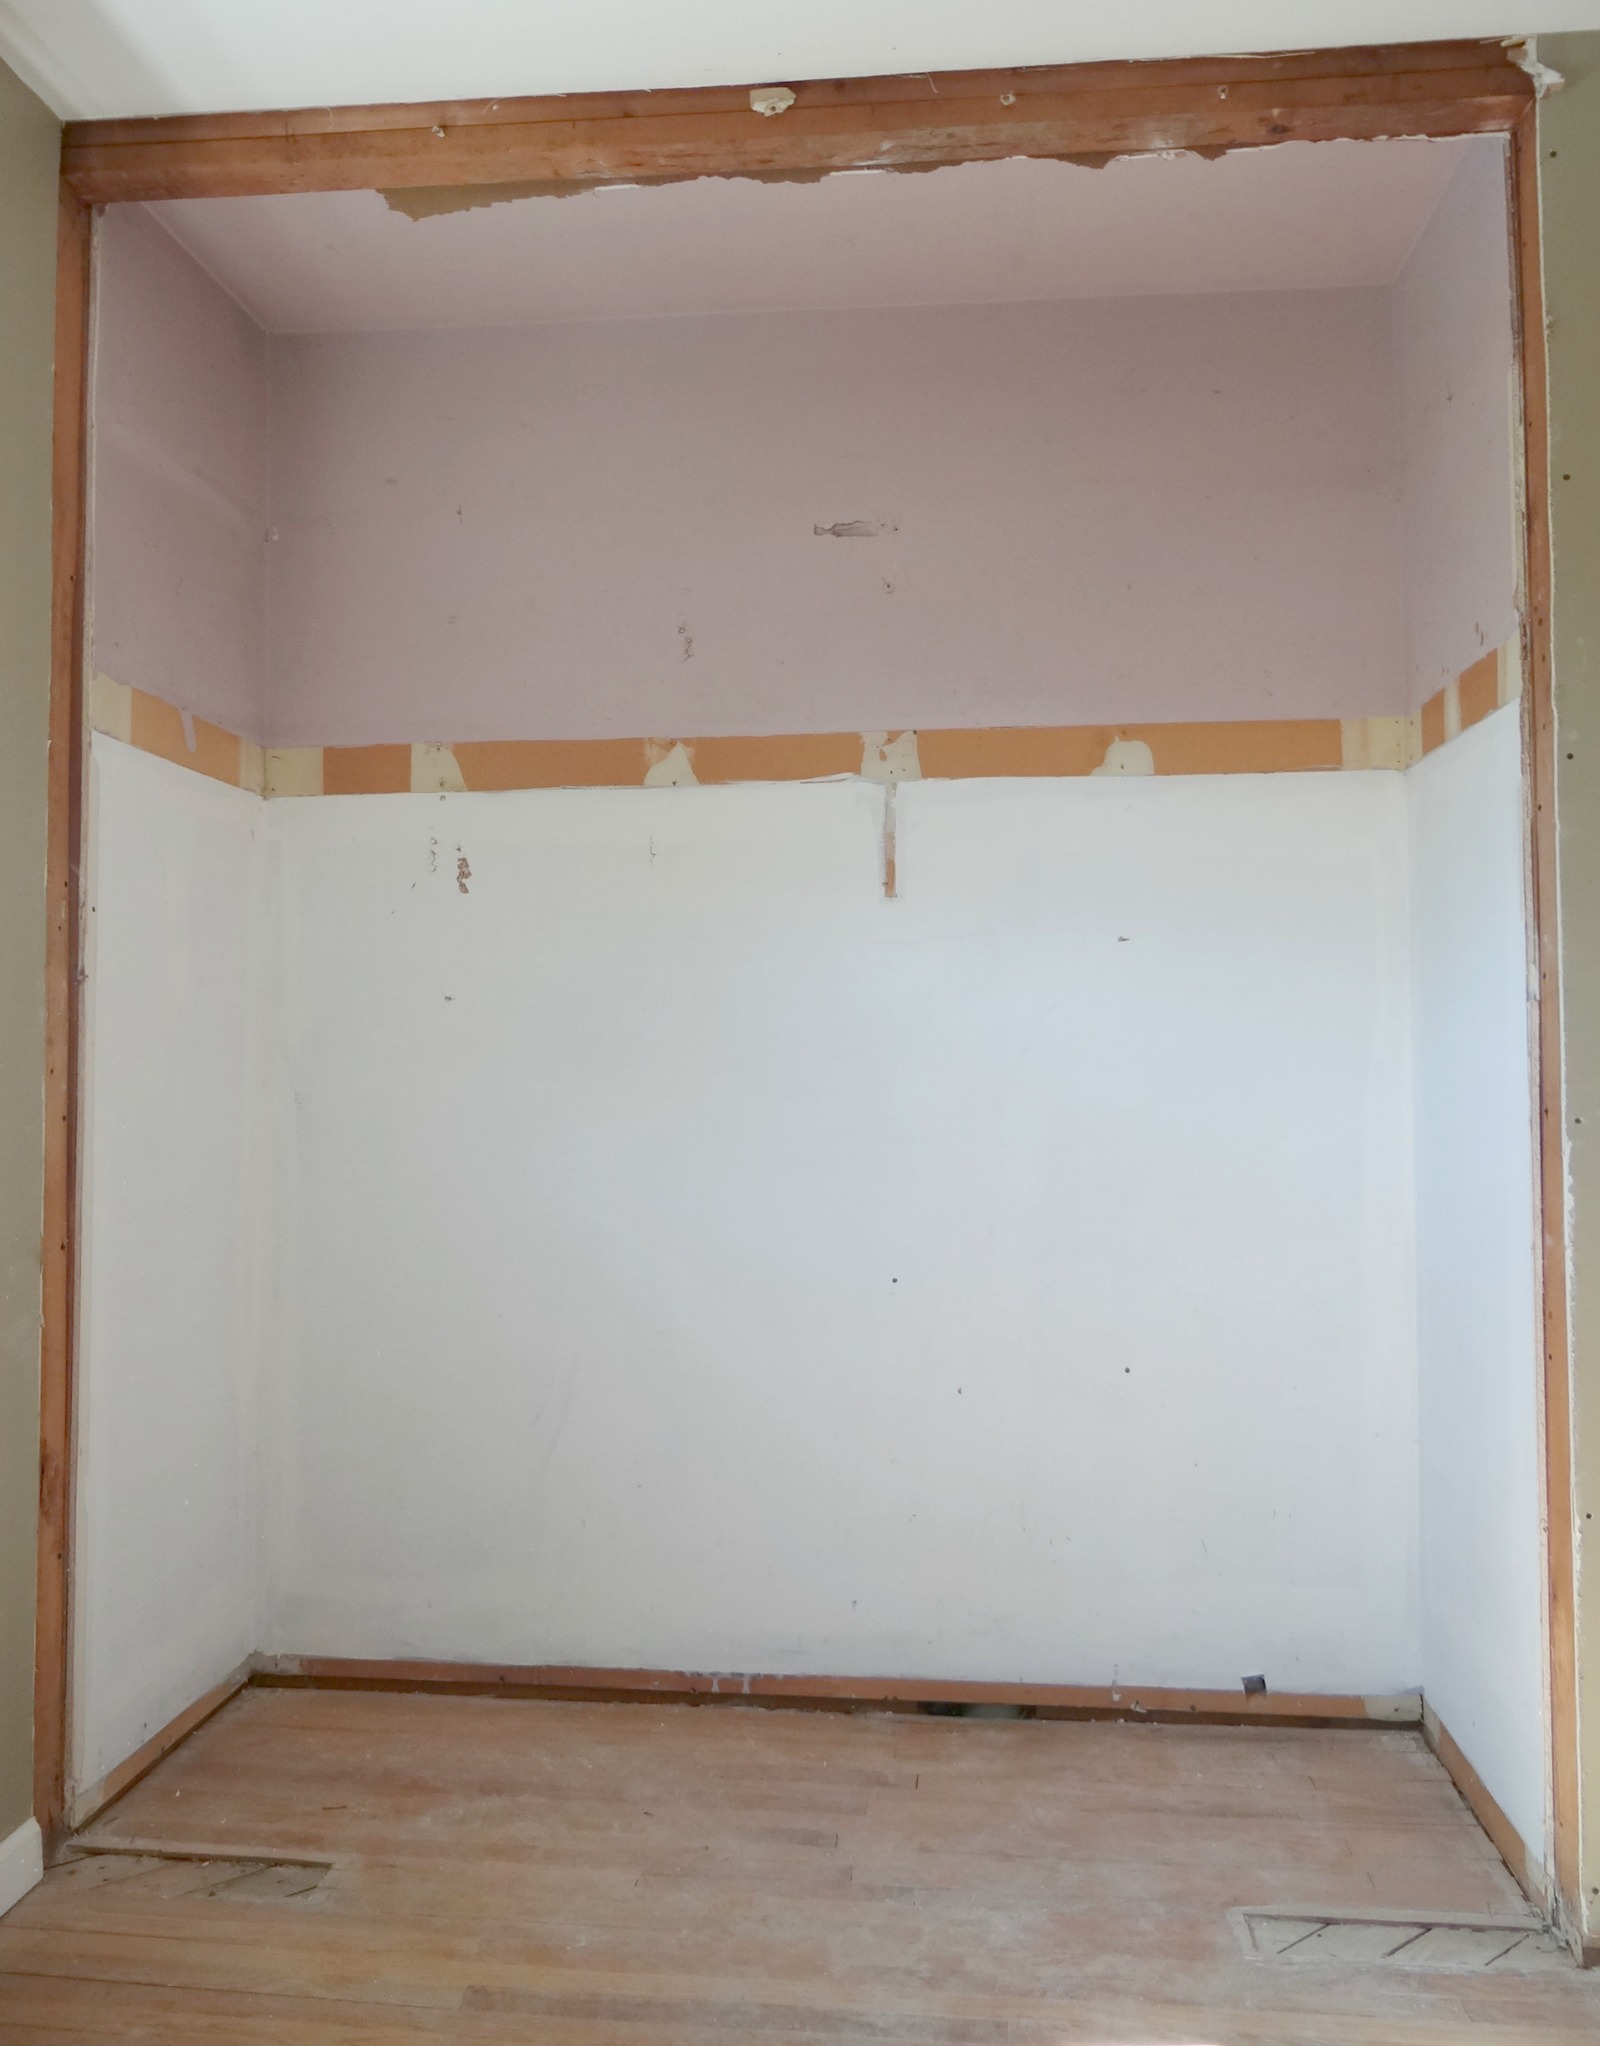
Photo 3: The sides completely removed.
The width is now 79 1/2 inches wide. Looks so much bigger even though the closet size has not changed. Good riddance to the sides!
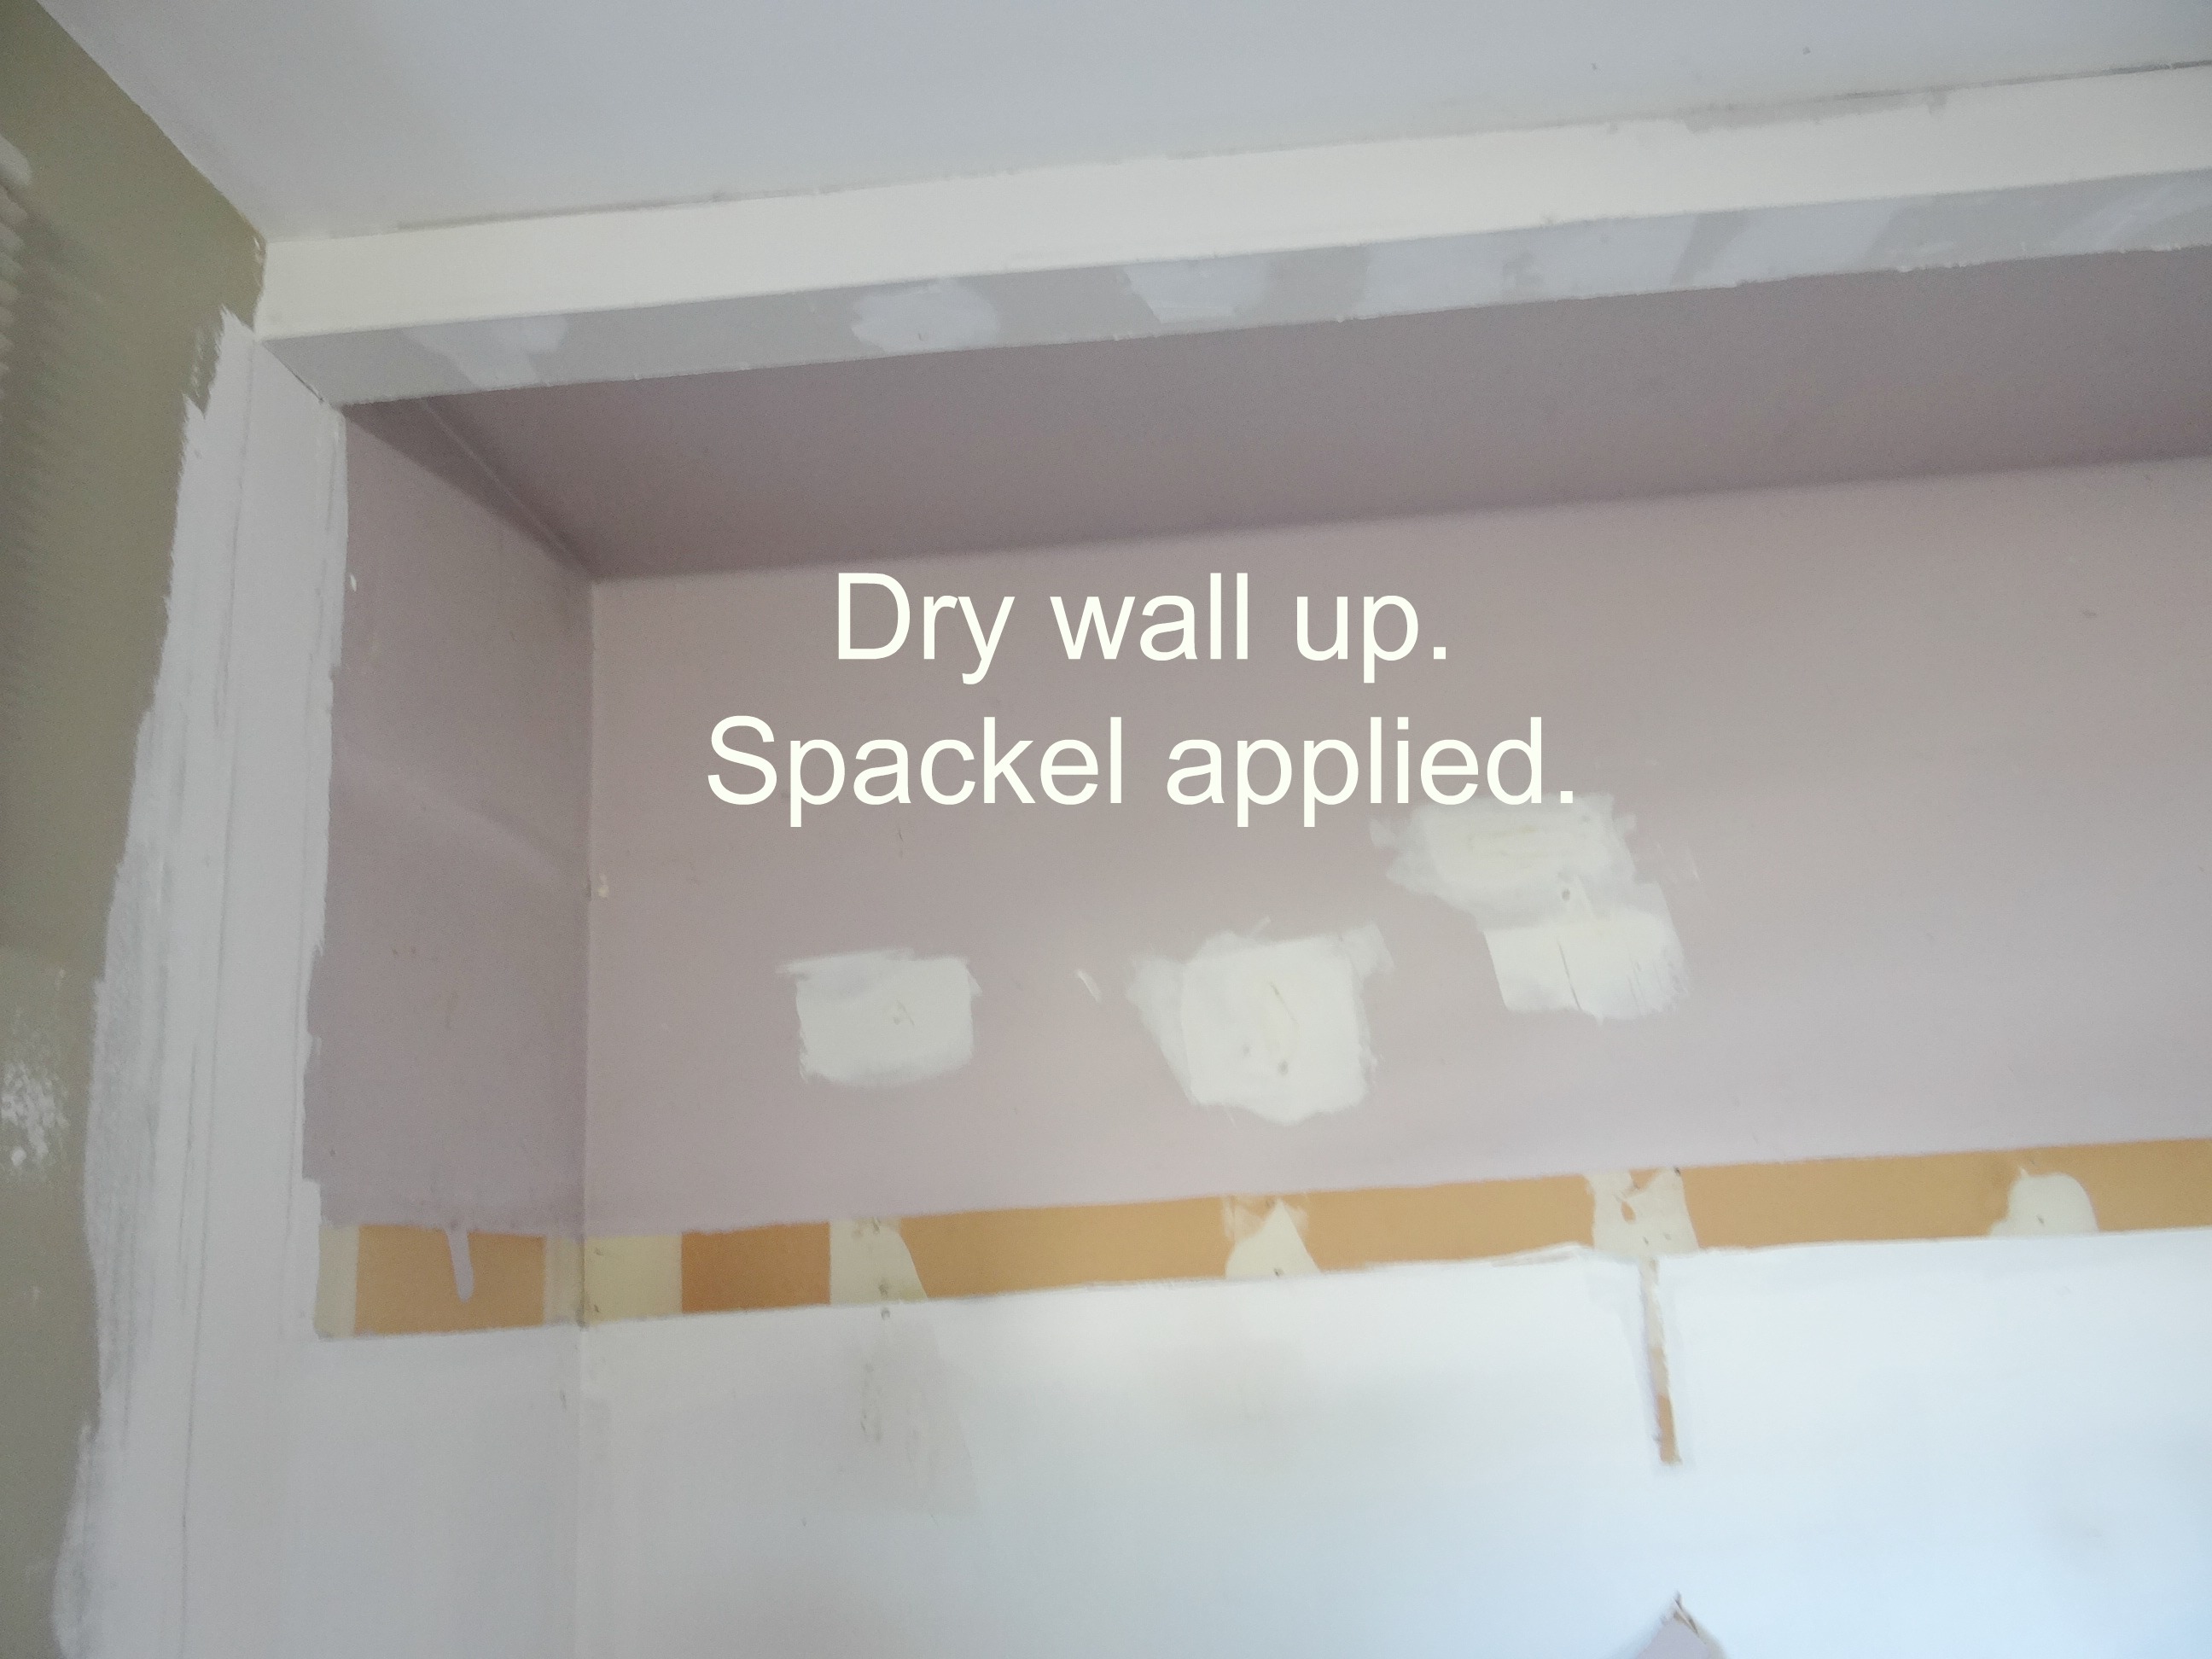
Photo 4: Dry wall is up and several layers of spackel have been applied.
That’s it for now, lovely readers.
Big thanks to Barry and Closet POSSIBLE for sponsoring my closet renovation as part of my Modern Glam Master Bedroom Makeover. 
 I’ll be back next week to share more on my progress. You can see sneak peeks by visiting my Instagram and Facebook feeds. Subscribing below will ensure that blog posts are delivered to your e-mail.
Also, be sure to visit Calling It Home to check out the progress of the other participants. Excited to see! Thanks for stopping by and following along my bedroom makeover adventure! Xoxo, Tee.





WOW – I’m so impressed that you’re redoing your entire closet along with your bedroom! Keep up the awesome work, I can’t wait to see your progress!
Thanks, Jenny! For the closet, we can only take credit for prepping the area for our install. We’re lucky to have found a great closet install place to do our dream closet for that space 🙂
Hi, Tee! It sounds like your new closet will be nice! I love the idea of the built in armoire, and the finish looks beautiful!
That was a seriously brilliant suggestion by the closet designer! I can’t wait to see how it turns out, I have a feeling I’ll be pinning it like crazy!
Your closet is going to be amazing and knocking out the walls is going to give you so much space. Can’t wait to see it!
Your inspiration is fabulous! I’m sure the closet is going to turn out amazing!
AHHH! The thought of a closet reno sounds fabulous! I can’t wait to see how yours turns out. Way to get some work done so far!! – Rachael
Wow this is looking great. What a difference taking the sides out made in size.
It does look so much bigger!! Can’t wait to see more.
What a big difference just with the sides gone!
I hate that extra wasted space too! Can’t wait to see how it is transformed!
Thanks Angela! Very excited!
That closet is going to be awesome! Can’t wait to see how it all comes together.
How cool! an armoire in the space? Can’t wait to see it!
Can’t wait to see the closet system installed in your expanded closet!!
I love this post on how to create a closet, my daughter is looking to add more closet space and will show her yours. Very easy and so classy. Can’t wait to see the progress.
Maria
Thanks so much, Maria!
Wow, that’s going to look amazing! I can’t wait to see it!
Oh wow, that’s going to be an awesome closet! Can’t wait to see how it turns out!!
Wow, just removing those small areas on the side makes such a big difference! Looking forward to more progress next week!
Thanks, Brittany! It is crazy how the sides being removed makes such a difference!