Welcome to the Thanksgiving Holiday Craftacular Blog Hop!

Throughout the year, my blogging friends and I will share our holiday or seasonal projects. Stop here Monday through Friday of this week to see great Thanksgiving decorating projects, crafts and ideas from me and my friends!
Plus, share your Thanksgiving project, recipe or craft at the Holiday Craftacular linky party below!
We can’t wait to see your Thanksgiving creations! We’ll share our linky party favorites at our next Holiday Craftacular blog hop and on our Holiday Craftacular Pinterest Board!
Meet the Holiday Craftacular blogging crew! Please follow your Holiday Craftacular hosts!
Also, be sure to visit our next Holiday Craftacular blog hop, which starts December 7 for our Christmas Craftacular blog hop!
Now, for today’s Holiday Craftacular blogger, Tee!
Welcome back to the fourth day in our week long Holiday Craftacular link up! I’m Tee and I blog at Beauteeful Living. As a lifestyle and decor blogger, most of my posts relate to family, home renovations, DIY, and decorating. I’m a writer at heart so sprinkled in between my decor-related posts, I enjoy sharing commentary on things going on in my little world. Being a parent definitely keeps things interesting! I hope you’ll stop by and visit!
Before I share my “Give Thanks Display” for Thanksgiving, I’d like to first share one of my favorite posts that linked up from the last round of the Holiday Craftacular link up.
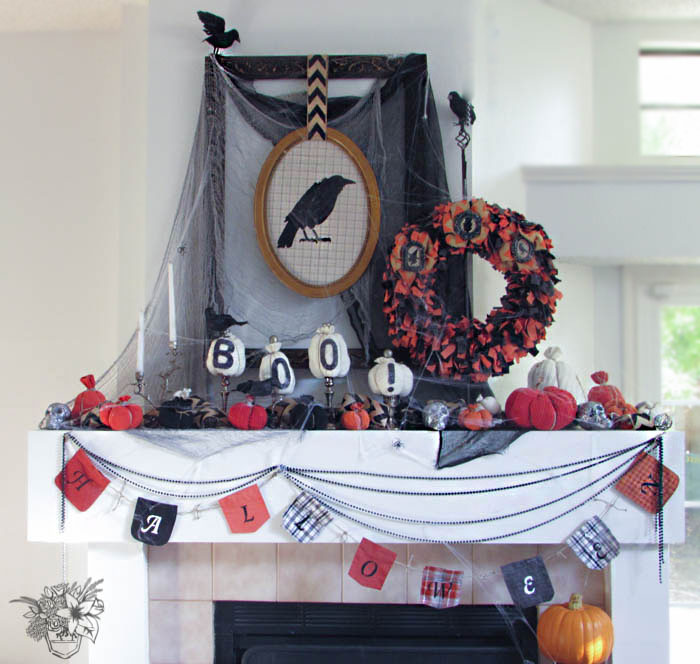
I’m featuring this adorable “Spooktacular Halloween Mantle” from Cat at Pocketful of Posies. Be sure to head over to Cat’s blog to check out all the fun details.
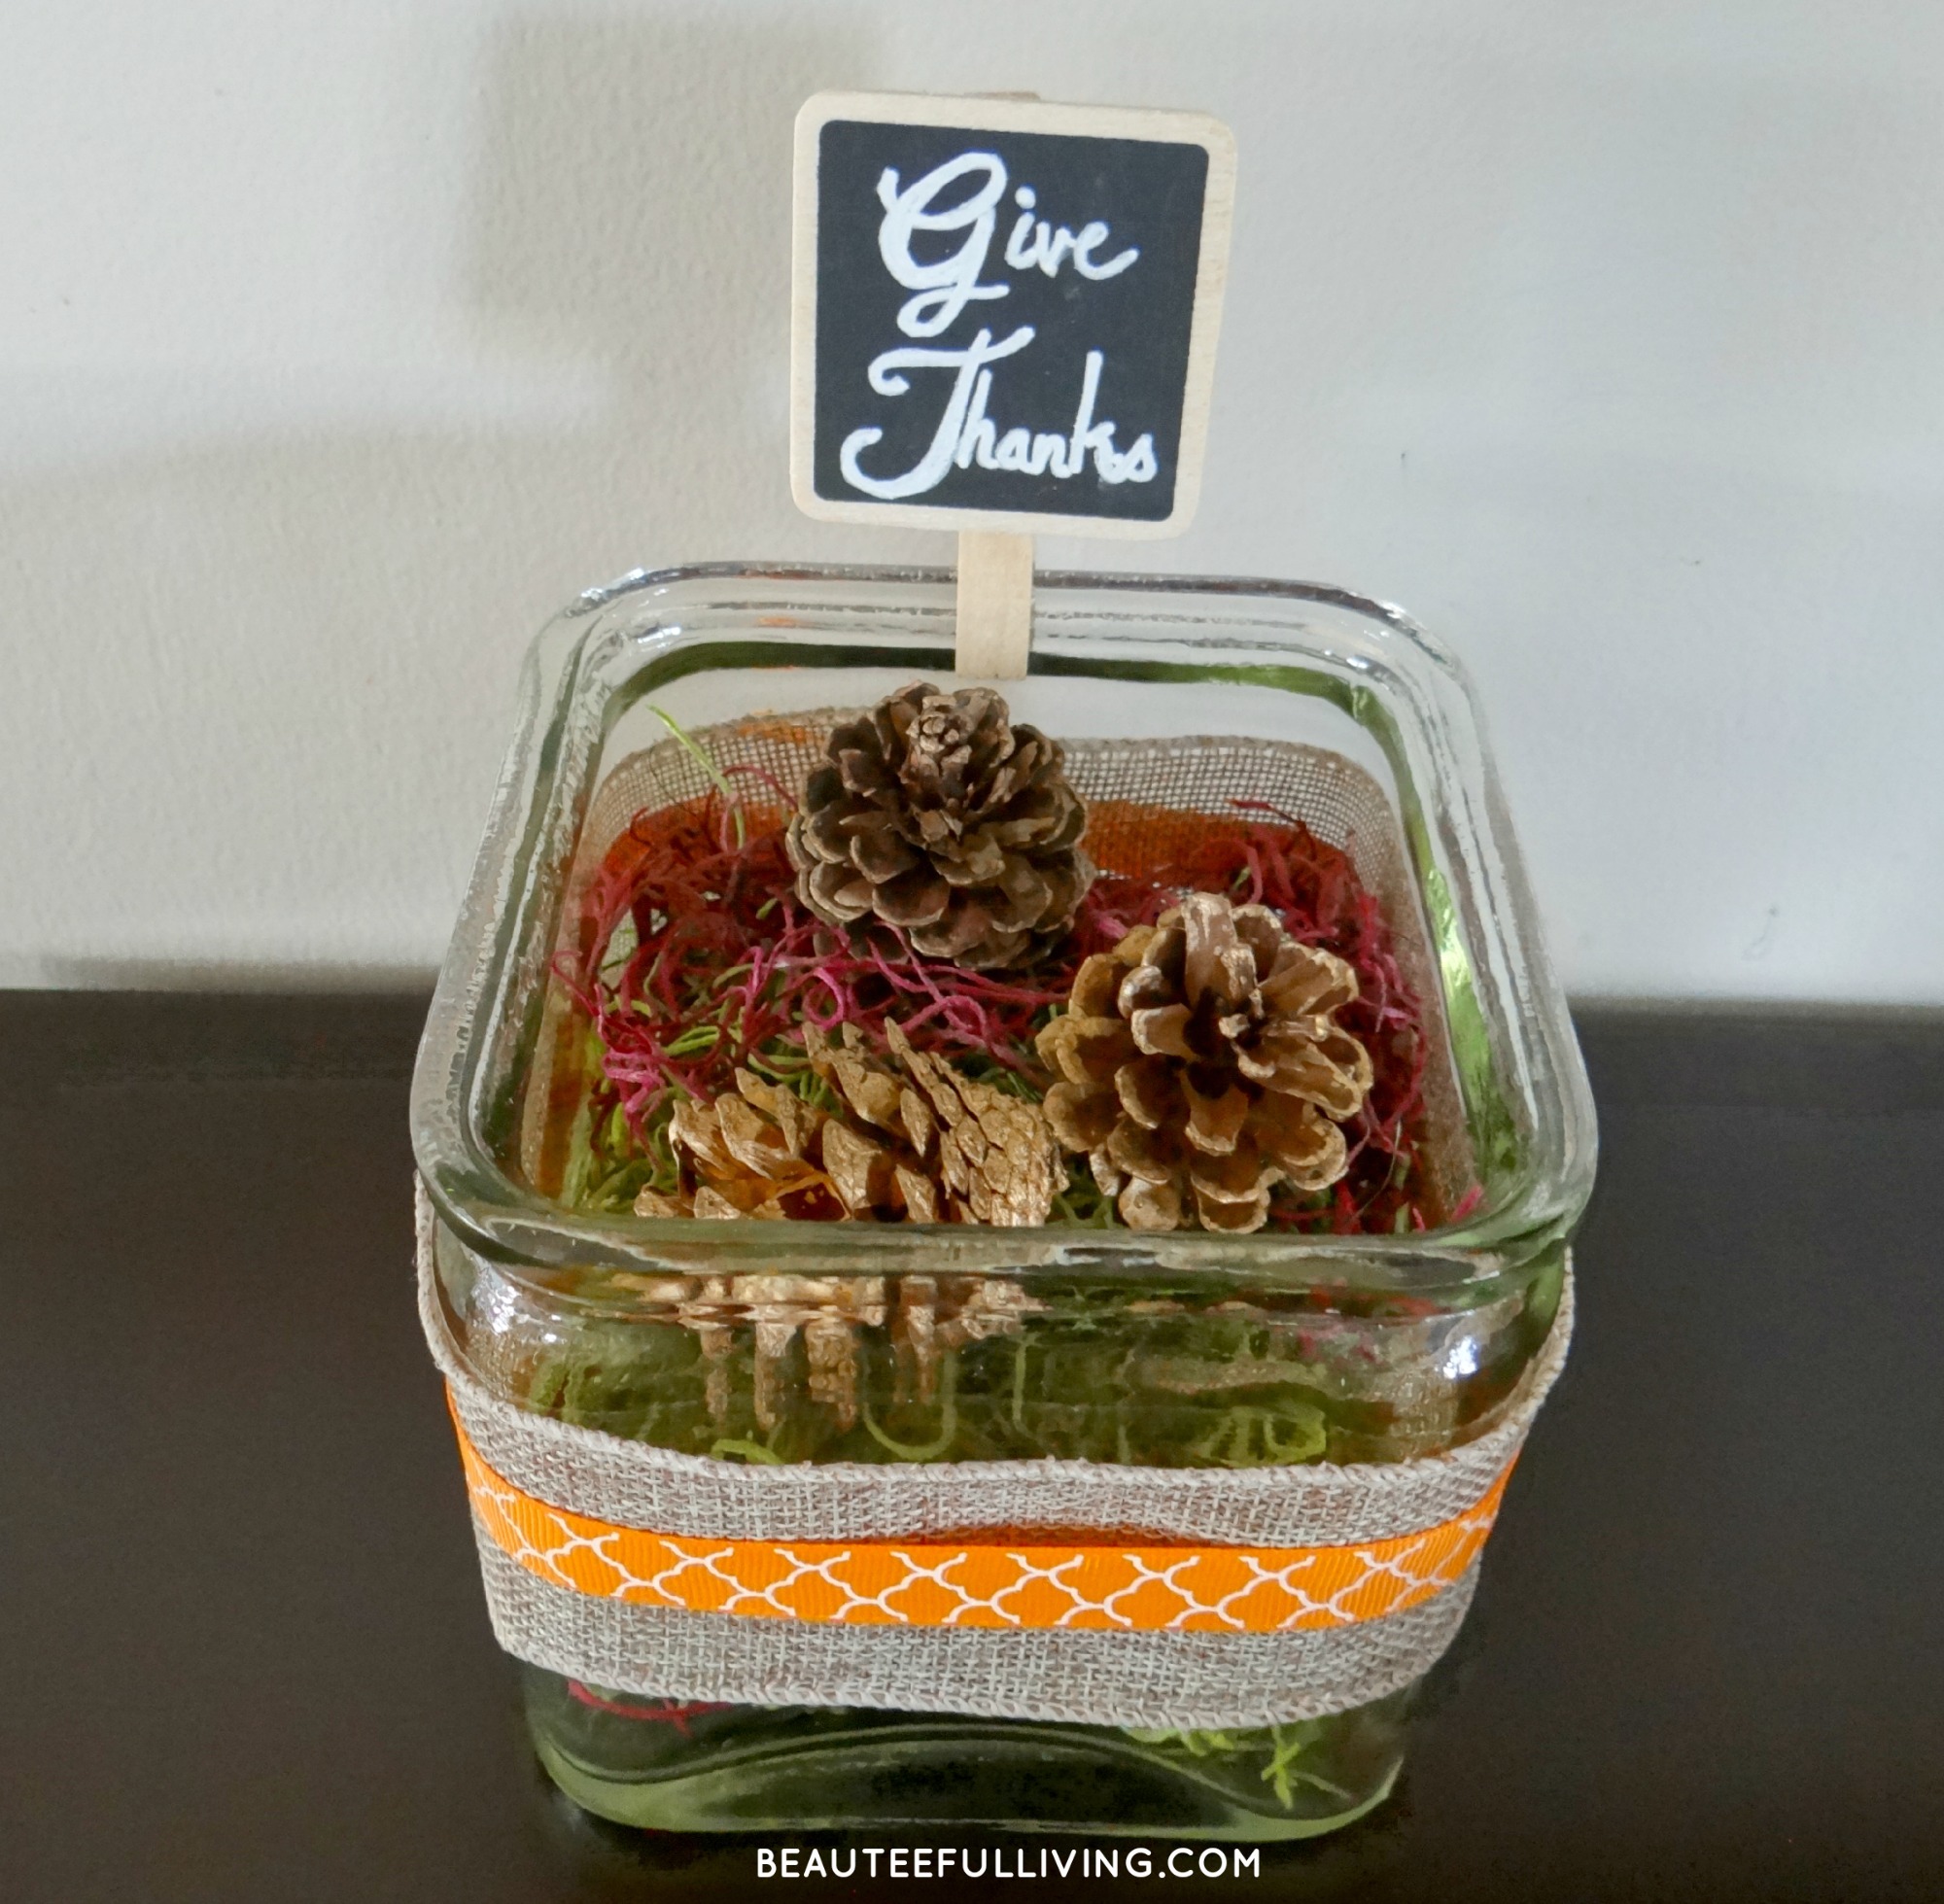
Today, I’m sharing an easy tutorial on how I created my “Give Thanks Display” for Thanksgiving.

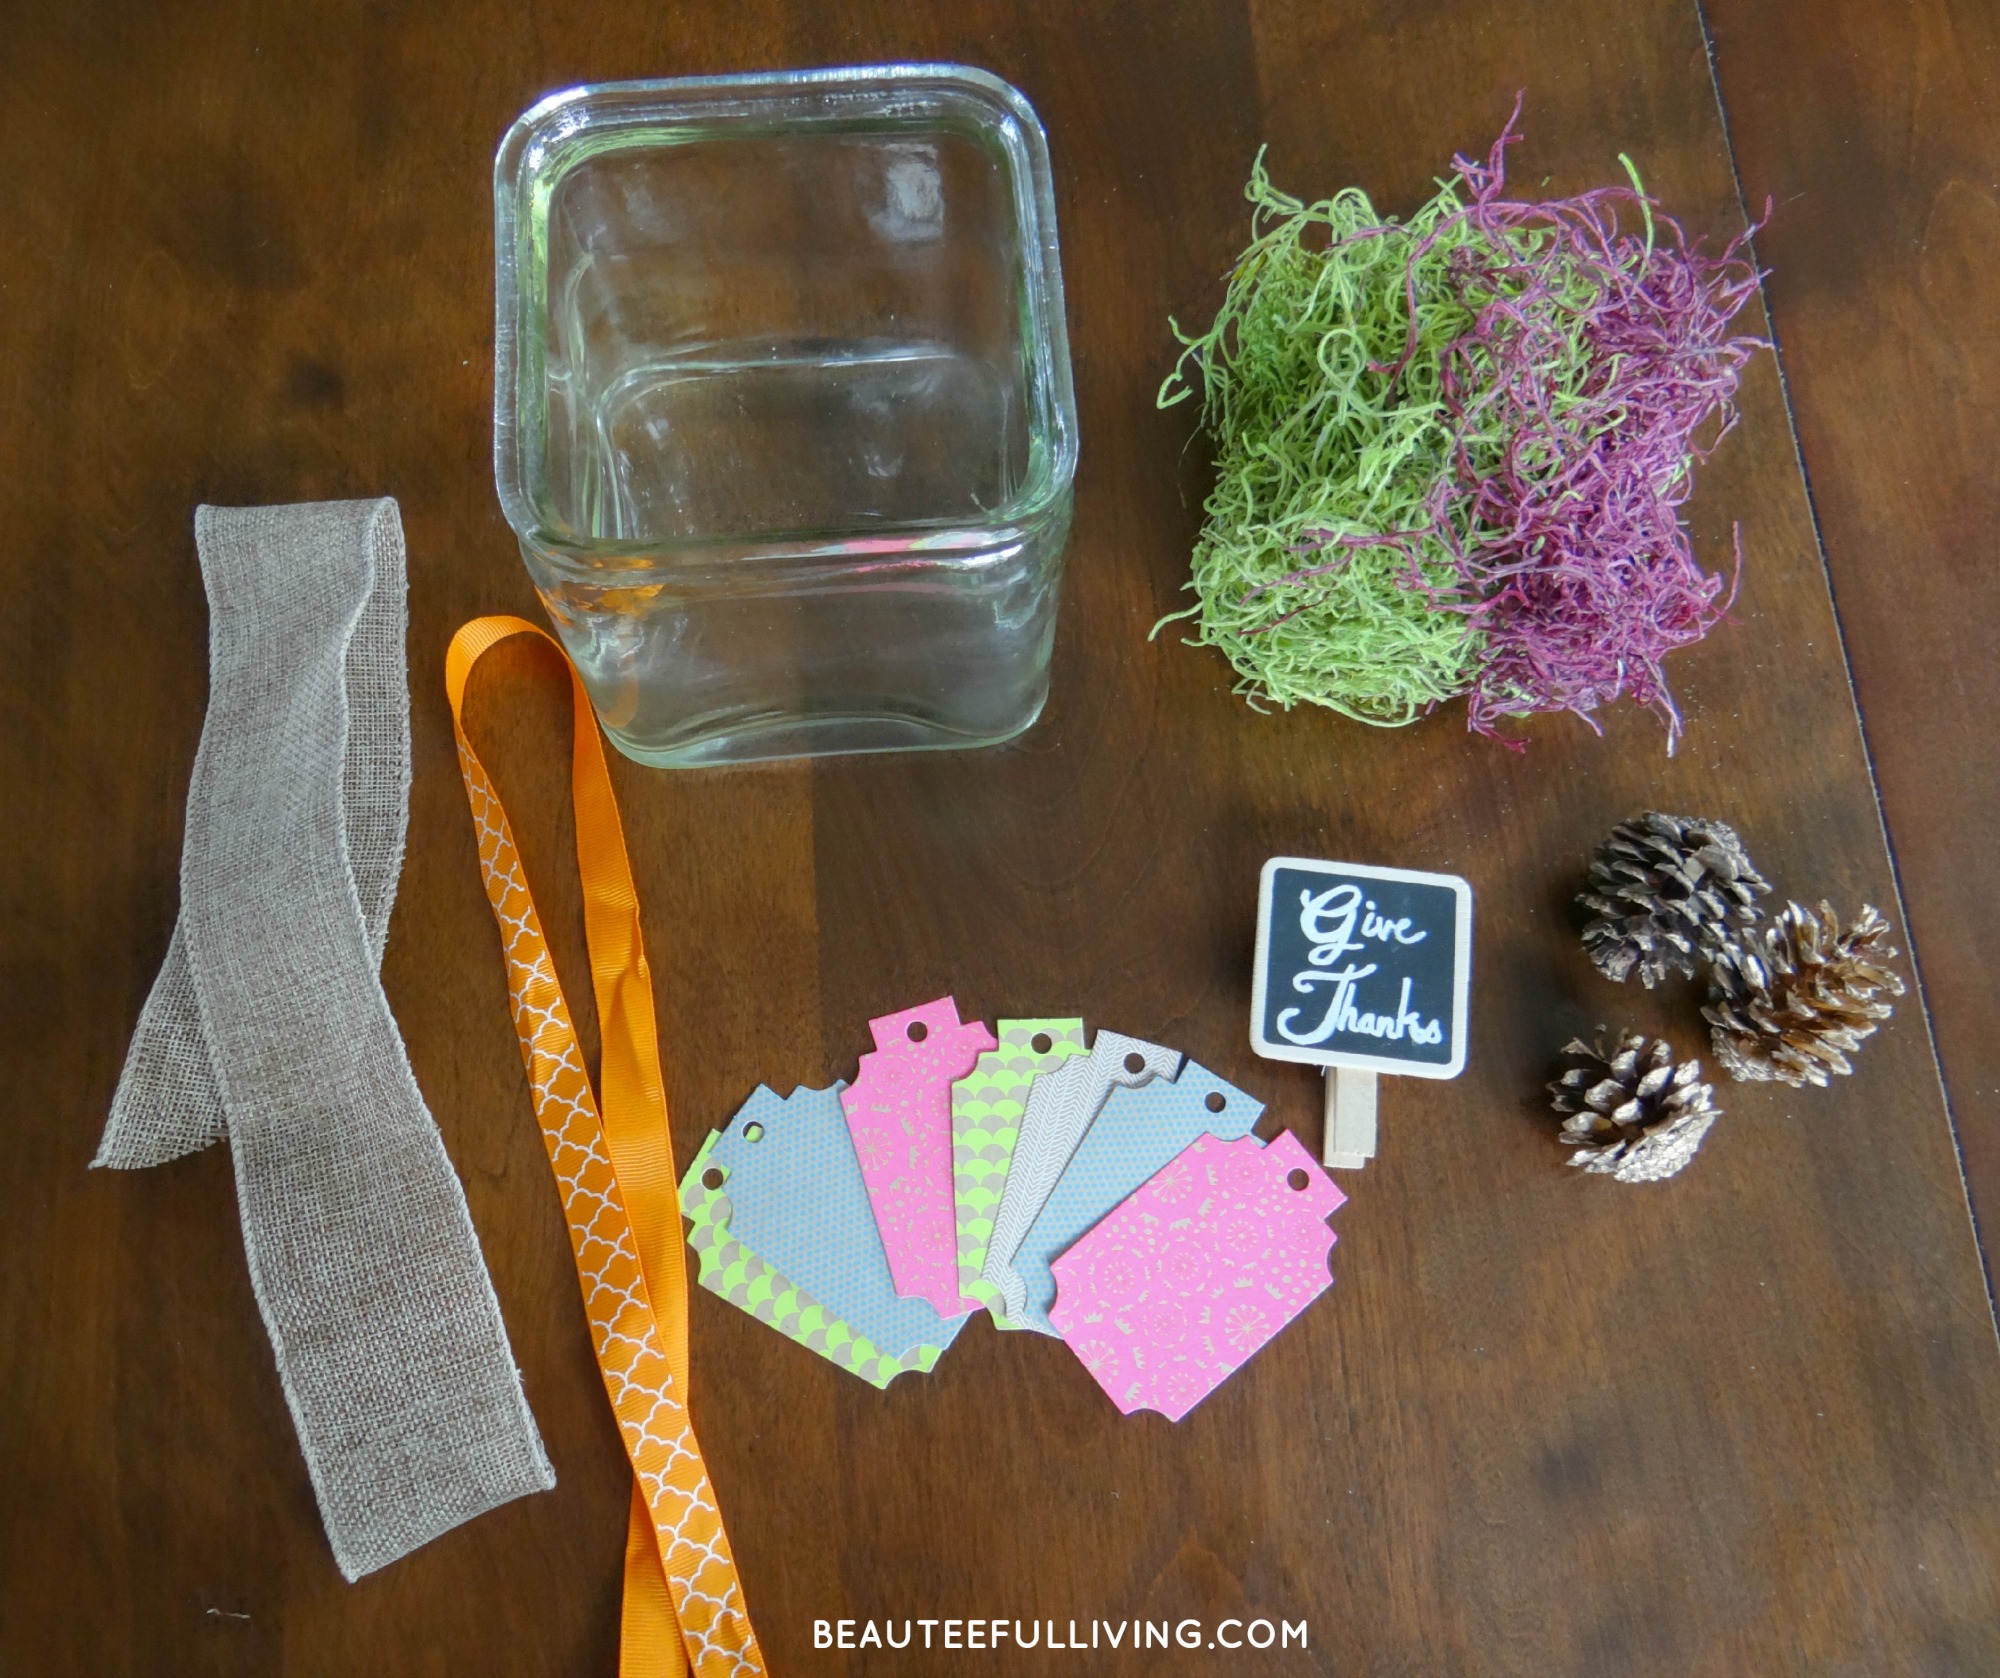
SUPPLIES USED
- Glass vase
- Burlap ribbon (I used one that was 2 inches in height)
- Thin ribbon (I used an orange one to contrast against the burlap)
- Moss
- Pine cones
- Gift tags
- Small calkboard clip
- Straight pin
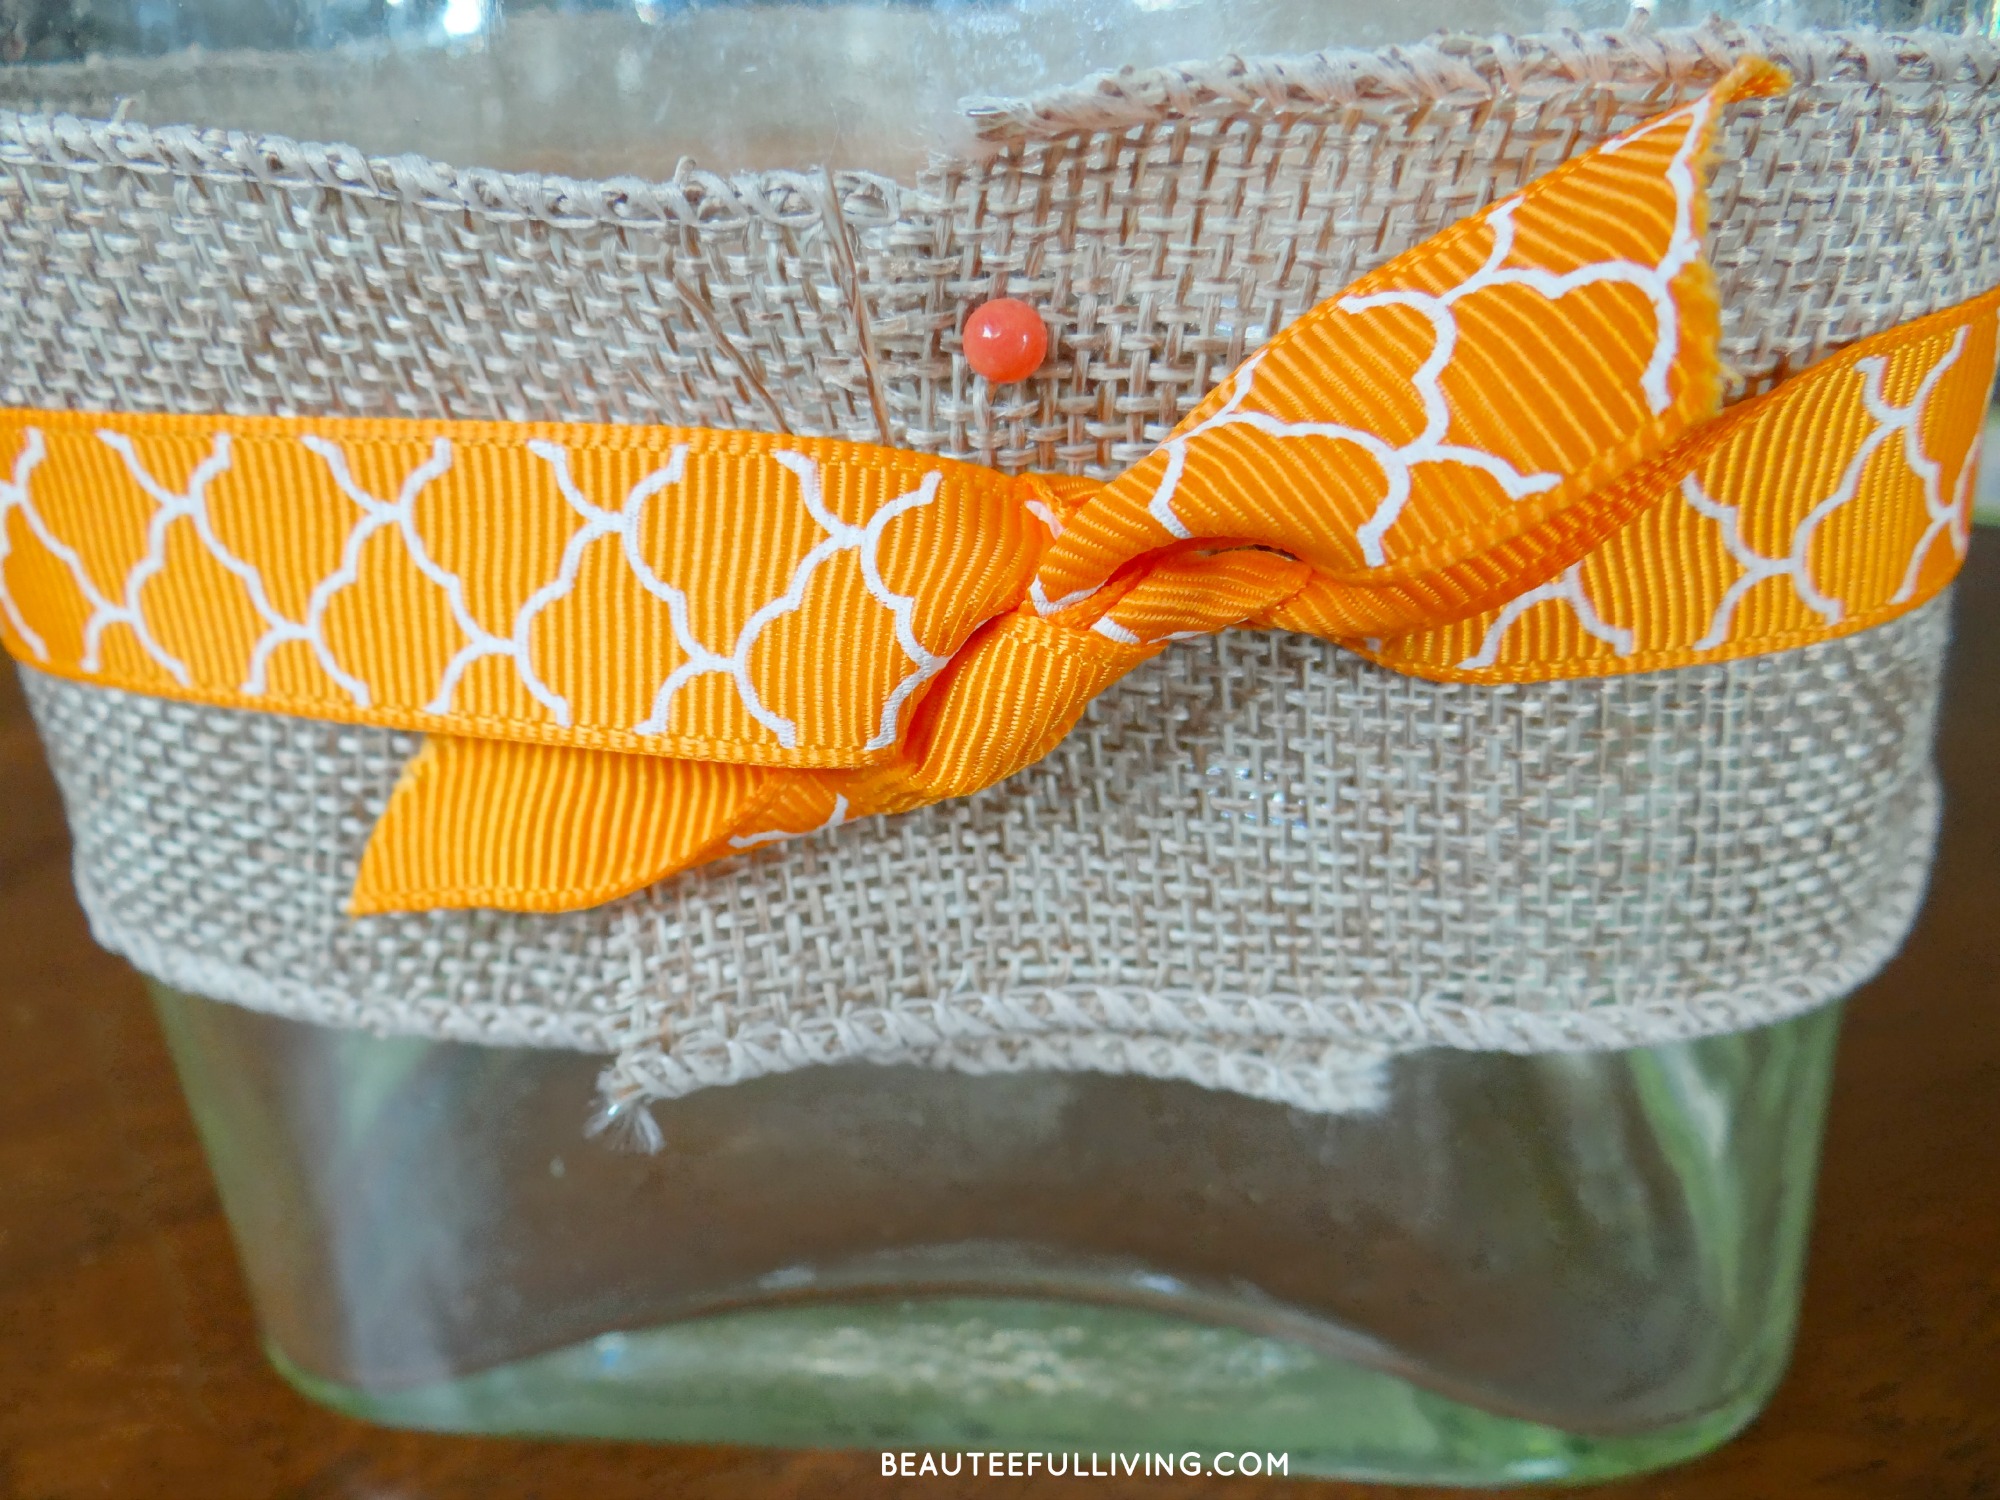
STEP ONE
Wrap burlap and thin ribbon around vase and secure with straight pin. I tied the thin ribbon to secure it.
STEP TWO
Fill glass container with moss.

STEP THREE
Place pine cones on top of moss and clip chalkboard onto container. Make sure you’ve written “Give Thanks” on chalkboard clip first.
STEP FOUR
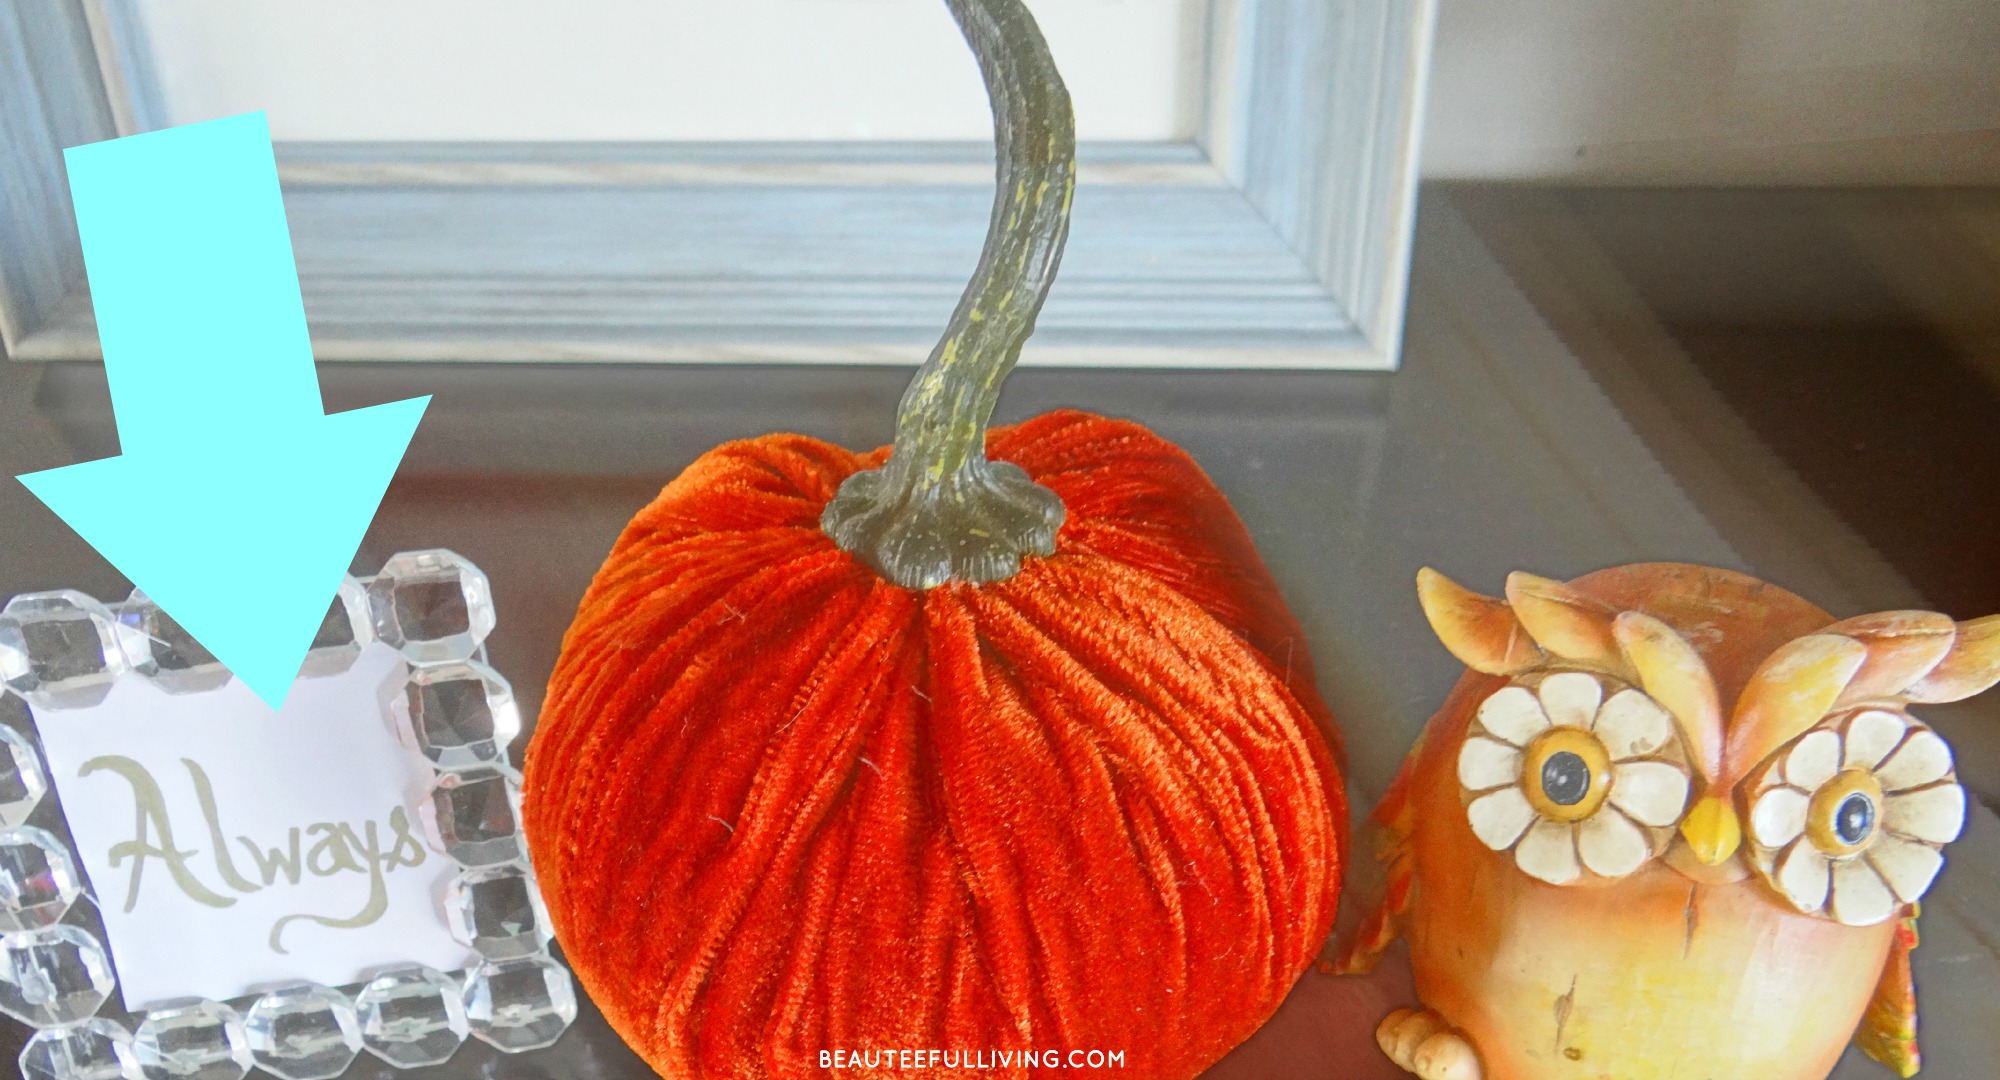
Gather some fall related decor from your home. I framed the word “always” to go with my “give thanks” clip! 🙂
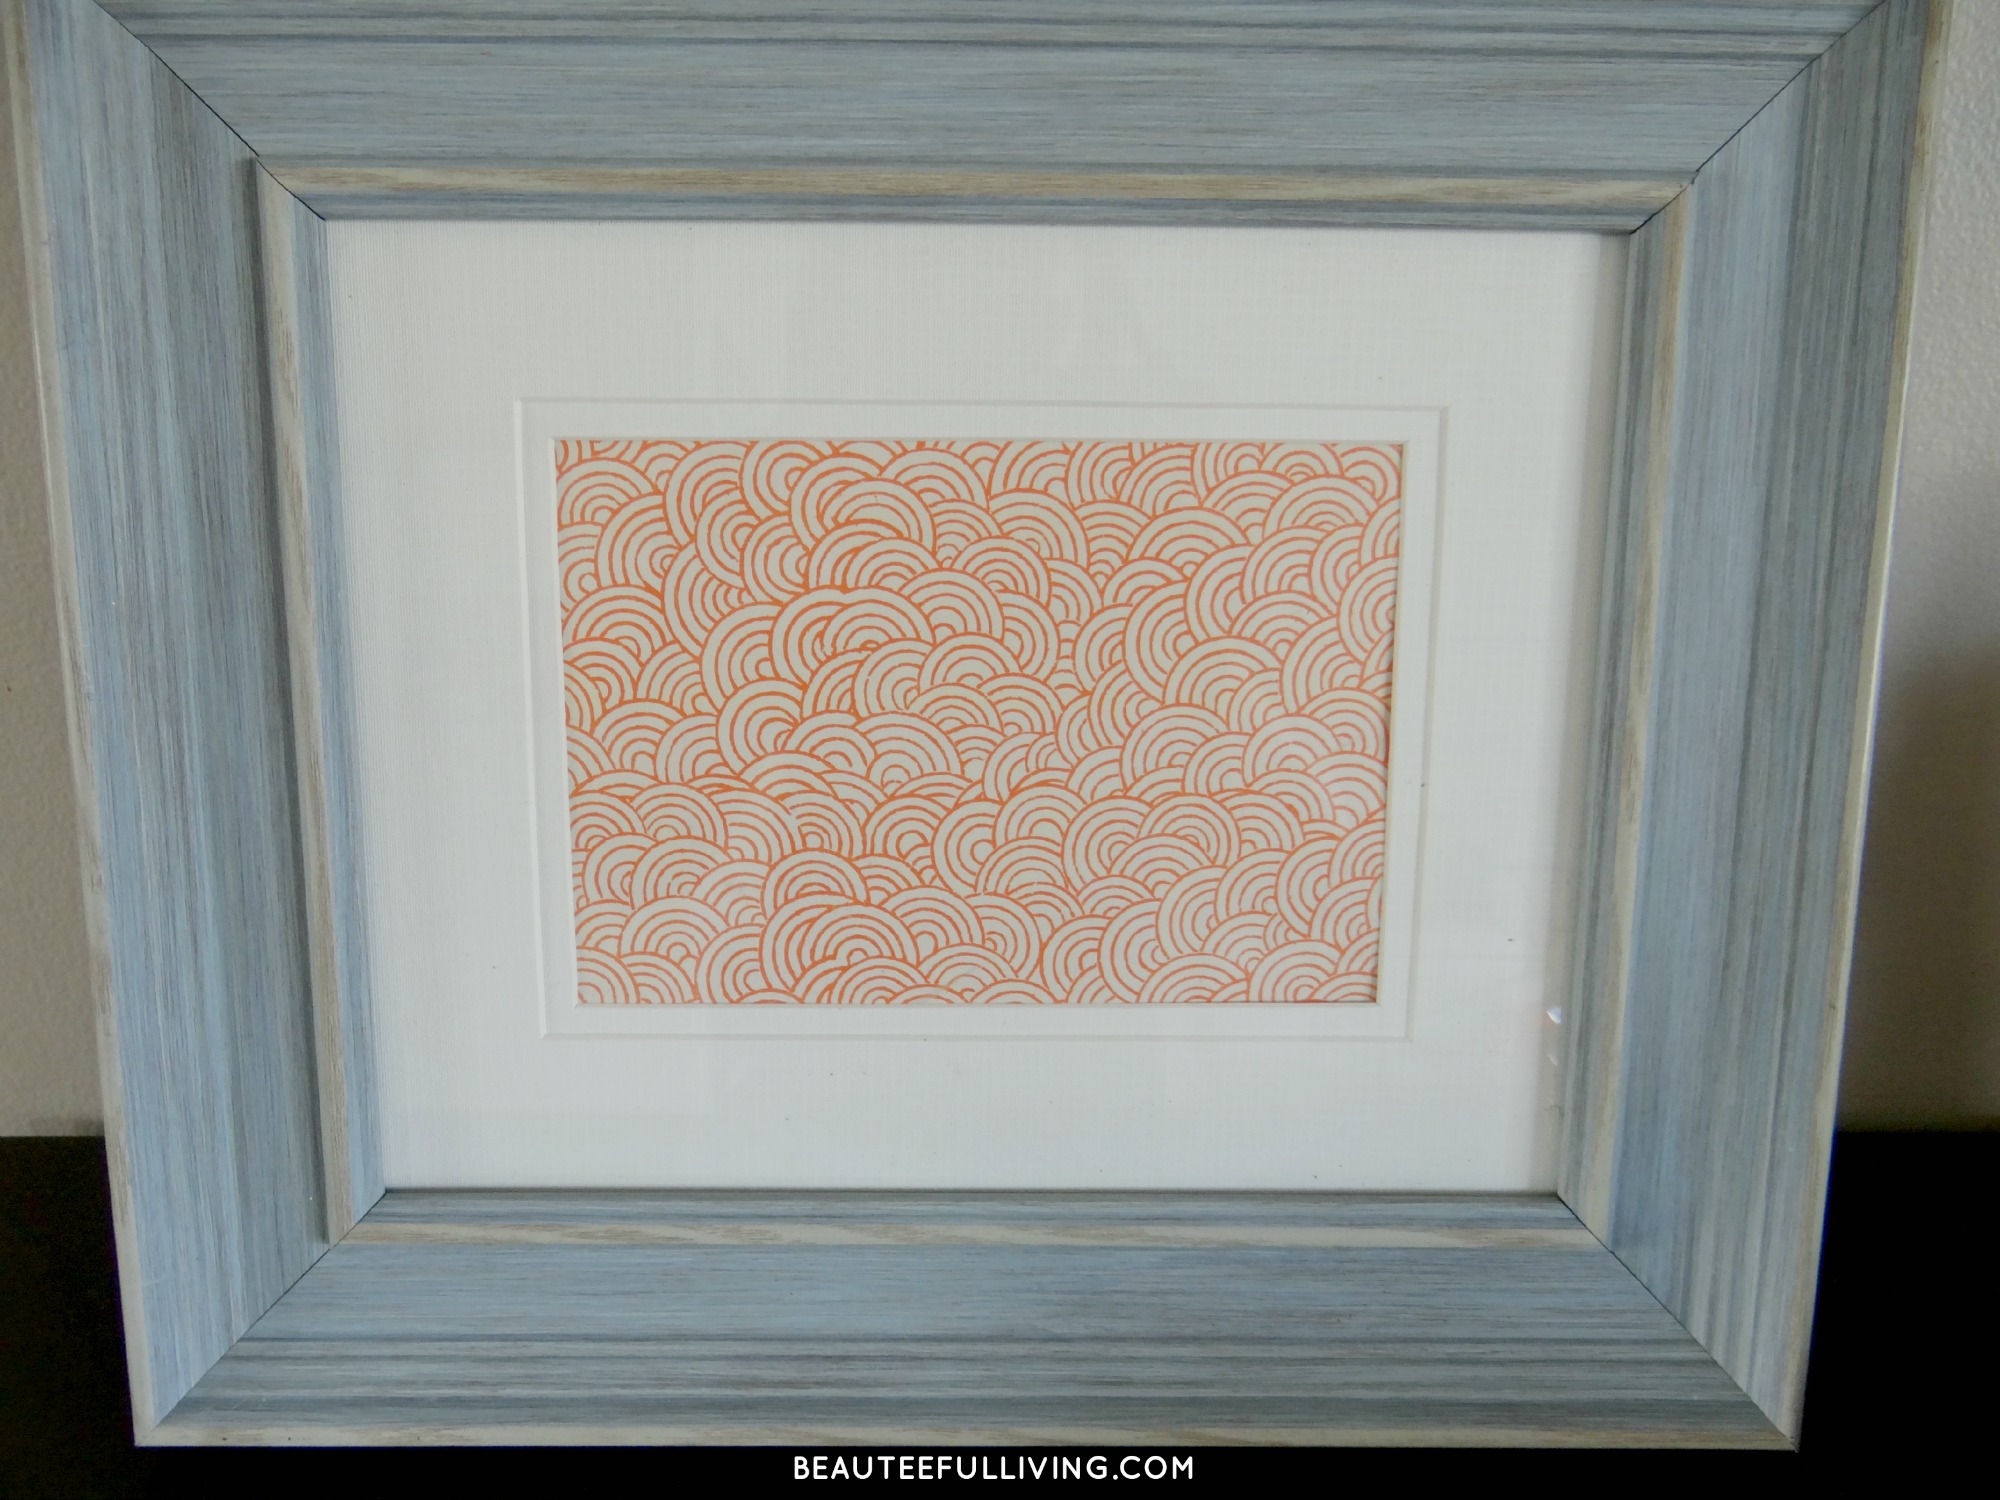
As a pretty backdrop, I used this rustic picture frame and added some pretty card stock for color.
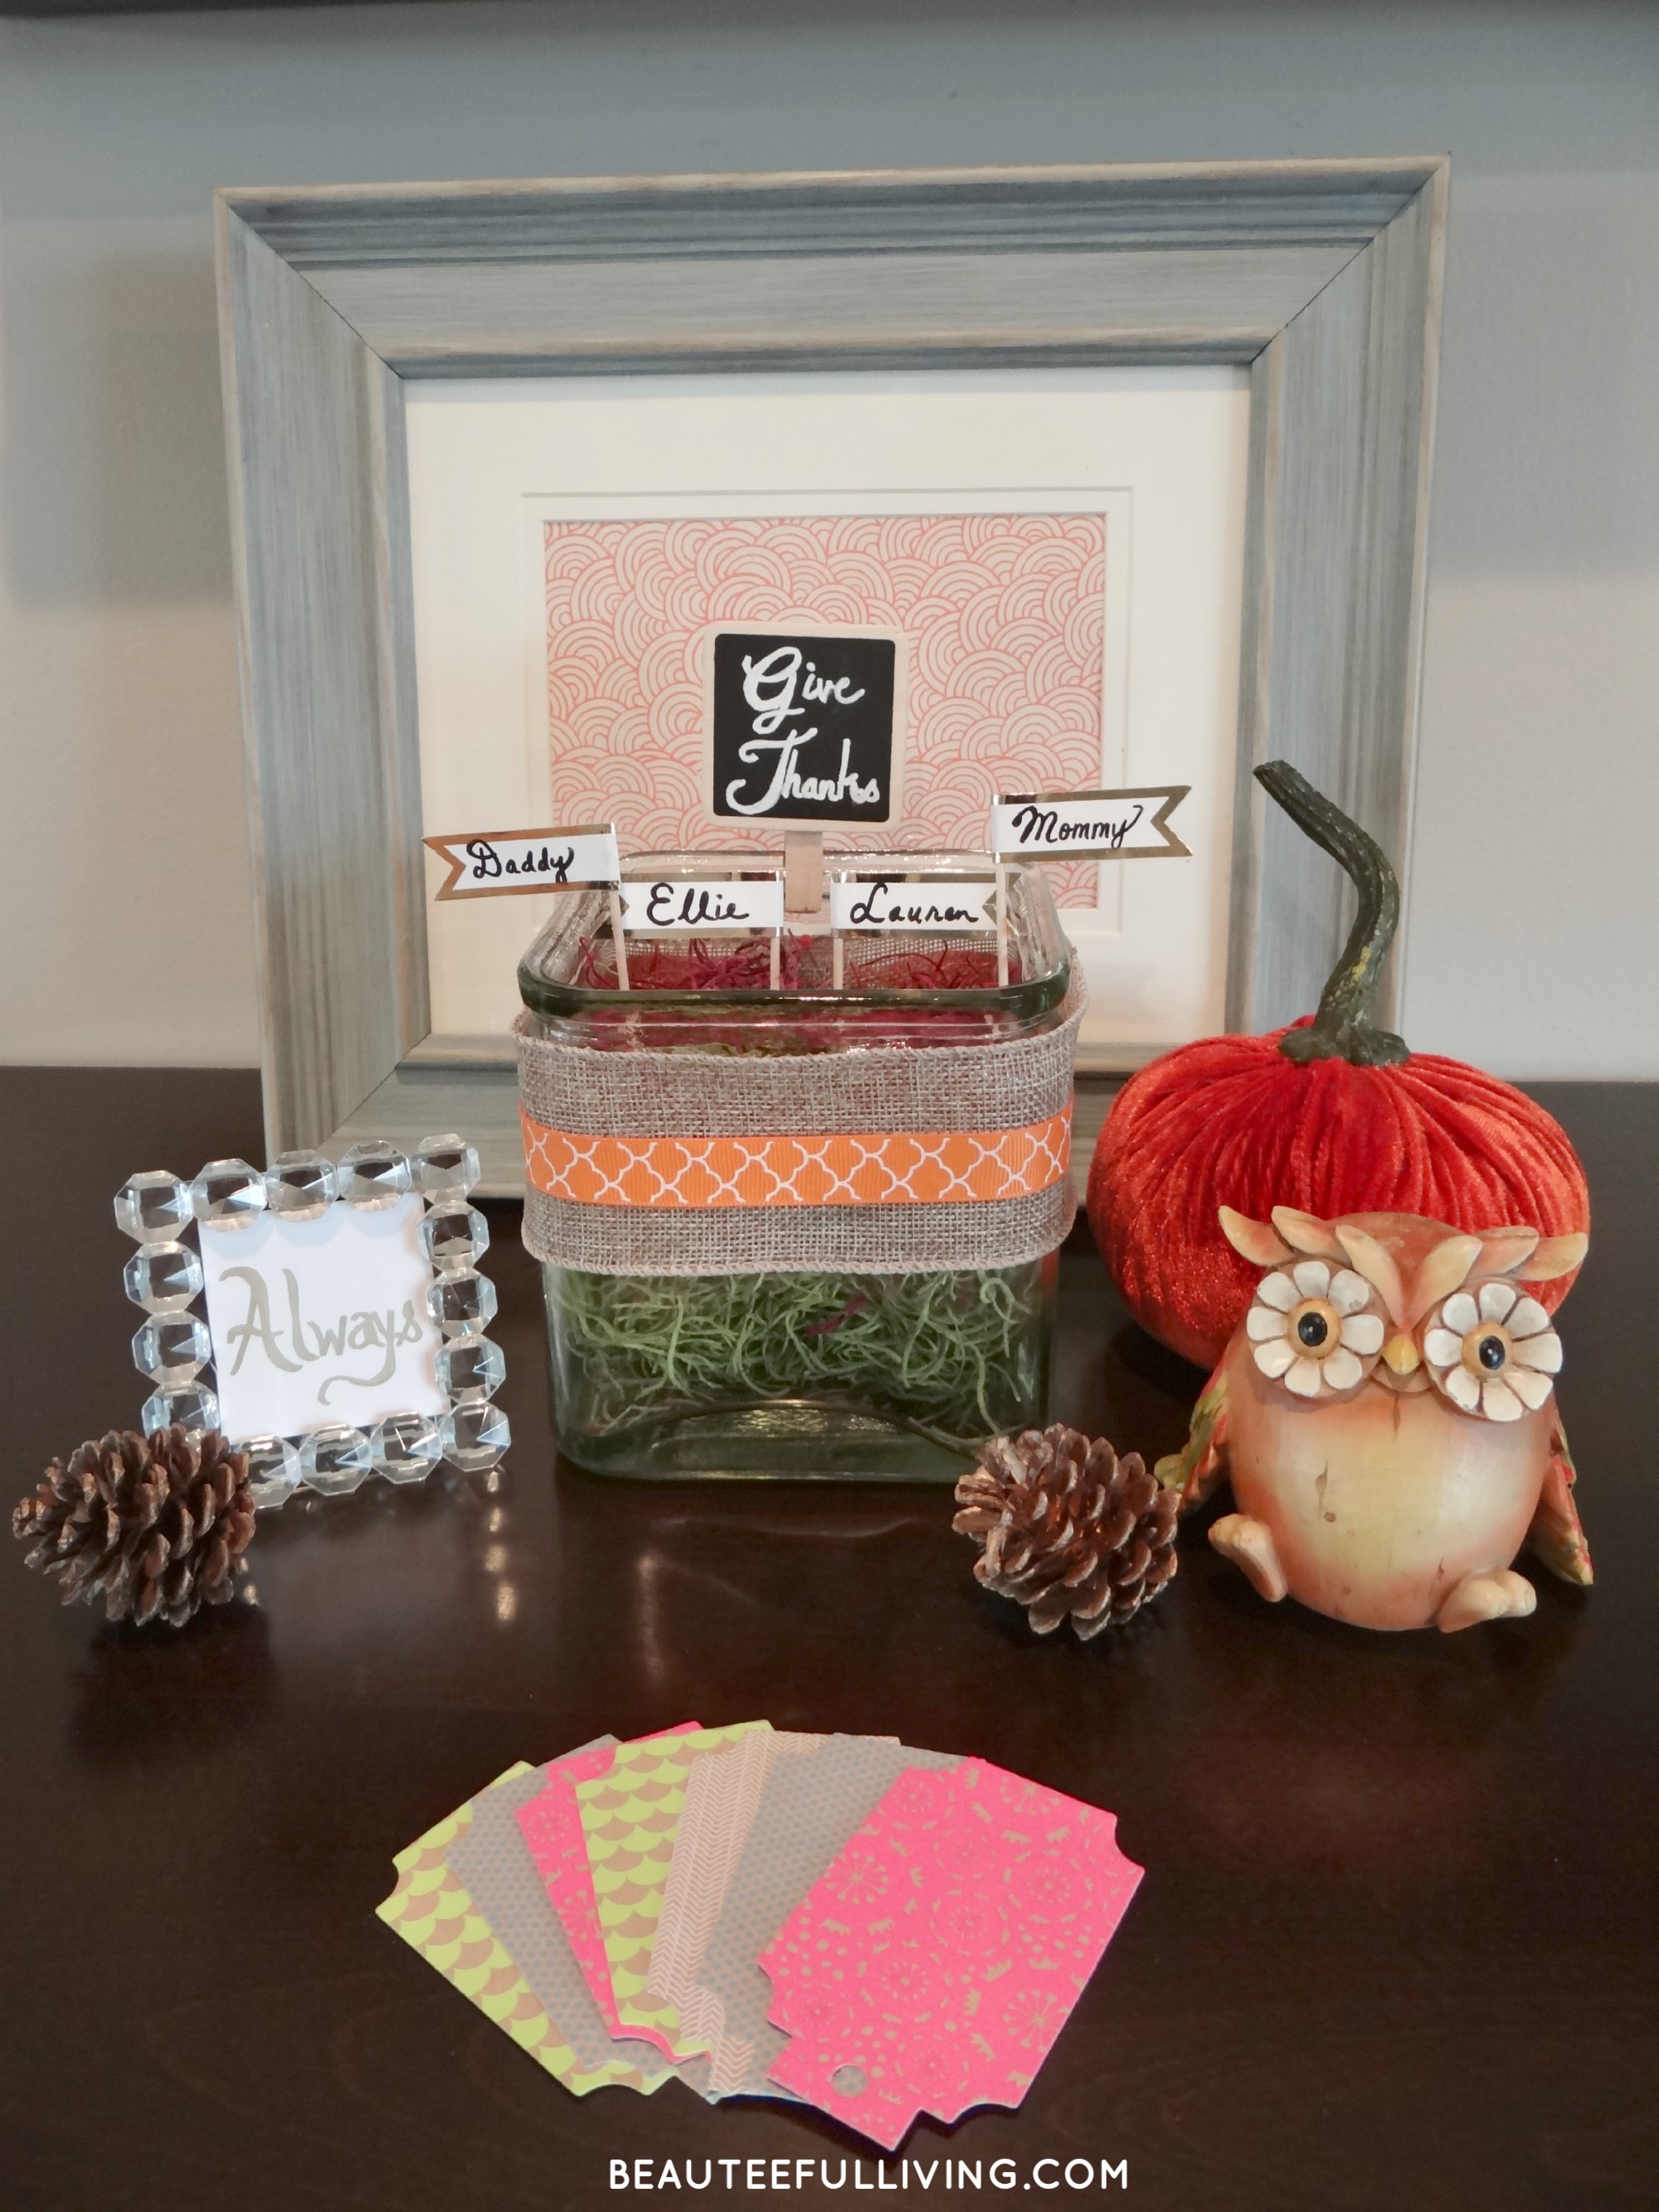
Here’s my completed “Give Thanks” display! I added gift tags so we can write our messages! 🙂
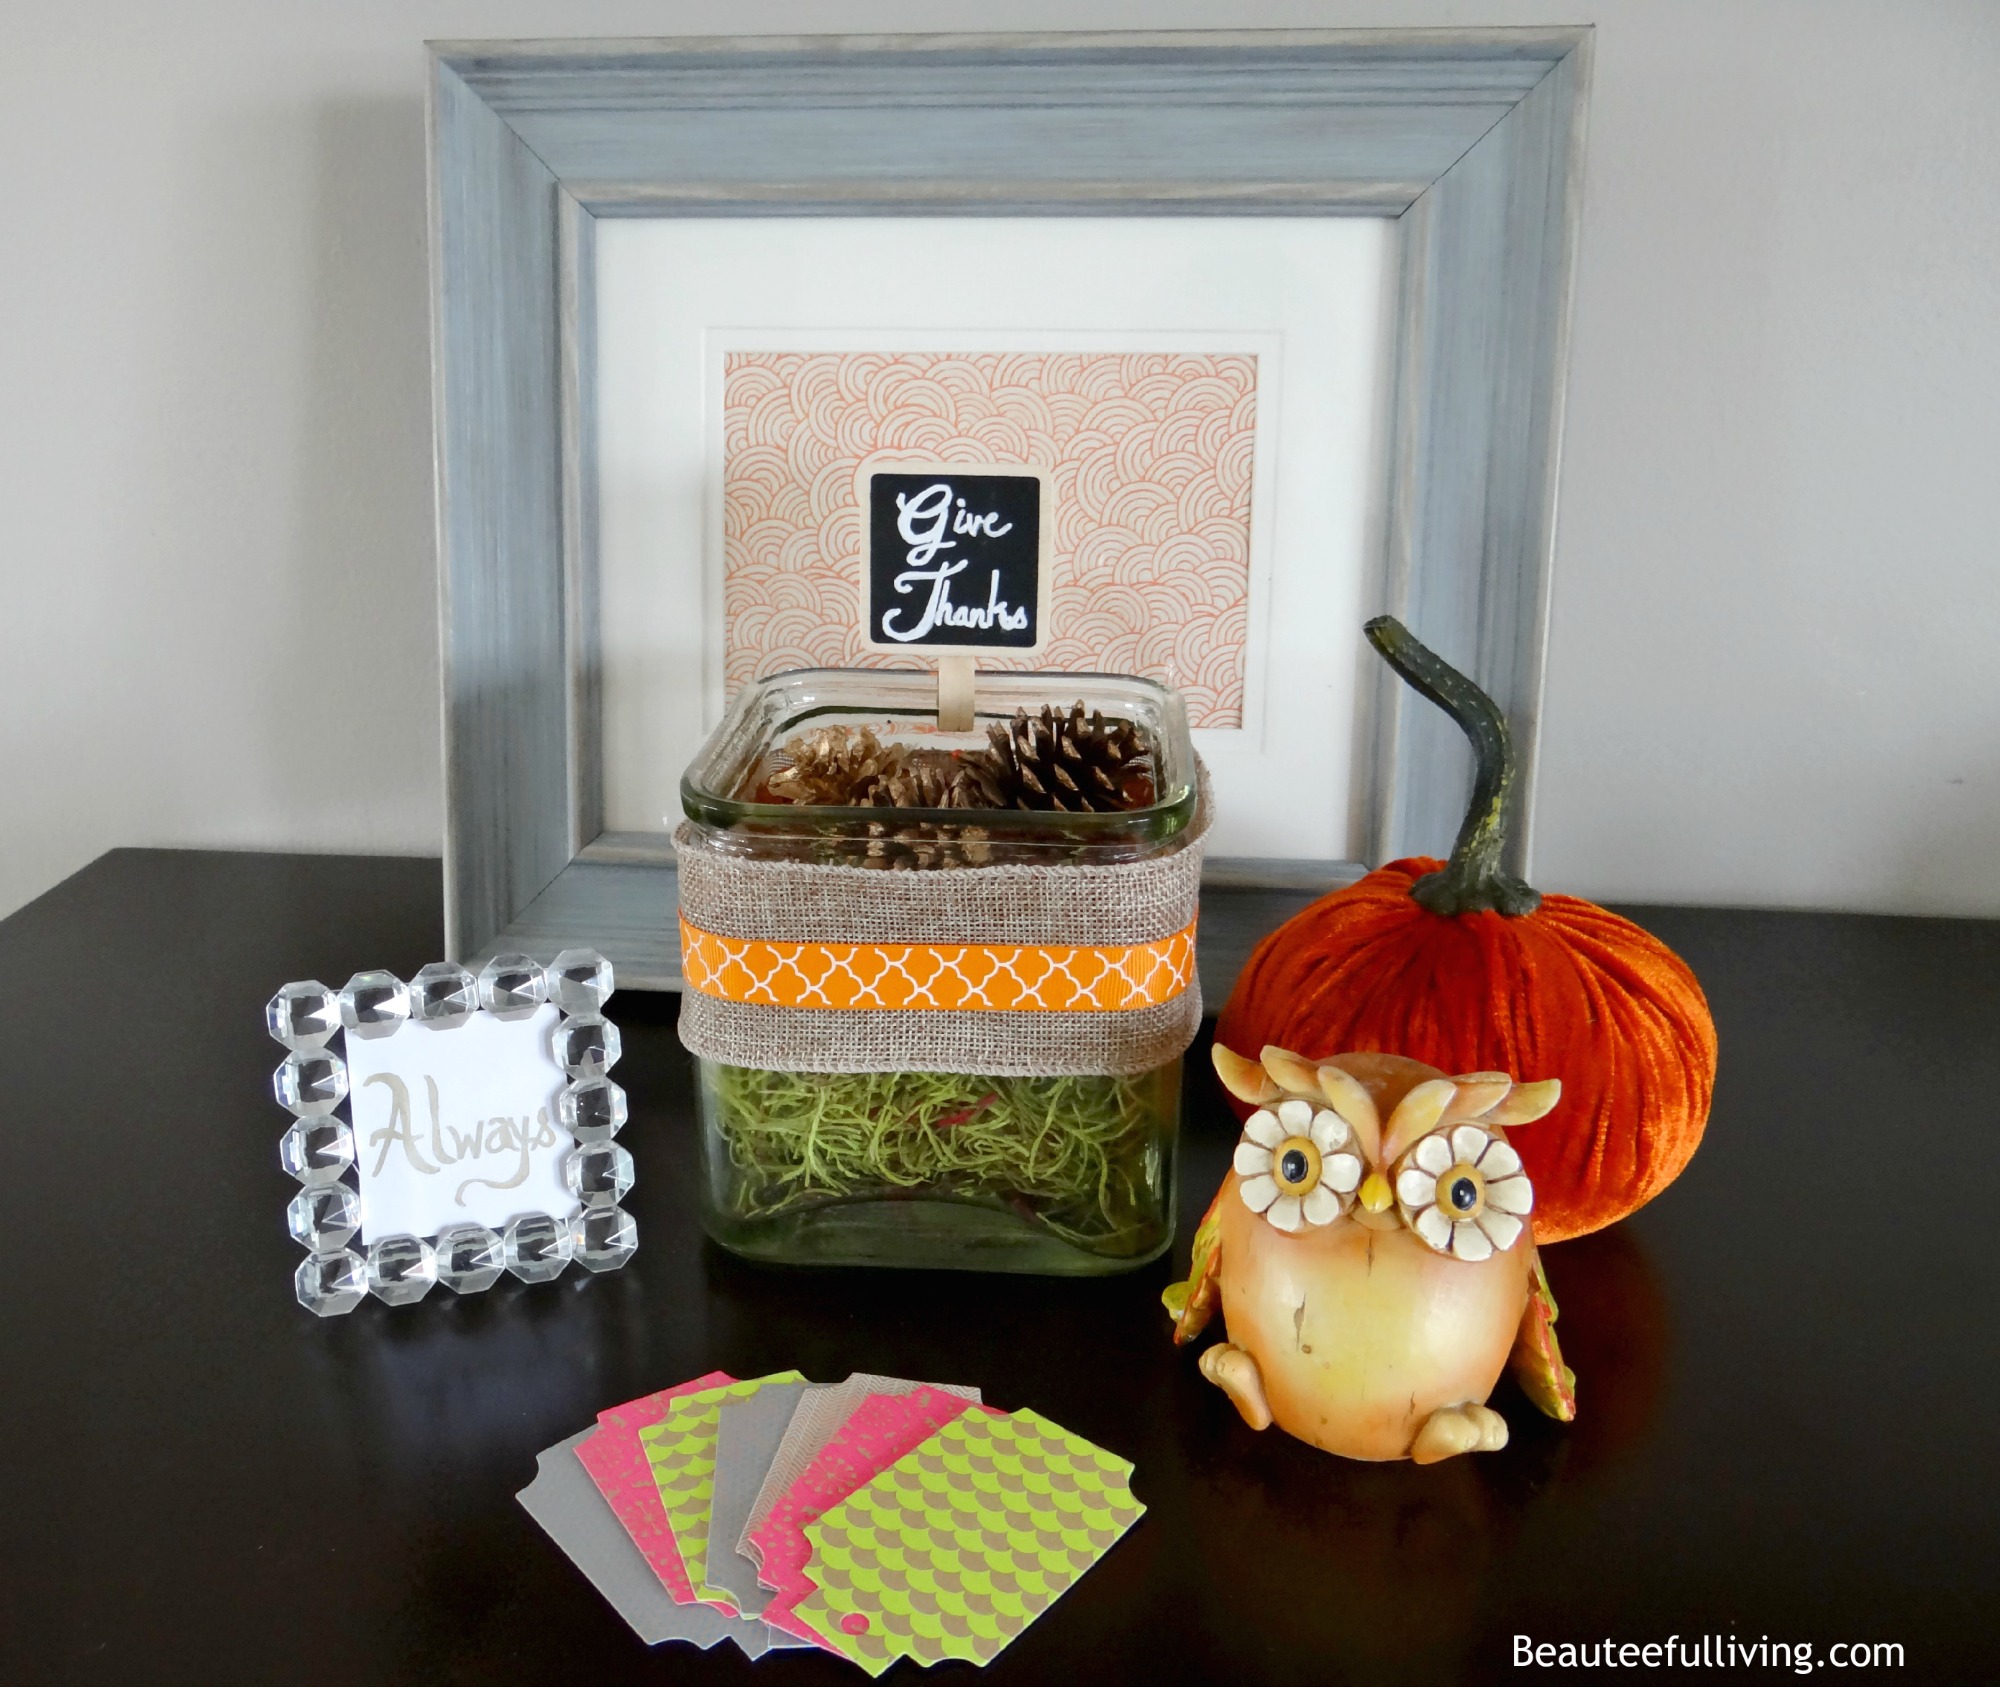
Want to personalize this project some more? How about some extra credit? You can create cute flags with names of each of your family members!
You can get these blank labels from your local Arts and Crafts supply store. Just stick them onto long toothpicks! 🙂
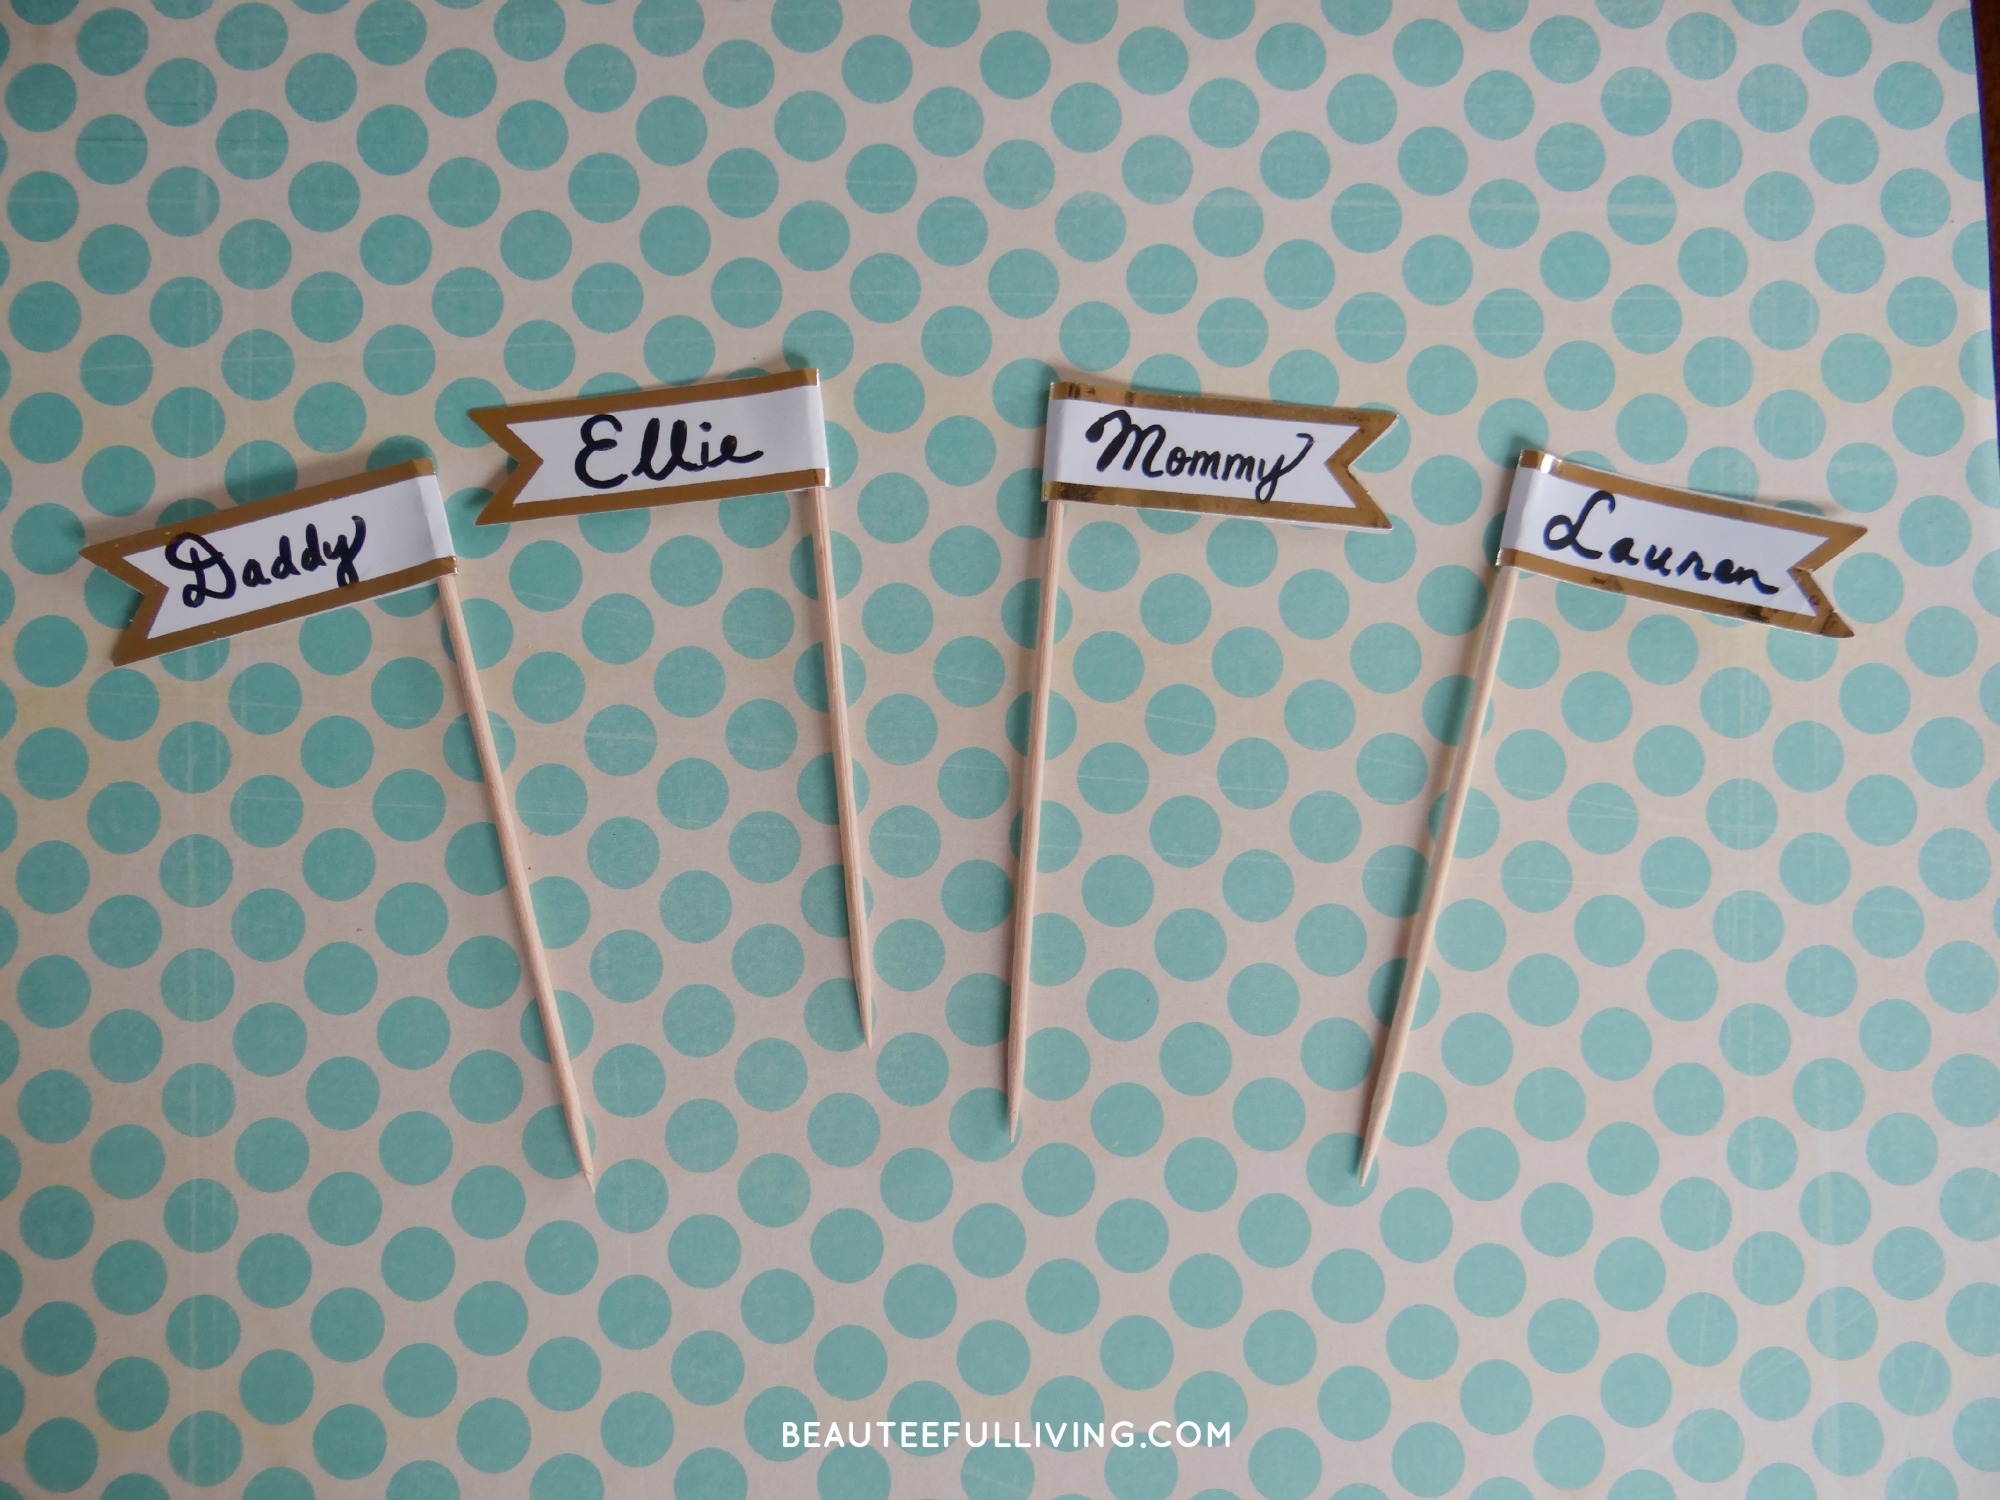
Here’s how my personalized “Give Thanks” display looks. My family of four will be writing about what we’re thankful for during the week of Thanksgiving. Okay, my 5 year old will need some help writing but I’m sure her big sister can assist! 🙂
I hope you’ve enjoyed this project as much as I’ve enjoyed sharing it on this Thanksgiving edition of the Holiday Craftacular link up. Stop by here tomorrow to see what my friend, Reesa from Momma Lew’s Blog has created to celebrate Thanksgiving! If you have a Thanksgiving project you’d like to share, please link up below. Thanks! – Tee


The frame is my absolute favorite, I love the paper you used in it! I have also been wanting a velvet pumpkin, did you make or buy this one? I heard Marshalls had them really cheap this year, but I didn’t have a chance to swing by before they were gone. You did great on this!
Carrie
curlycraftymom.com
These are so great, you guys did an awesome job!
Thanks so much, Tiffany. I really love that scrapbook paper too 🙂
Hi, Tee ~ I love your Give Thanks Display! I’m especially crushing on that scrapbook paper in the rustic frame. :0) And I love the idea of putting out paper, so that everyone in the family can record what they’re thankful for! I’m looking forward to checking out all of the projects that are linked up. Have a great day!
All of these projects are adorable!!
Thanks so much, Roxanne!