 Wow, it’s already week 4 of my guest participation in the One Room Challenge hosted by Linda at Calling It Home. If you’re visiting for the first time, you can catch up to my 3 prior posts below. Thanks for stopping by!
Week One / Week Two / Week Three
For most of week 4, I’ve been doing a lot of organizing and purging. I plan to share a post or two on this ongoing process of looking through all that “stuff” around the house and deciding what stays and what goes. I’m happy to report that I did manage to donate 2 large bags of stuffed animals. It’s a small dent from my kids’ stockpile but at least it’s a start! 😉
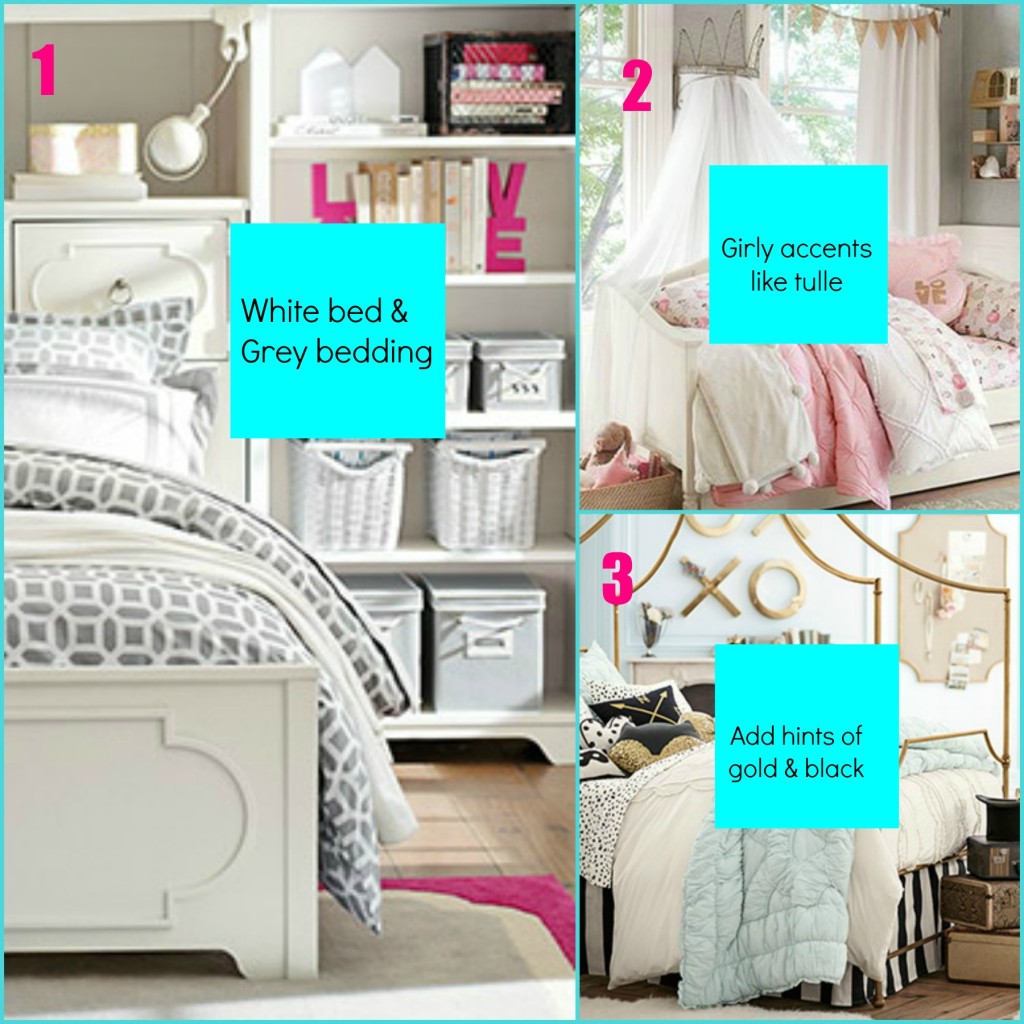
As in previous posts, I’d like to begin by sharing the 3 inspiration rooms for my daughters’ “Modern Girl Chic” room re-do.
Here are the 4 Main Changes Made Since Last Week:
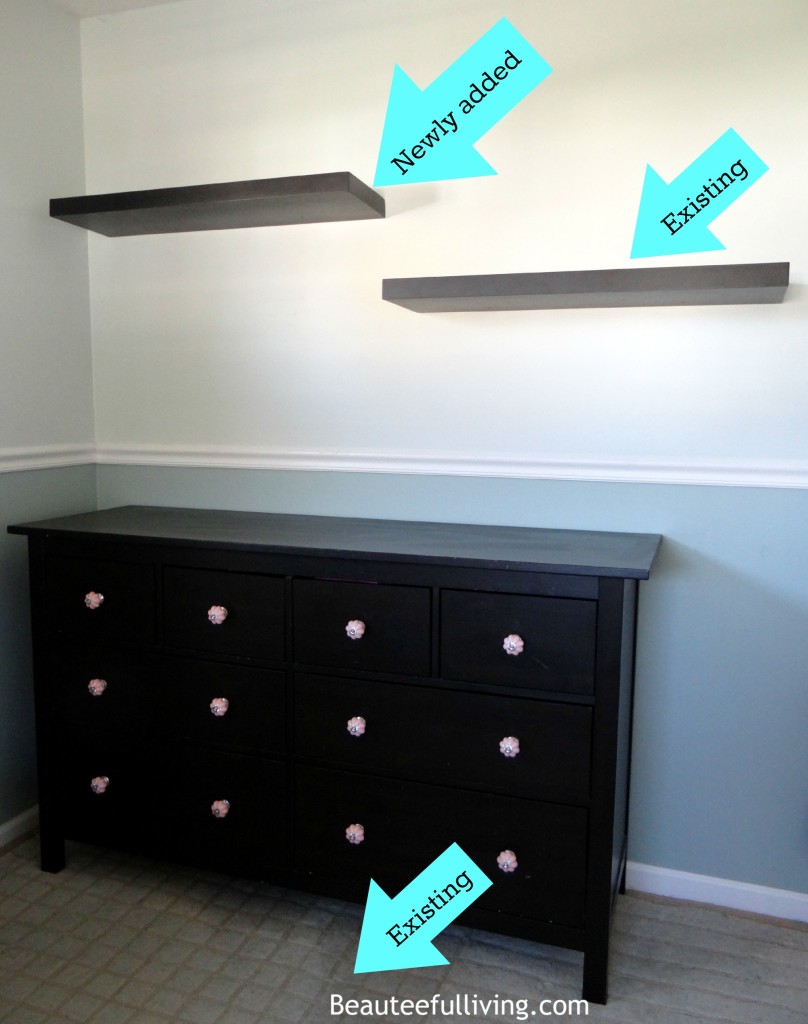
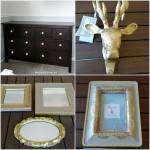
1) Added second floating shelf above dresser.
I was originally going to re-position the floating shelf on the right but reconsidered and instead added another floating shelf to the left. Having these shelves will allow me to stack a few storage boxes or baskets on them.
Also, look at the rug under the dresser. It’s a rug we’ve had in this room. Only change made was having it re-positioned. The girls love the soft and plush feel of this rug.
2) Found fabric for valance
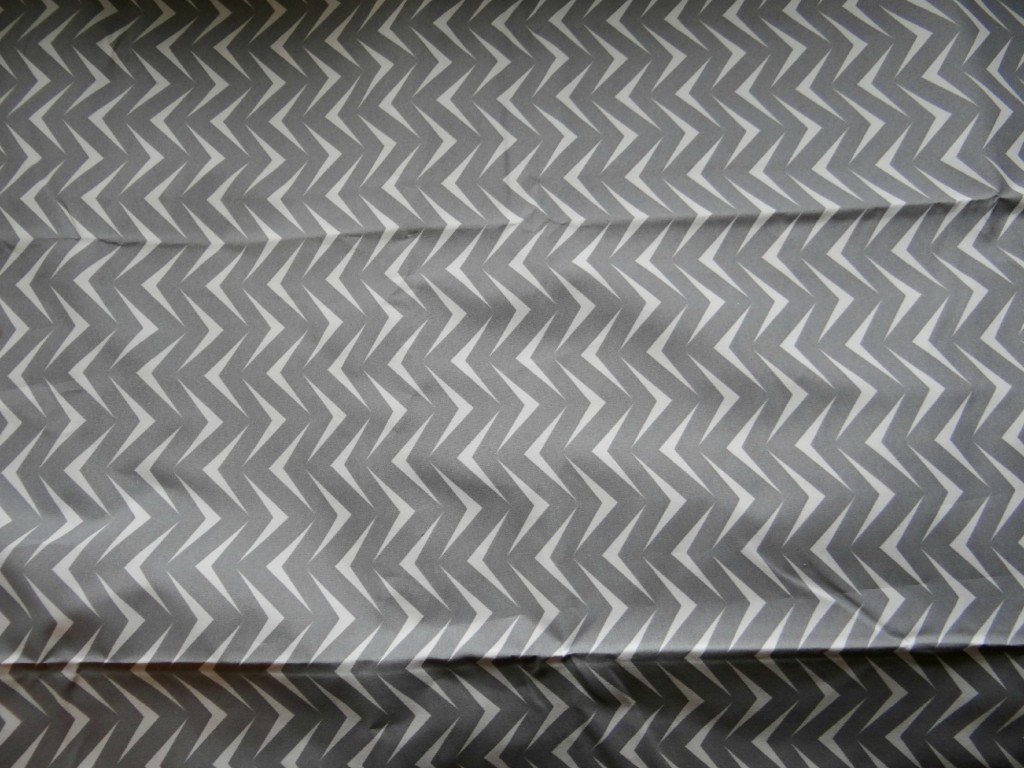
I decided to make 2 no-sew valances to place above the cellular blinds in the girls’ room. Since I’m going for grey bedding, I opted for this fabric below.
It’s actually a curtain panel! For $9.99, I think it’s worth a try. Crossing my fingers that I can pull this off!
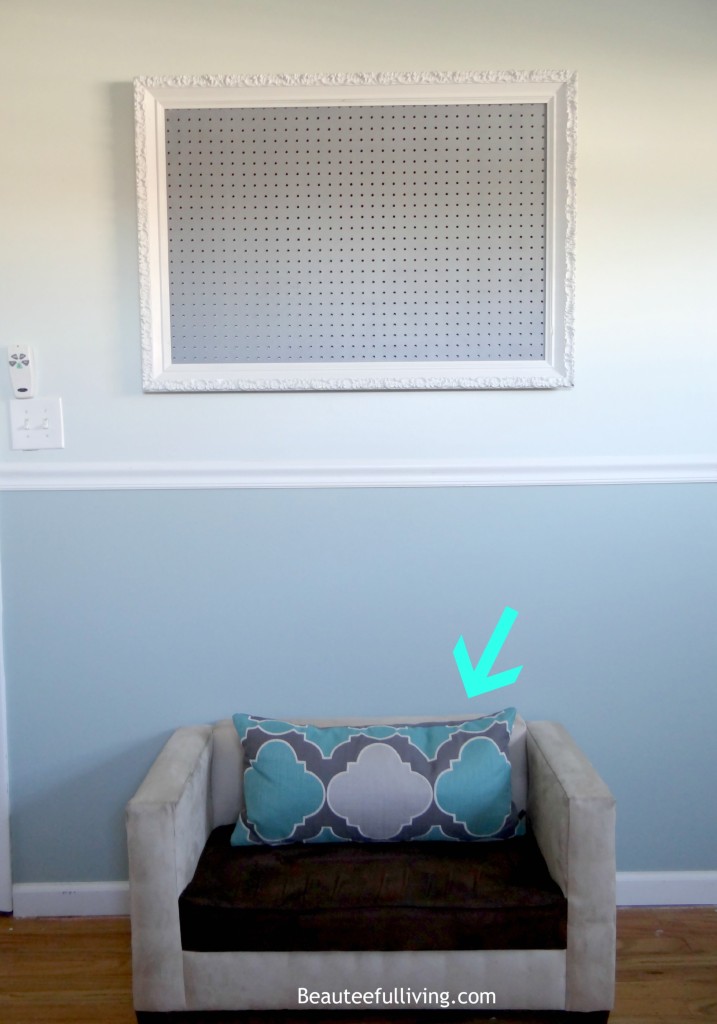
3) Hung picture frame pegboard
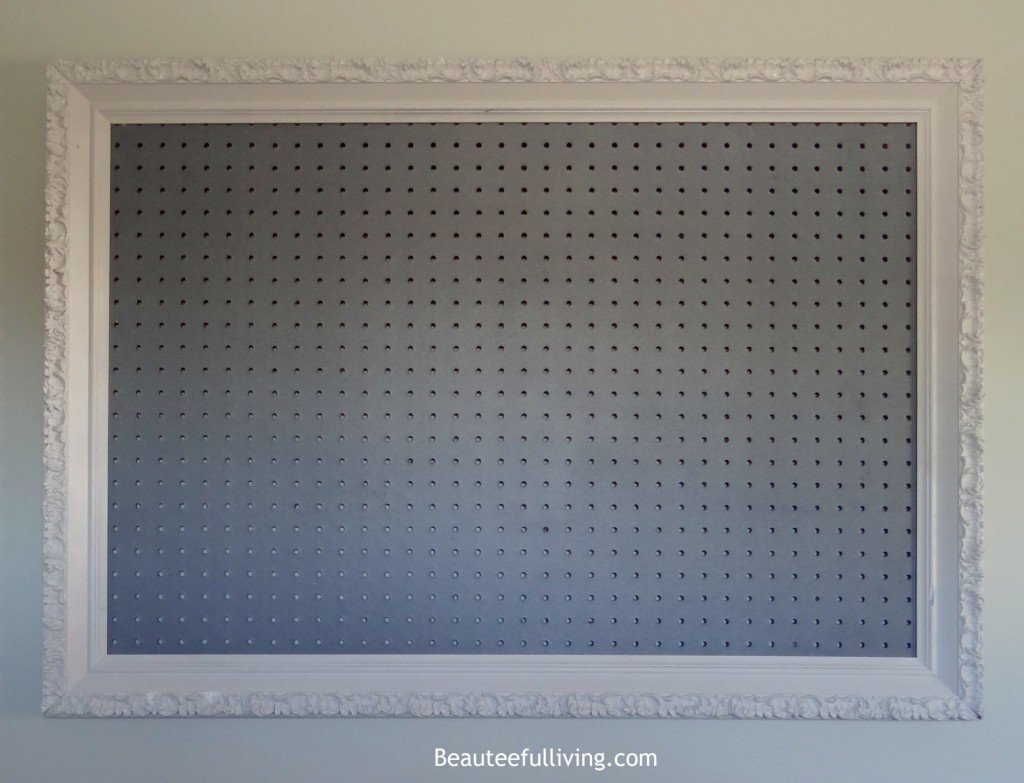
If you read last week’s post, you may recall that I needed some sort of wall art, shelving, or pegboard to go on the wall where the loveseat is positioned. Well, I decided to use the picture frame pegboard that I recently completed as a DIY project. I will share details of this project in an upcoming post!
Like the way it looks above the loveseat? I plan on placing the kids’ jewelry and accessories on the pegboard. Chances are, it’ll probably be used to store my 5 year old’s doll accessories as well! 🙂
By the way, check out the pillow I placed against their loveseat. I purchased this pillow almost 2 years ago. It’s still one of my favorite pillows in the house.
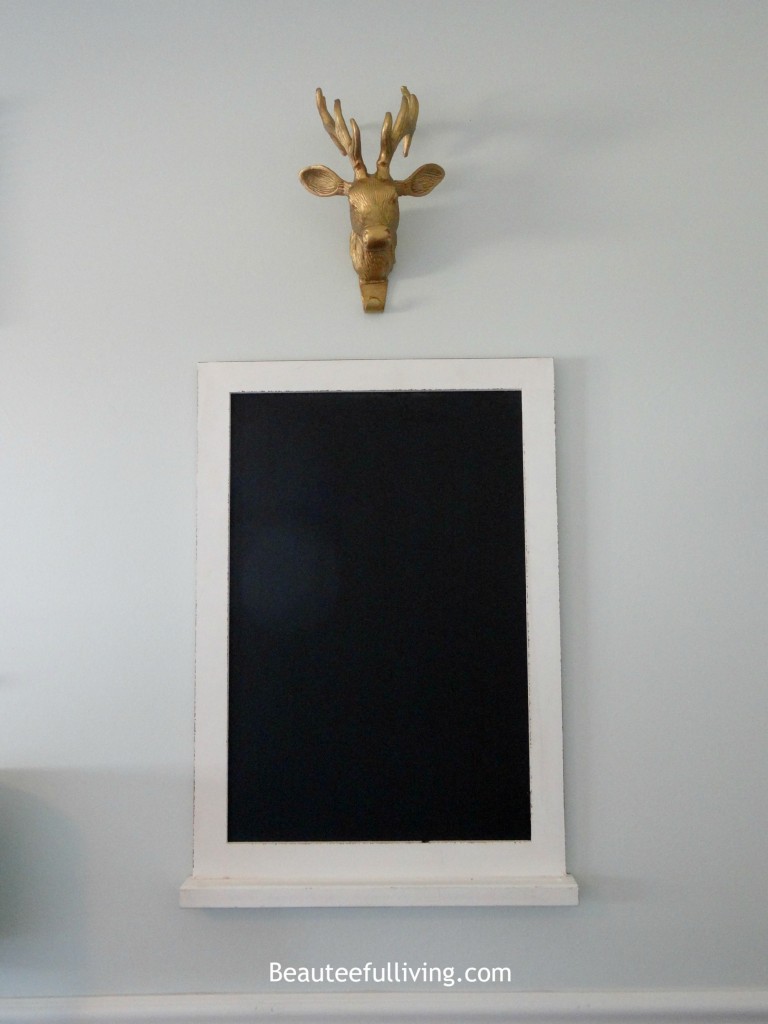
4) Hung chalkboard and deer head wall mount.
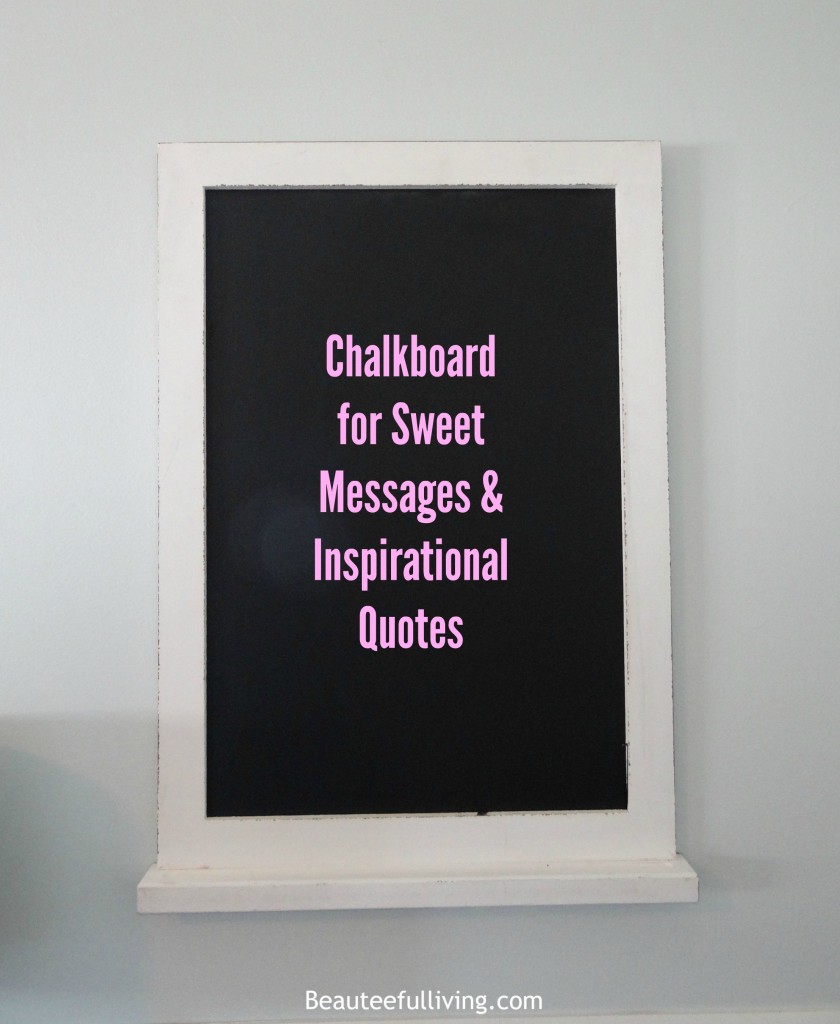
As I said in previous post, this chalkboard isn’t for play in their room. Bah humbug, right? I just don’t want all that chalk dust in their room. I plan on writing weekly messages for the girls. My 7 year old is a good reader so it’ll be cool to hear her read them aloud.
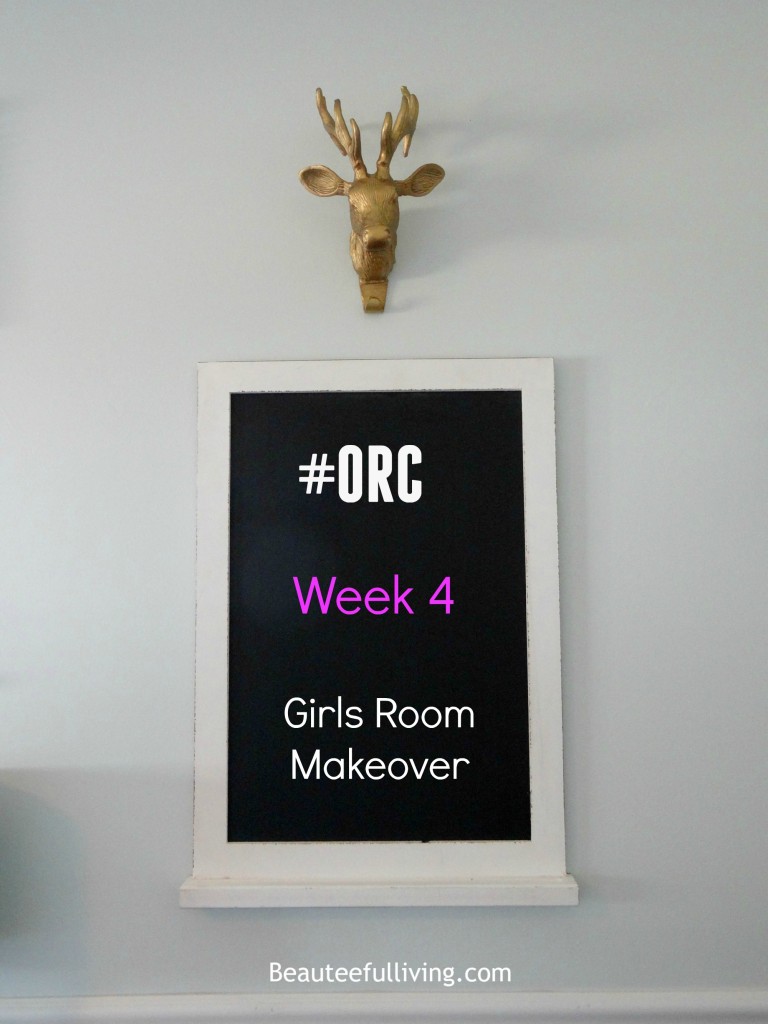
I placed the deer head wall mount above the chalkboard. What do you think? I can’t wait bedazzle this area more next week!
If you’ve enjoyed this post, please like, share, or pin this post. Thanks!
I appreciate you catching up with my One Room Challenge progress. If you’re new to Beauteeful Living, you can also find additional content via Beauteeful Living’s Facebook, Instagram, and Twitter accounts.
Until next week, have a wonderful and safe Halloween weekend! Xoxo, Tee.

Loving the accessories! So curious about the framed pegboard….
I hear you on the stuffed animals. Why are there SO many??? You are doing a wonderful job in this room. I love the framed pegboard and chalkboard! Good luck this upcoming week!
Thanks so much, Erin!
The pegboard is adorable! You’ve made so much progress and I’m looking forward to seeing how the room turns out!
Thanks so much!
I love your frame and pegboard! It looks so great together!!
Thanks, Ruthie!
I LOVE the frame on that pegboard, beautiful!! Looking forward to the reveal!
Thanks so much, Roxanne!
The pegboard is a genius idea and I love the white frame that surrounds it. I love the chalkboard with the deer head, too:)
Thanks, Teresa!
It’s looking good! Love that pegboard! That will be so fun.
Thanks, Heather! I’m glad to put that pegboard to use!
Looking good, Tee! I especially like the framed pegboard!
Thanks so much, Lauren! I’m happy with the way that DIY project came out.
oooo it’s looking good! love the little head over the chalkboard! it’s going to be such a fun space!
Thanks for stopping by and for your feedback, Lianna!