Back in October, I changed the color of a bookshelf in our living room from dark espresso to linen white. Despite not loving the original color, I wanted to keep the bookshelf because it was still in excellent condition. Oh how I dreaded the idea of repainting this large piece of furniture though. Why? The big challenge was having to paint the bookshelf … INDOORS.
No garage. No covered outdoor space. I had no other option. Since I had to repaint the bookshelf indoors, I knew there was no way I was going to sand this behemoth of a bookshelf. Turns out, skipping the “sanding” step turned out fine.
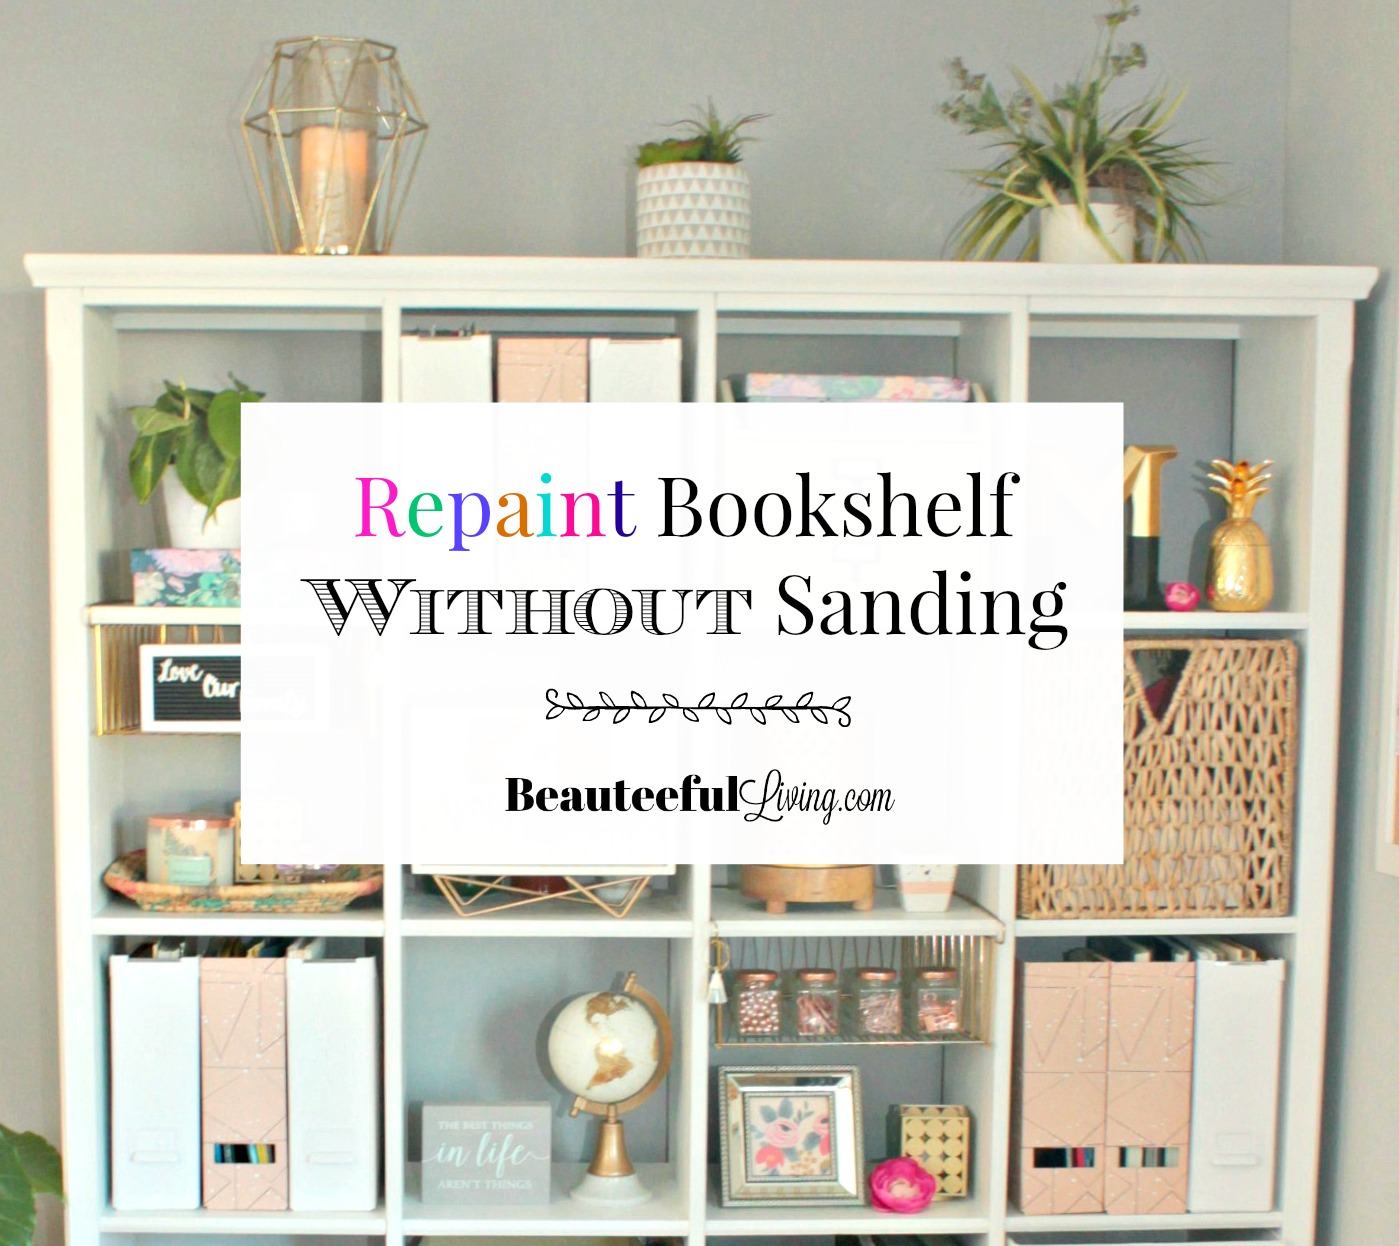
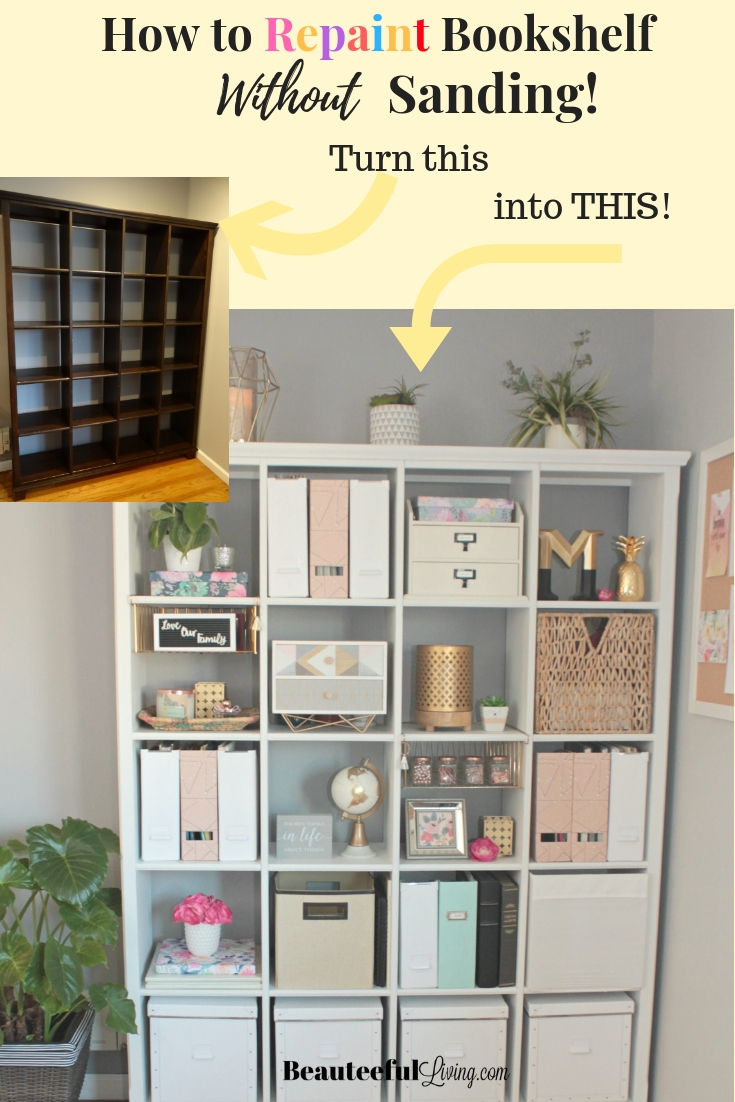
On the blog today, I’m going to show you how I repainted our espresso-colored bookshelf WITHOUT sanding!
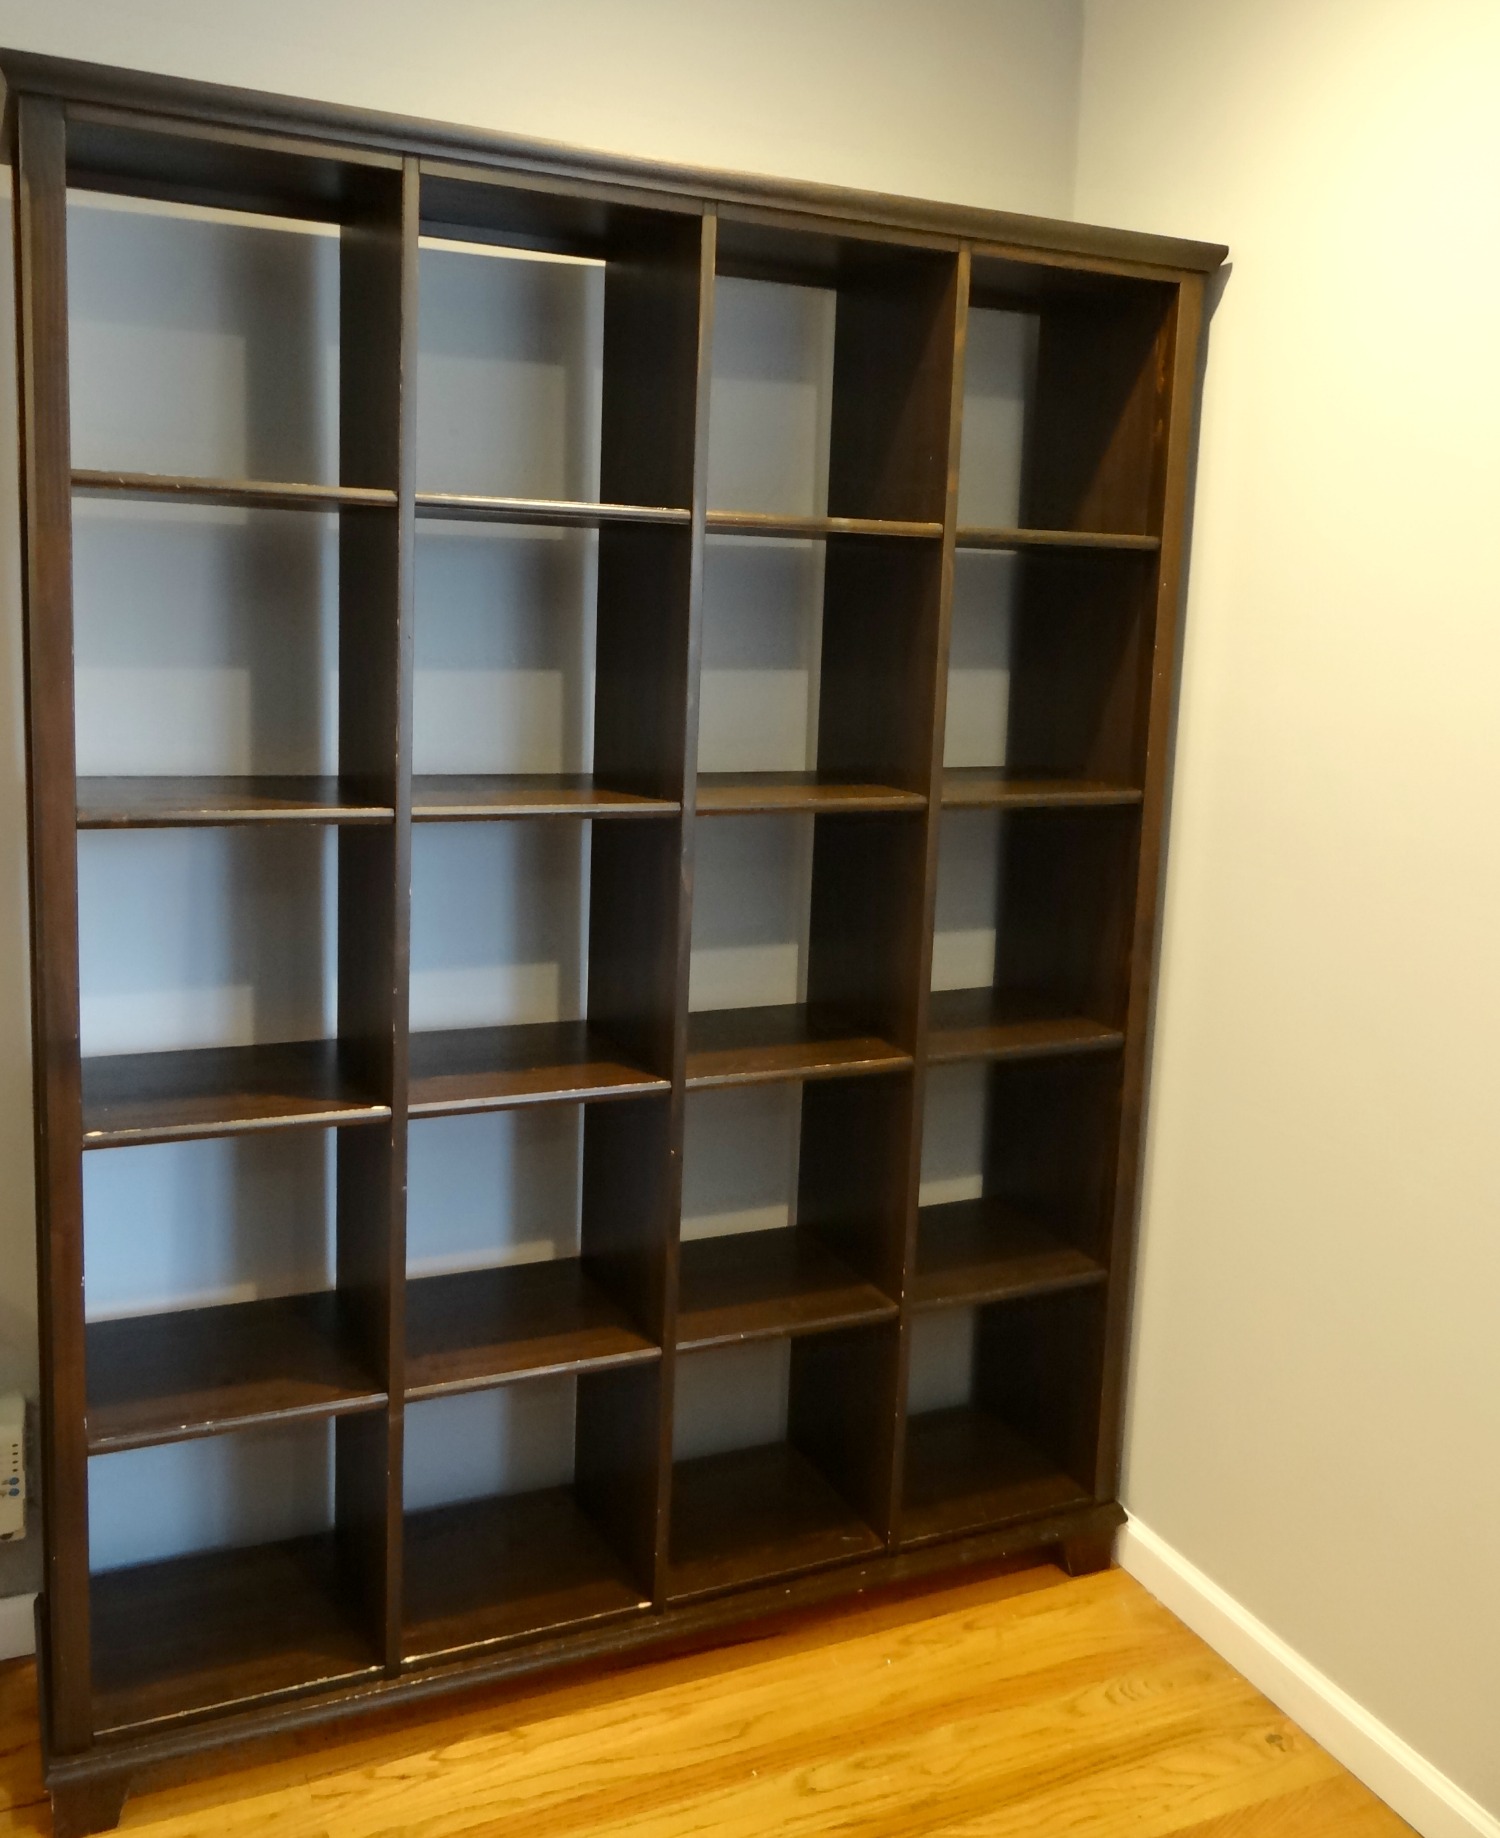
Here’s a photo of our old bookshelf. It measures 58 inches width by 75 inches height. Twenty cubbies of great storage.
Materials Used:(Affiliate links are provided below for convenience. For more info, please see my full disclosure here.)
1) All-purpose cleaner/degreaser (This Prepaint Cleaner is highly recommended)
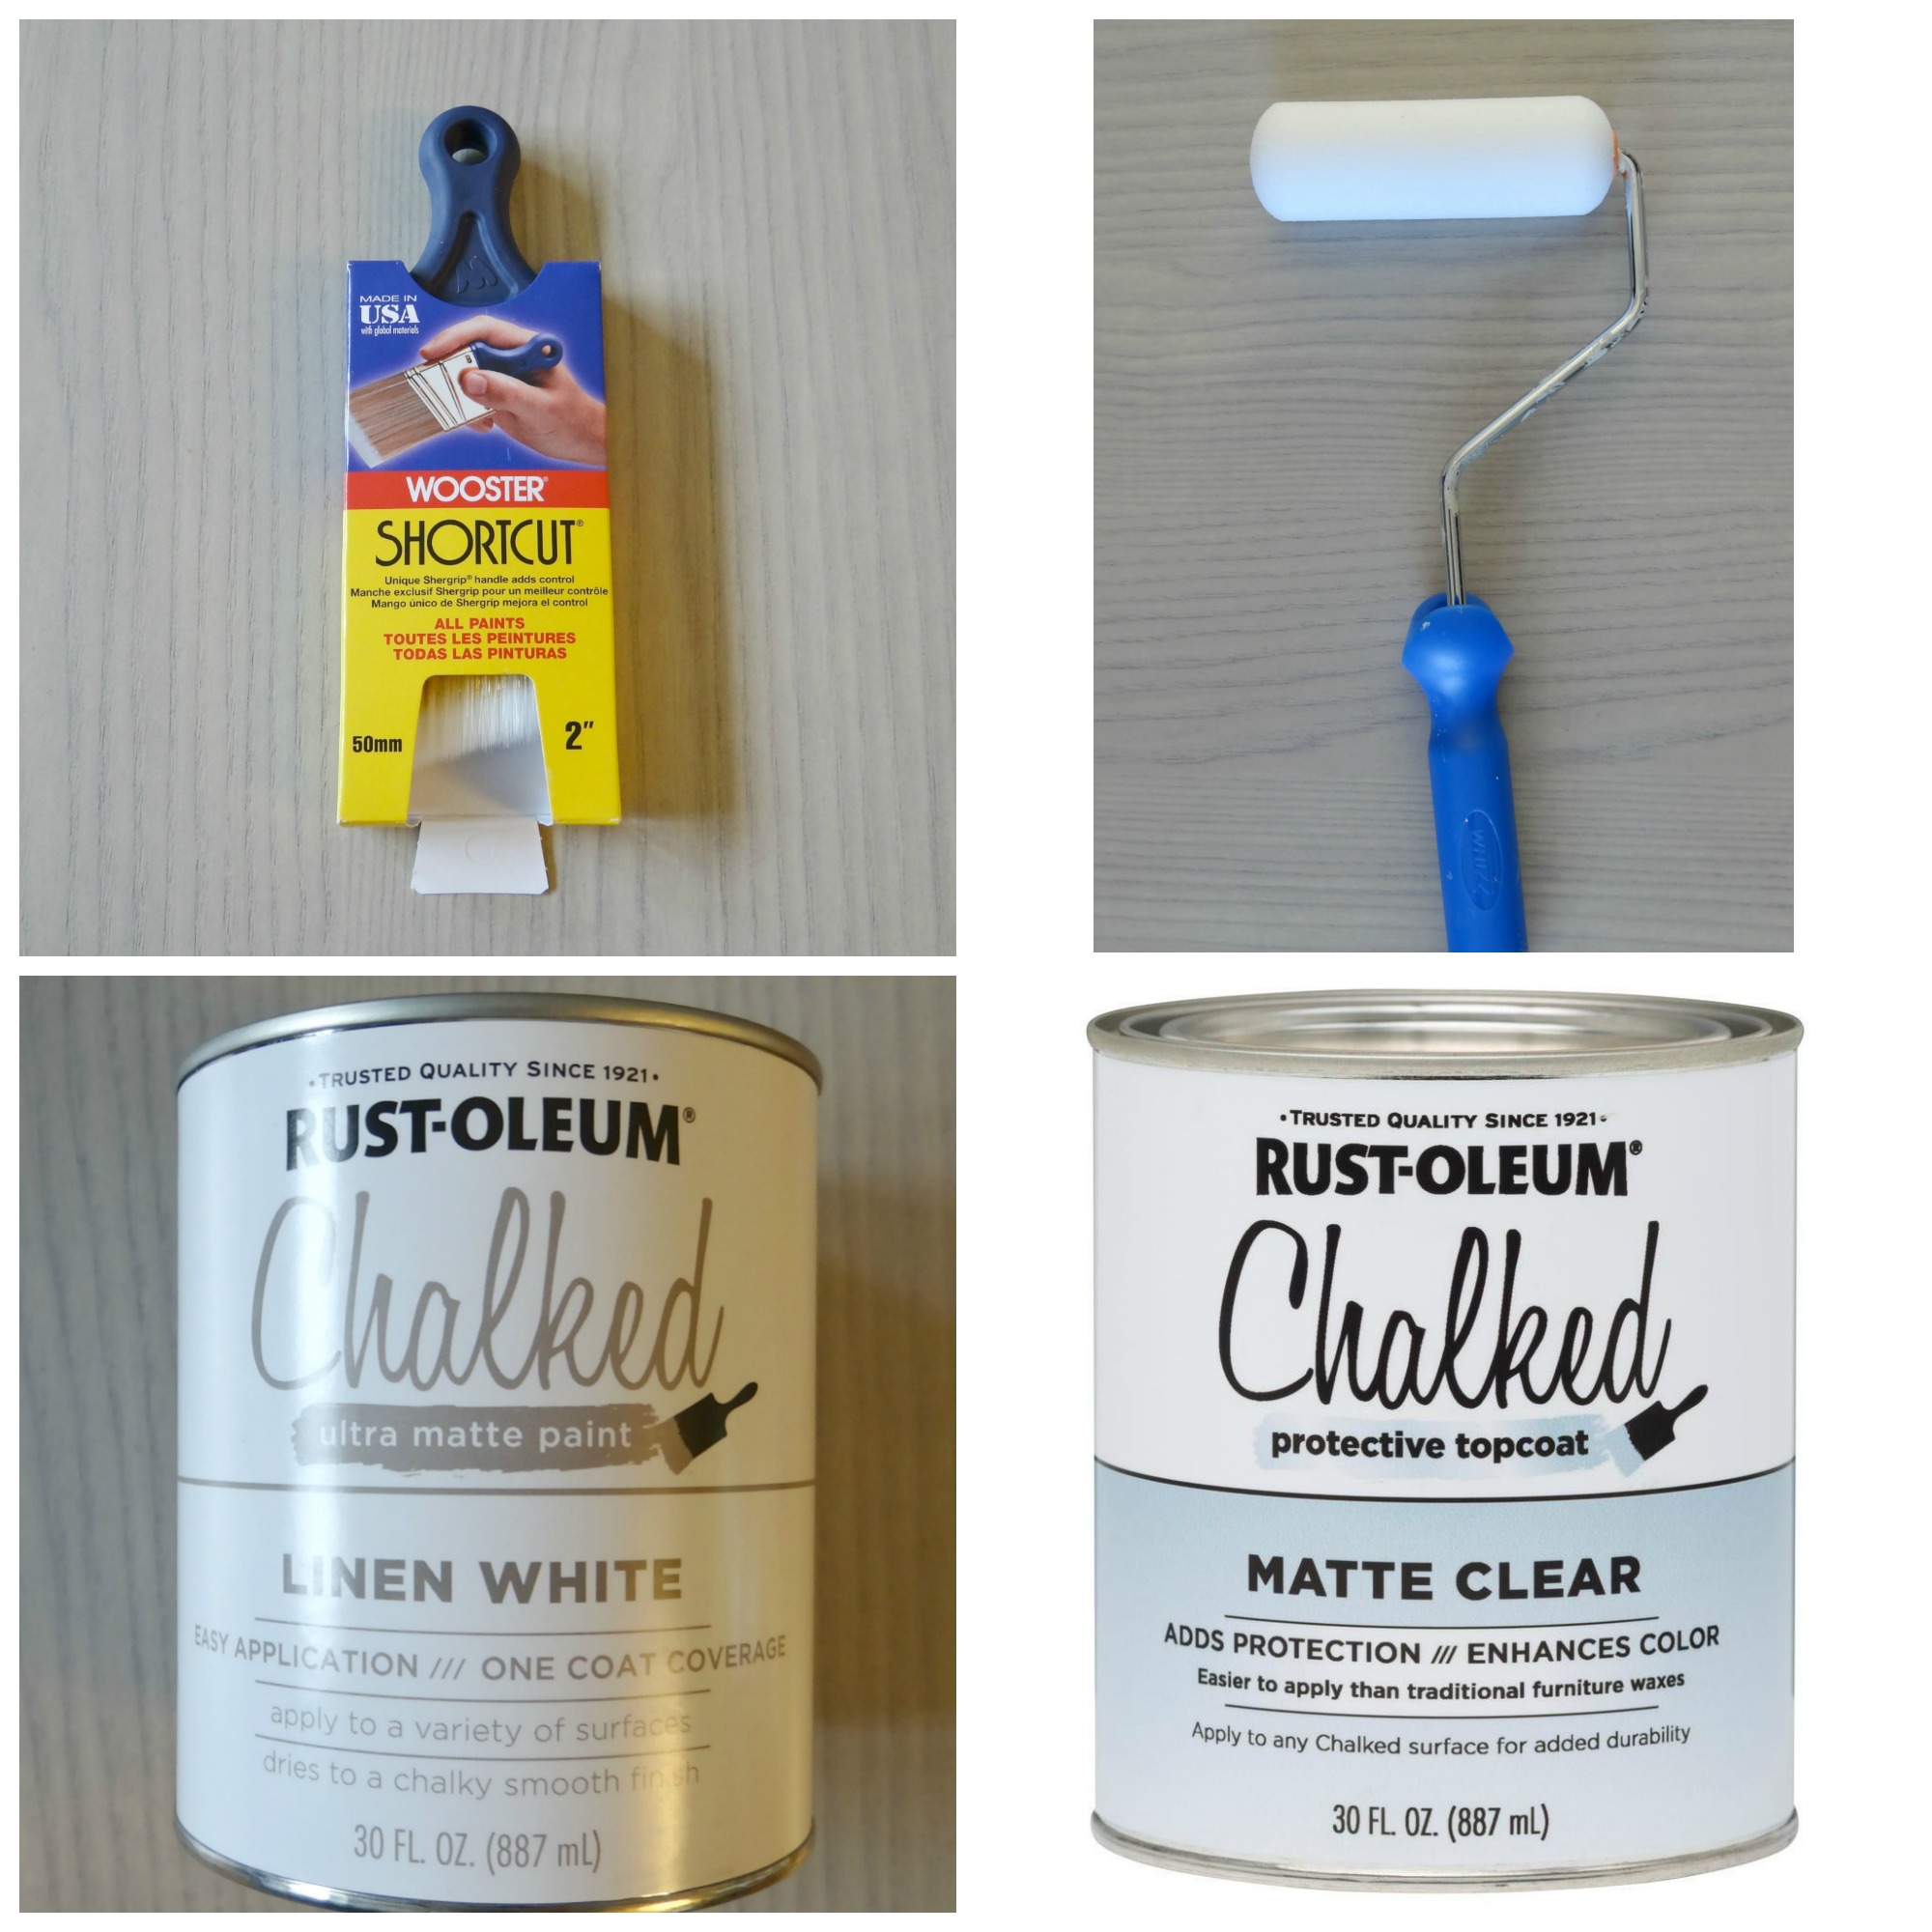
2) 2 inch Paintbrush
3) 2 inch Paint roller
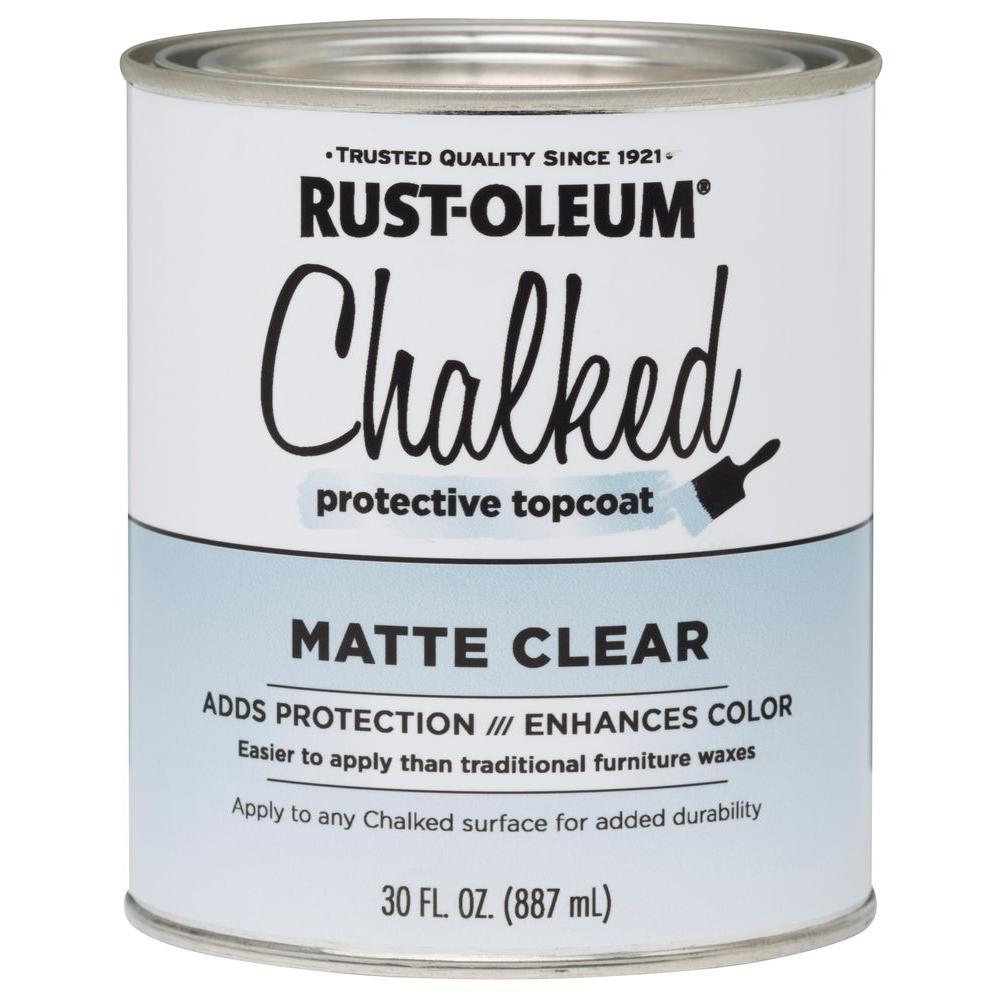
4) Rust-Oleum Ultra Matte Interior Chalked Paint (I used “Linen White.” For large furniture, I suggest getting 2 cans)
5) Rust-Oleum Ultra Matte Interior Chalked Paint Clear Protectant
6) Drop cloth or flat sheet
Step # 1 – Do a “thorough cleaning” of entire book shelf.
It is highly suggested that you use a degreasing Prepaint Cleaner to remove dusty/sticky buid up on your bookshelf prior to painting.
Step # 2 – After placing drop cloth or flat sheet under book shelf, start your first coat of chalk paint. I used a 2 inch paintbrush for the first coat to ensure I painted the entire surface.
Just as you would use a paintbrush to “cut” your walls during painting, I would suggest the same when repainting a bookshelf. Use the paint brush to cut around the bookshelf cubbies before using the “roller” to apply a smooth coat of paint across surface.
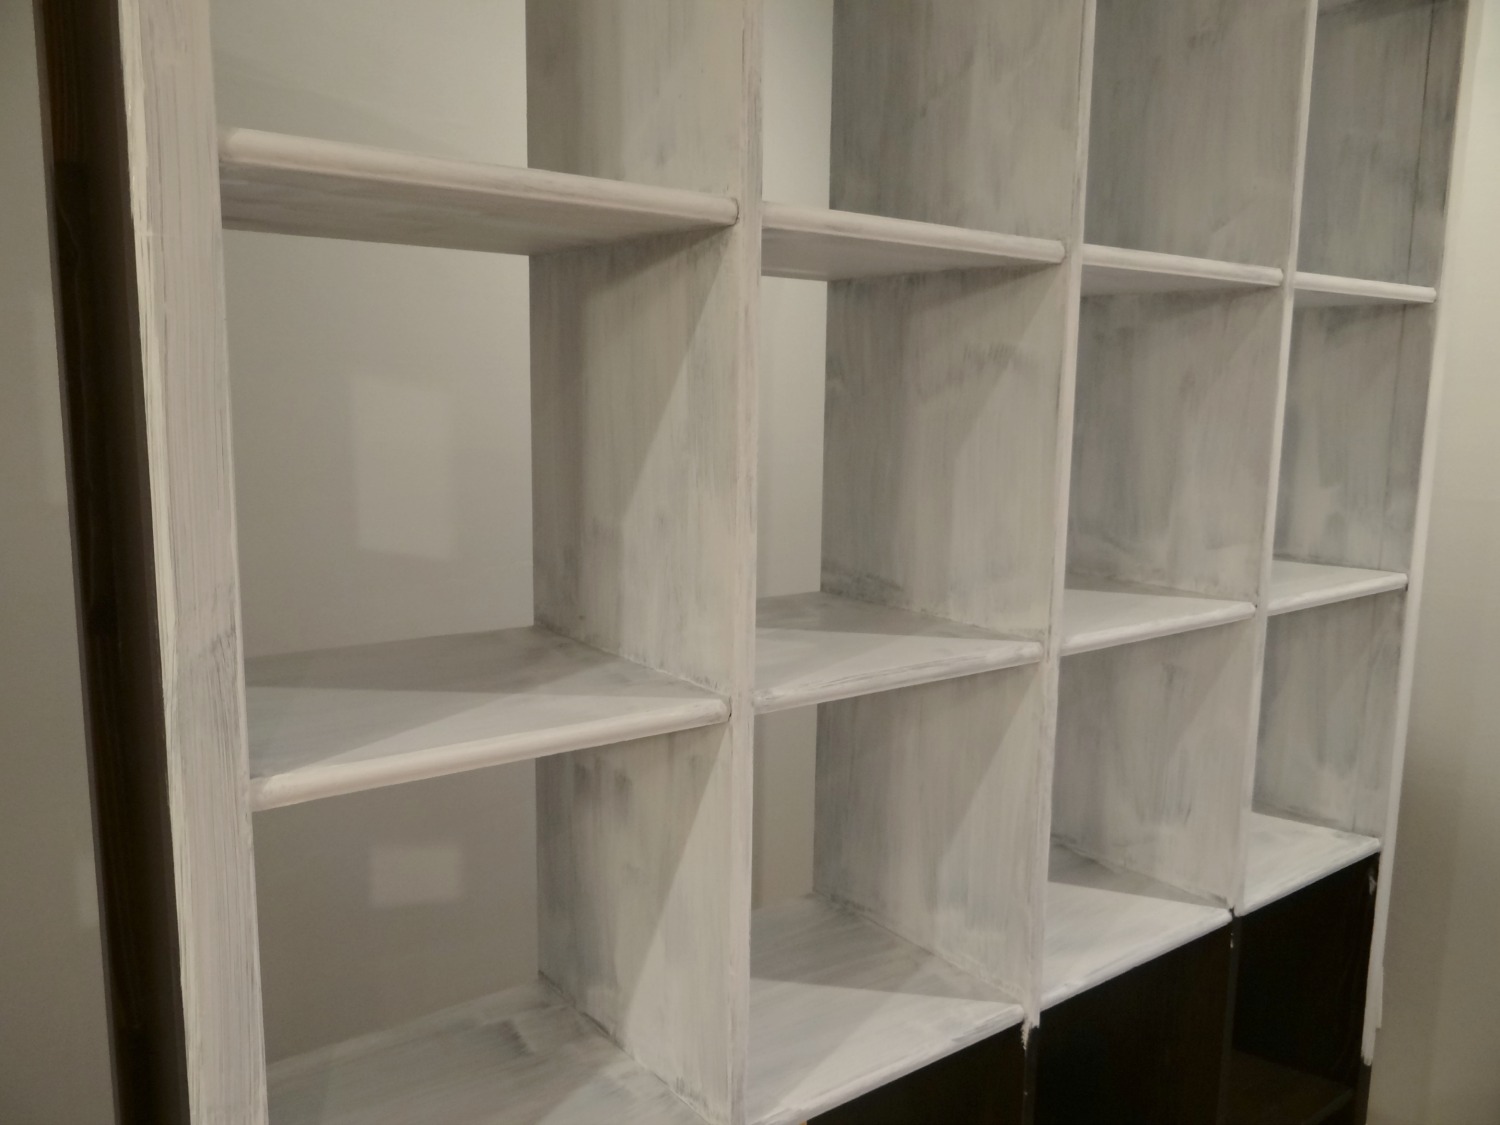

After applying the first coat of paint, you will probably start to freak out panic since the paint looks uneven and streaky! Don’t worry — a few more coats and it’ll look much better!
Step # 3 – Let book shelf dry at least 2 hours before repainting another coat.

Step # 4 – After you are satisfied with the paint coverage (my bookshelf took 4 coats…ugh), it is time to apply a layer of paint protectant. I used Rust-Oleum Ultra Matte Interior Chalked Paint Clear Protectant.
This is a crucial step because without applying a protectant to seal your chalk paint, it is very likely that your paint will get scratched over time. I especially love how this topcoat provides a smooth/matte surface on my bookshelf without changing the paint color!
Step 5 – Be patient! Wait at least 24 hours (I suggest 2 days or more) before placing anything on your newly painted bookshelf. If you don’t allow ample time for the paint to dry, the surface of your bookshelf will feel tacky to the touch (not a good thing).
Here’s a look at the “Before” and “After” comparison.
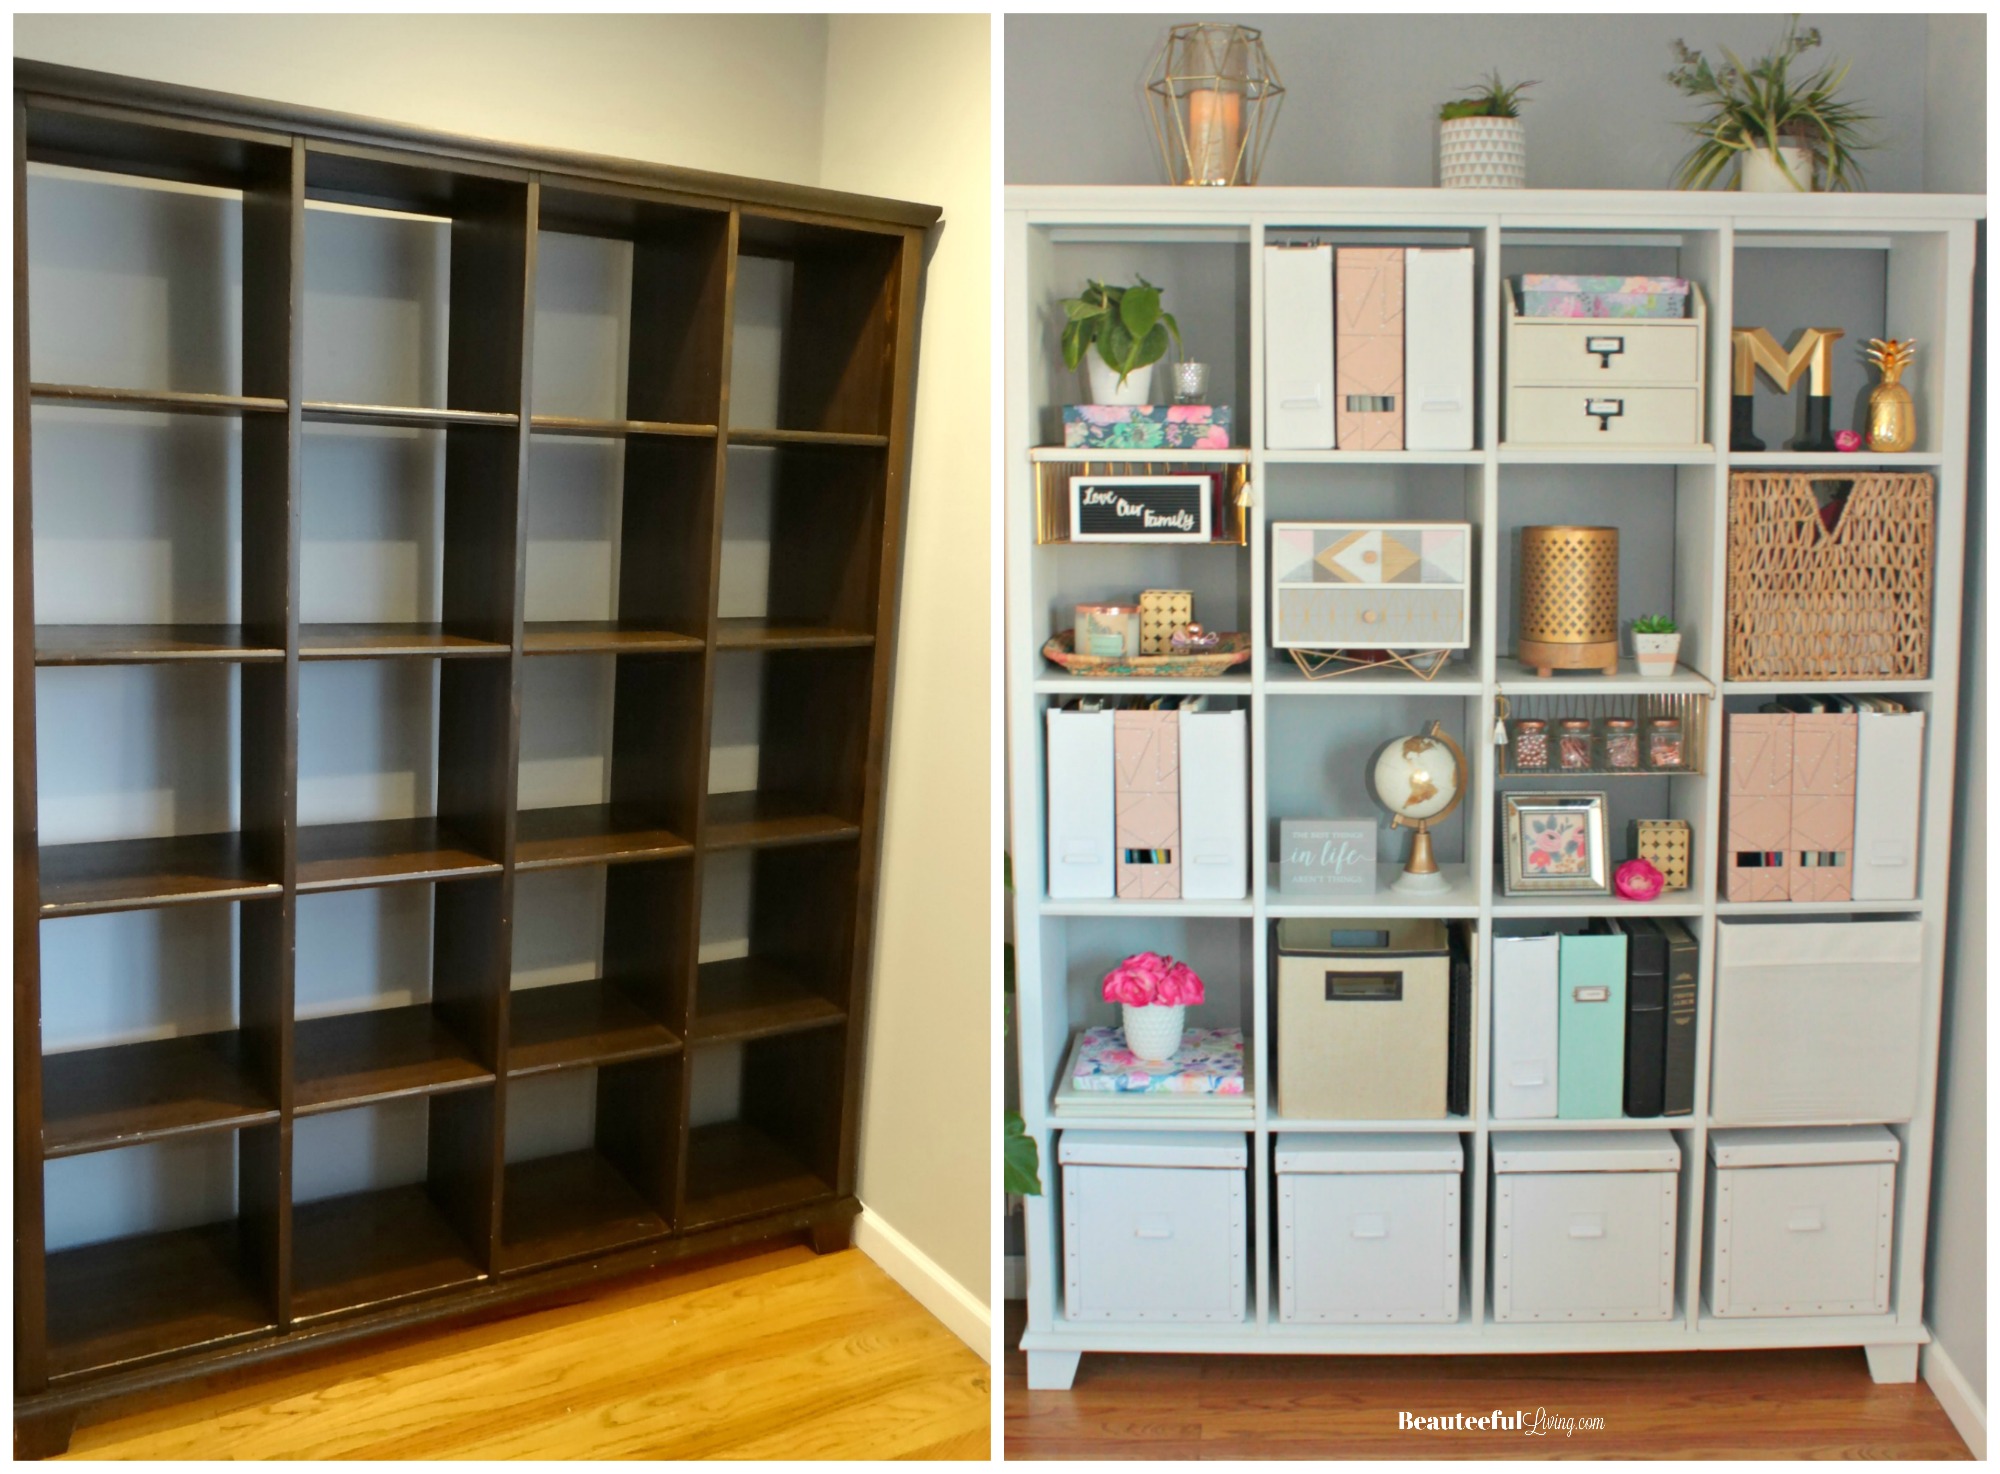
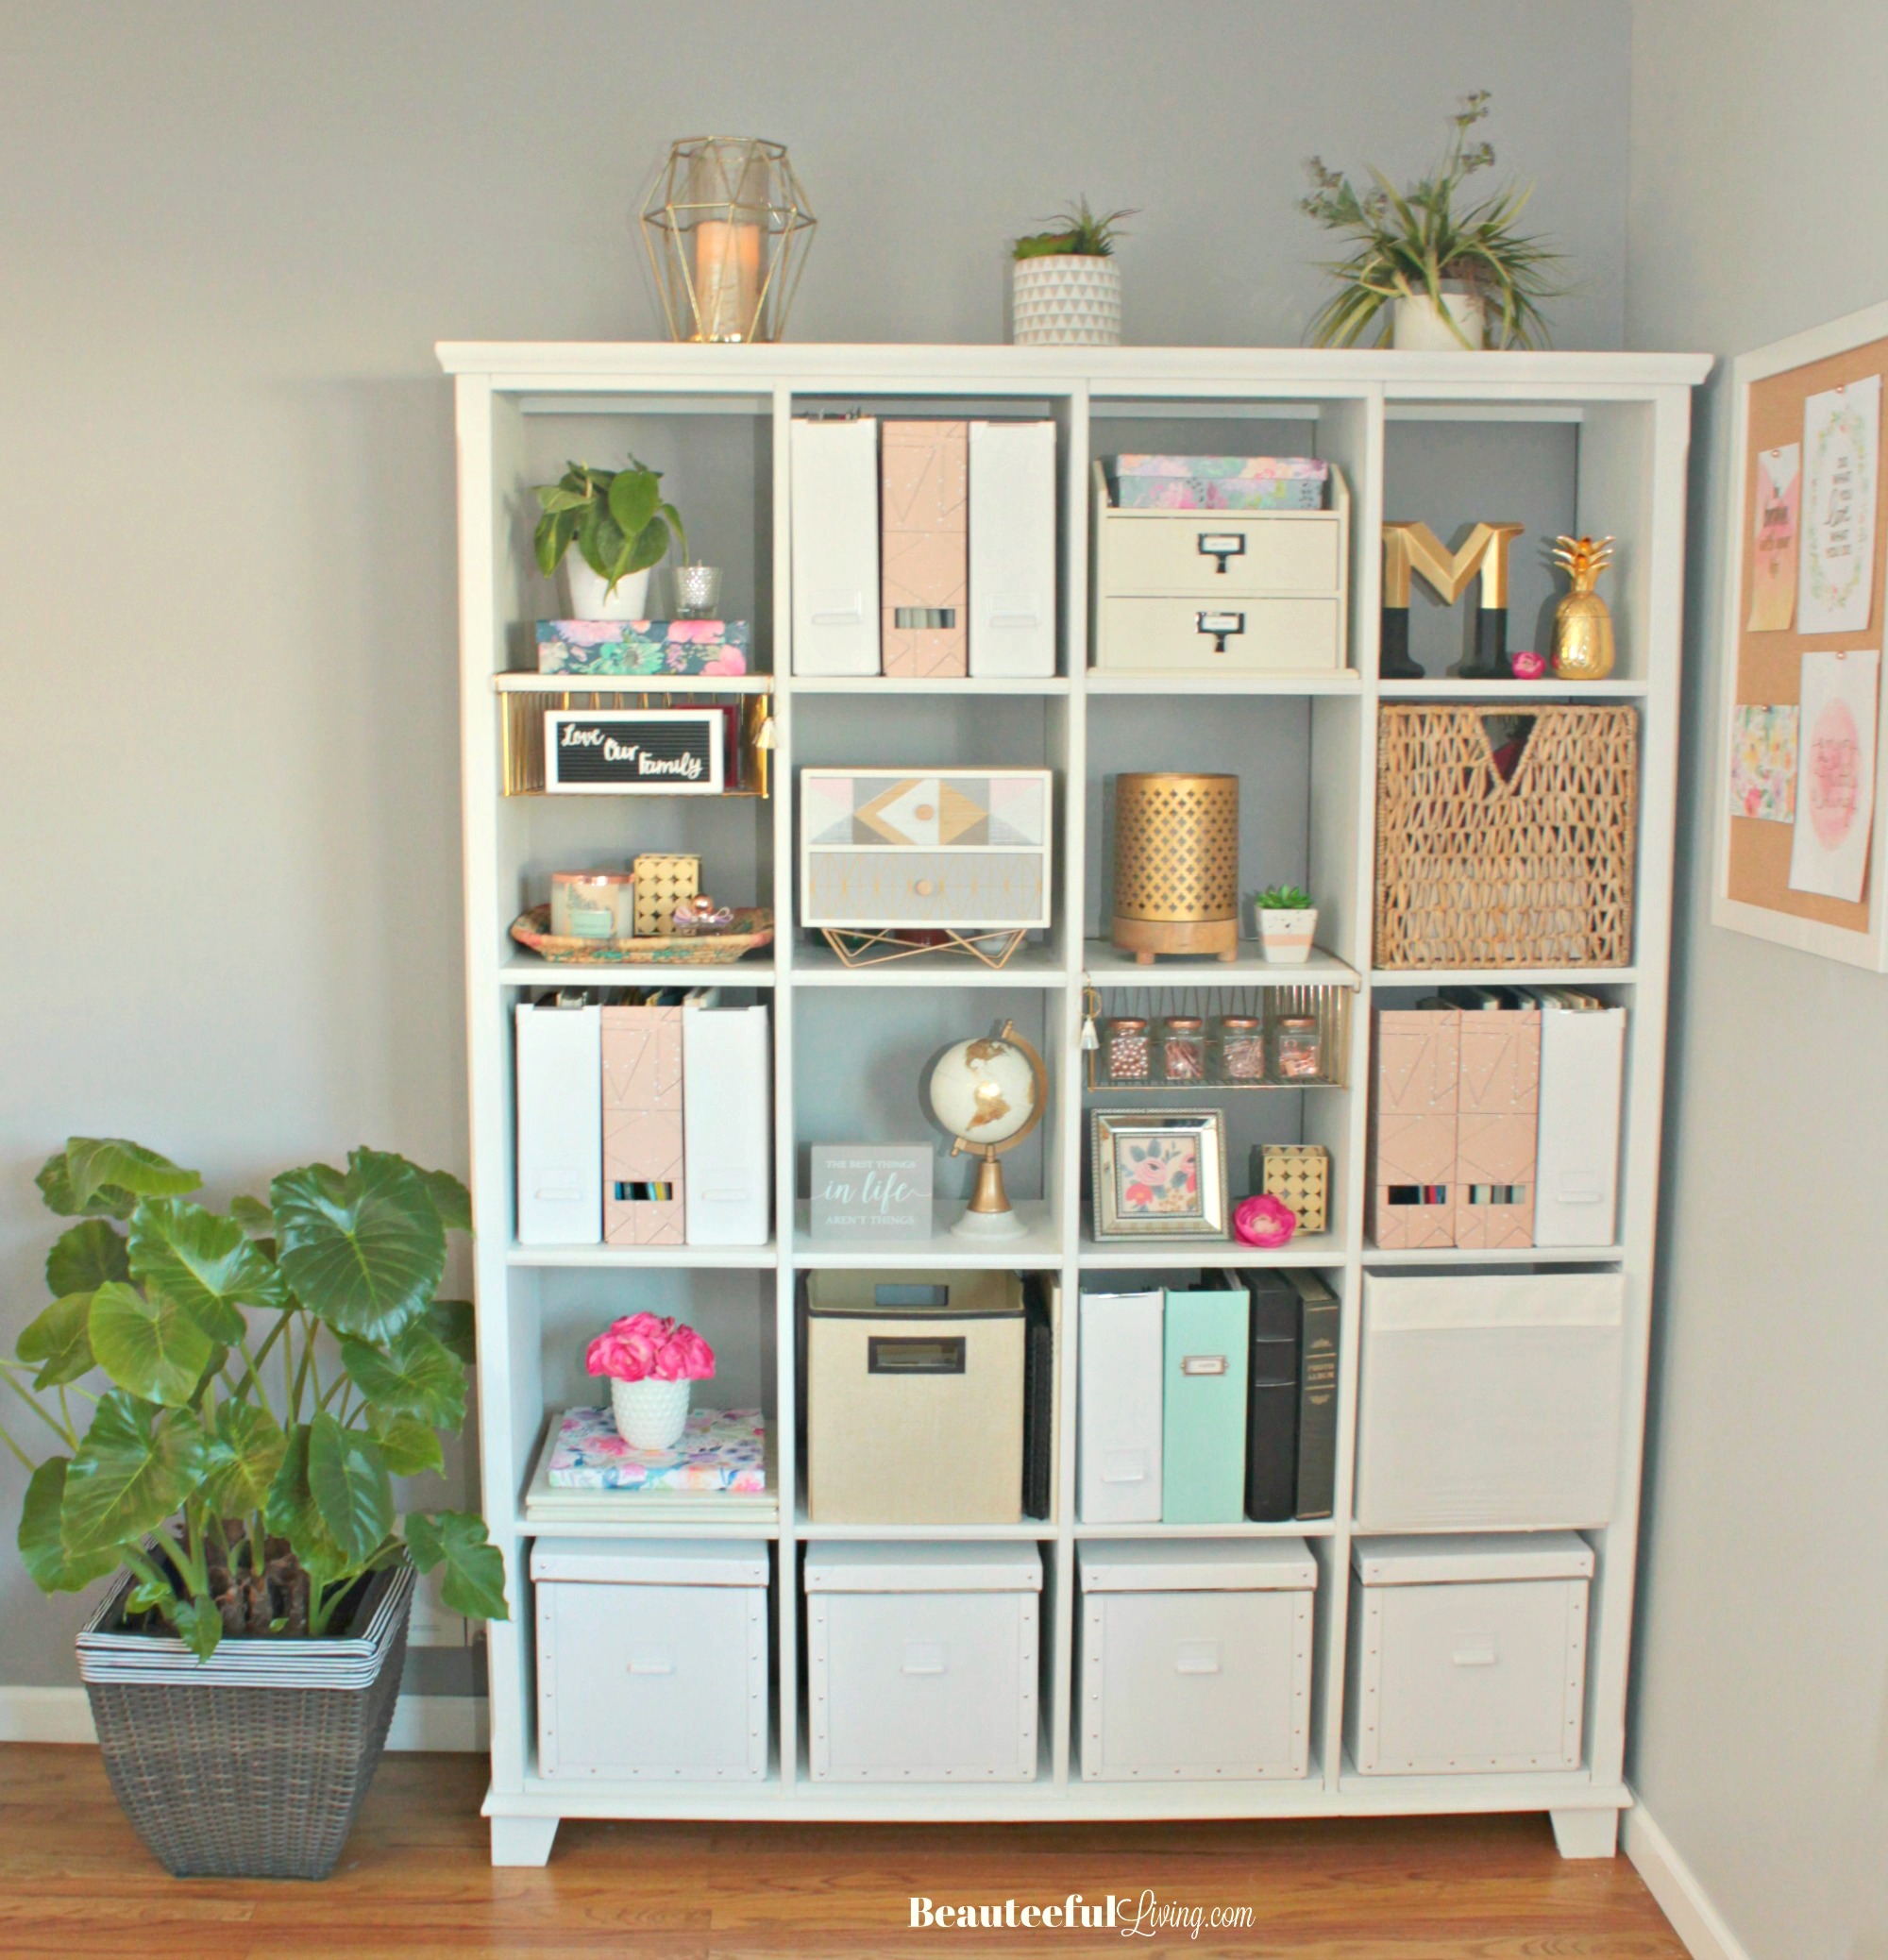
What a difference! Our old bookshelf looks brand new! You’d never know the bookshelf was previously a dark espresso color.
Save/Pin Today’s post:
Hope you’ve enjoyed today’s post! Have a piece of furniture you’d like to repaint or have a comment about today’s post? I’d love to know. 🙂

Let’s connect on social media: Facebook, Instagram, Pinterest, and Twitter


Looks lovely! Was their an odor in the house from either the milk paint or top coat? Thank you!
Hi Wendy! Thanks for your comment and question. I didn’t find the paint to have an off-putting scent from the chalk paint or top coat. There’s definitely top coats out there with strong odors. Whatever smell that came from paint or topcoat disappeared not much longer after the paint dried. Hope that answered your question.
Looks 100% better in the lighter paint color. Love those accessories on bookcase!
Thanks, Cindy! The lighter palette truly made a difference in our living room.
Can’t believe you were able to cover that dark shade without sanding or using primer. Will try this with my next furniture “rescue”.
Thanks, Sue! Not having to sand this large piece was a relief. I didn’t want all the debris inside my house. For those who already have primer at home, I’d recommend using it. I didn’t use primer for this project so had to use more of the Rust-oleum paint.