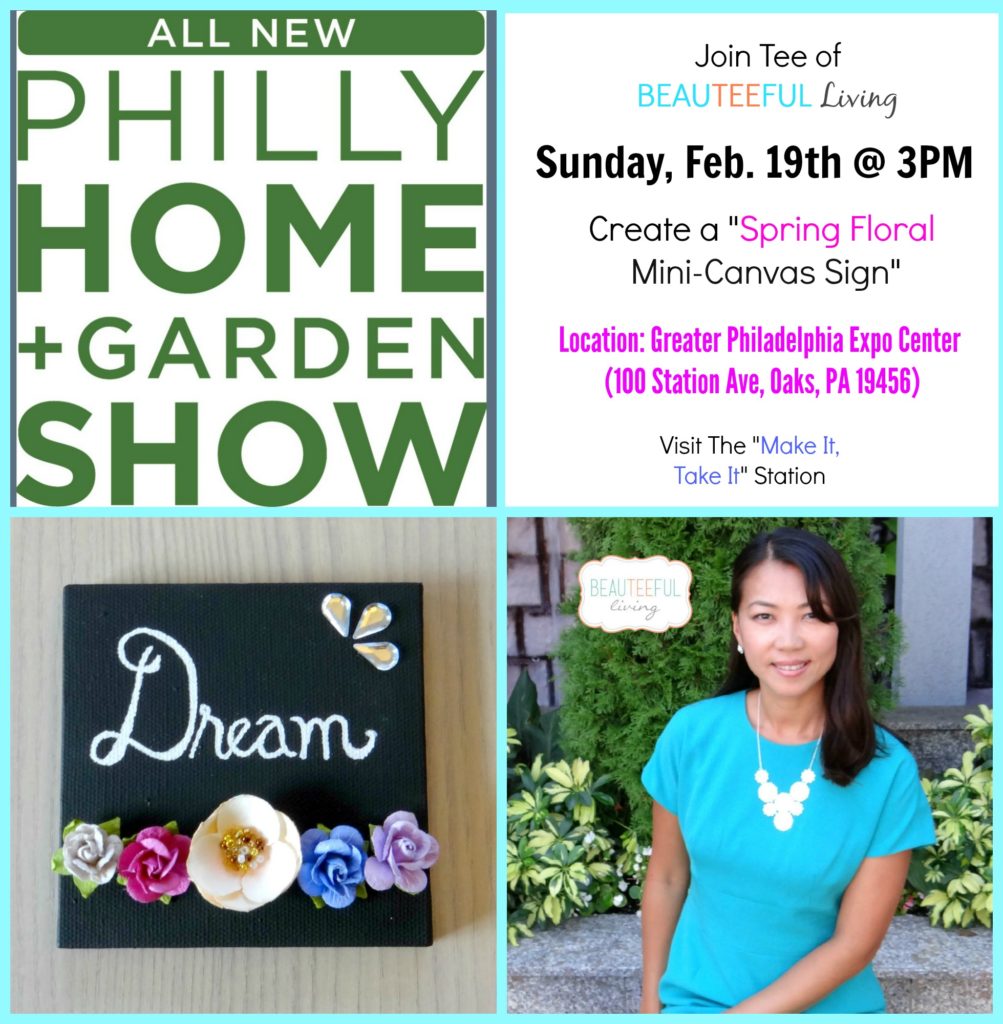
I had so much fun doing a workshop at the Philly Home Show last year (recap here) that I decided to do it again. There’s a slight change though — this time, I’ll be at The Philly Home and Garden Show (affiliated with the Philly Home Show) which is being held at the Greater Philadelphia Expo Center. My workshop will take place this upcoming Sunday, February 19th. That’s the same day that Jeff Lewis (Bravo’s Flipping Out) will be making an appearance! I may or may not have planned it that way. 😉
So, lovely readers, if you live within the area and are interested in attending, please send me a message and I’ll reserve a ticket in the “will call” area for you. I will be giving away approximately 10 tickets to Email Subscribers as well as Social Media followers of this blog.
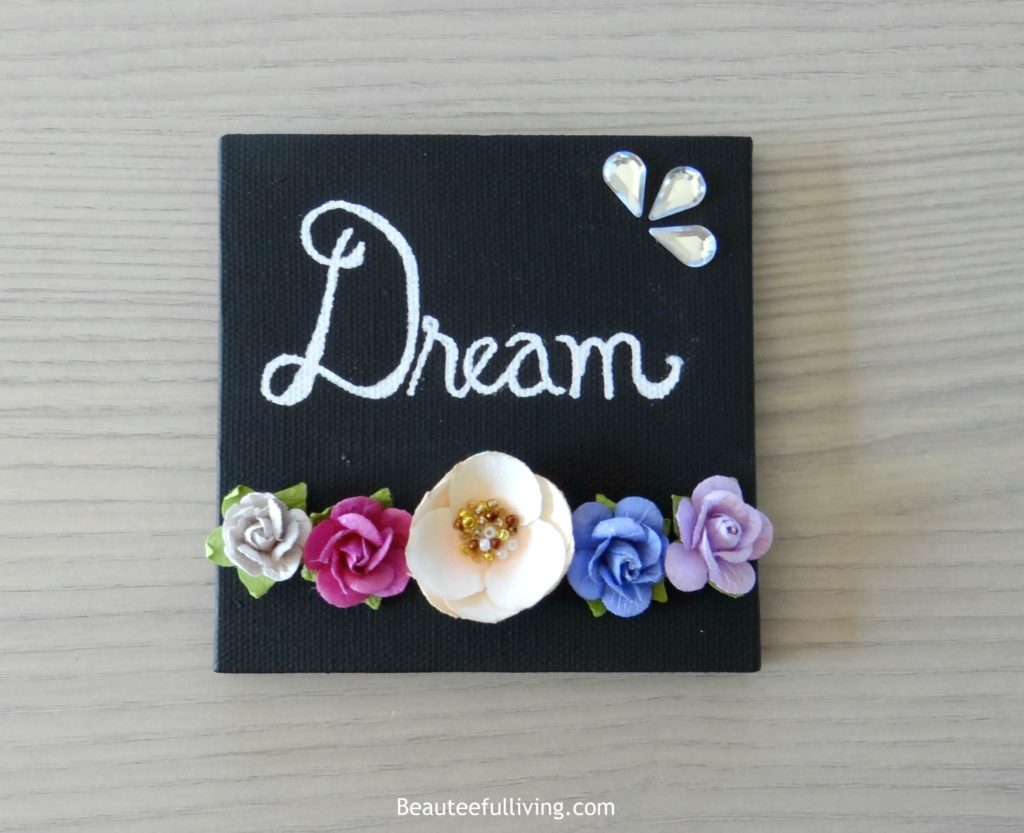
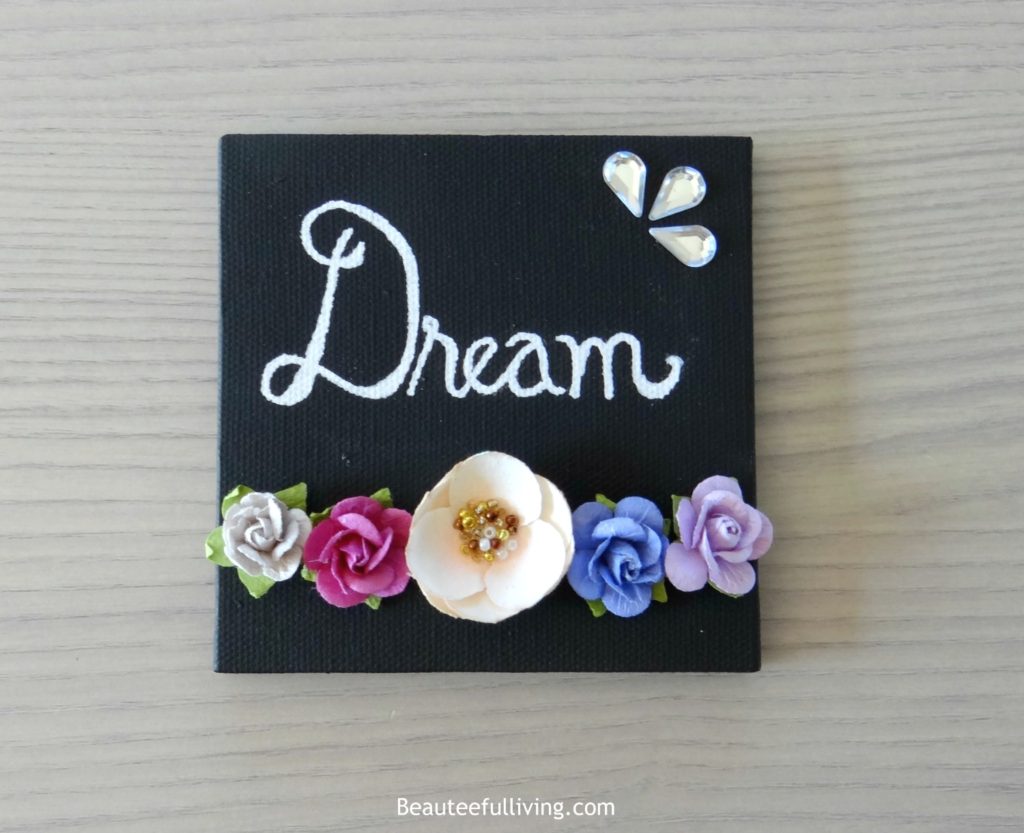
For my workshop, I will have attendees create a Spring Floral Mini-Canvas Art with me. Did I mention this workshop was free and all supplies will be covered? 🙂
I’m happy to provide the full tutorial in today’s blog post!
Supplies
- Mini-canvas (4 inch x 4 inch size)
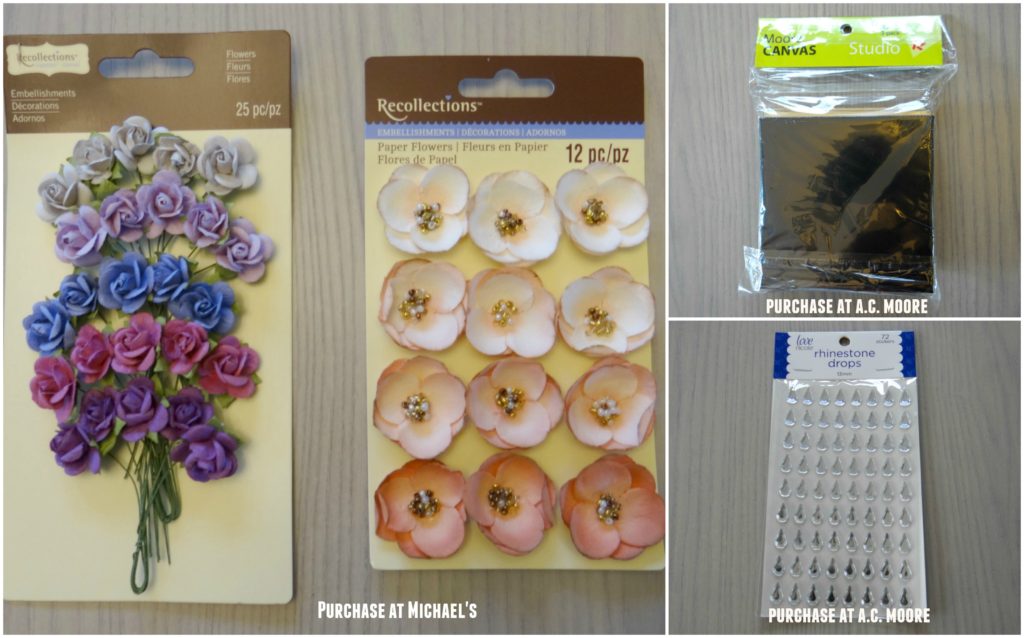
- Paper flower embellishments
- Rhinestone teardrop adhesives
- Glue gun
- Pencil
- White permanent chalk pen
- Washi or masking tape (optional)
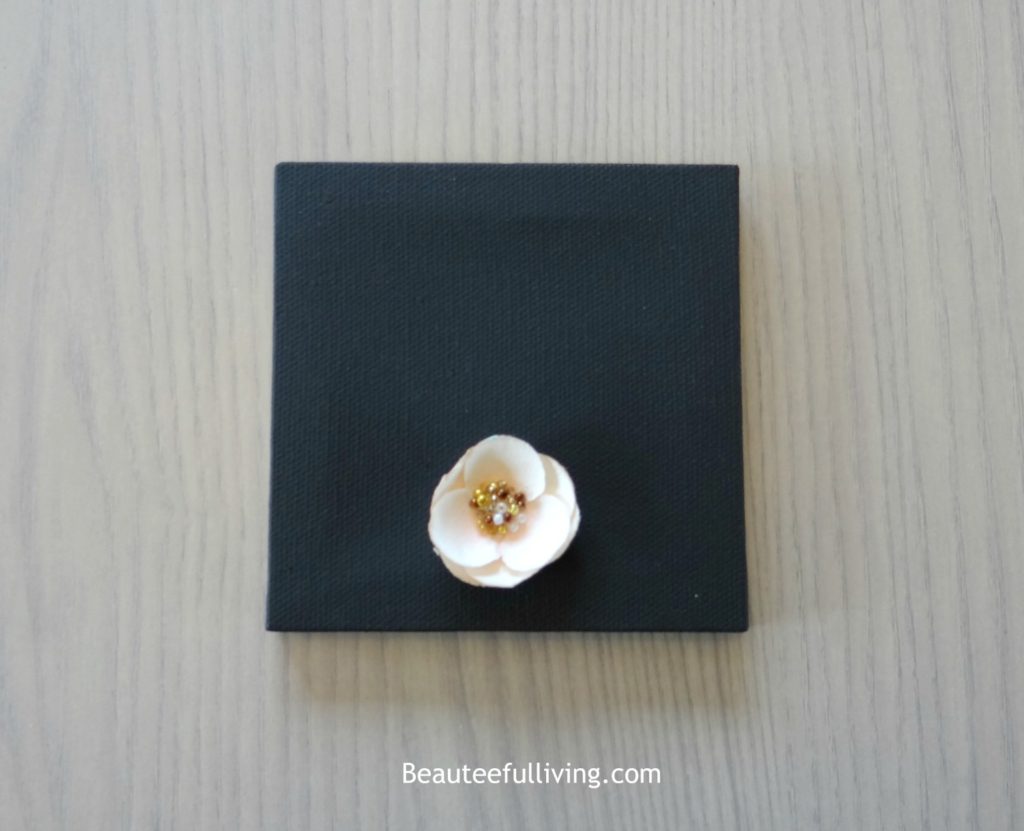
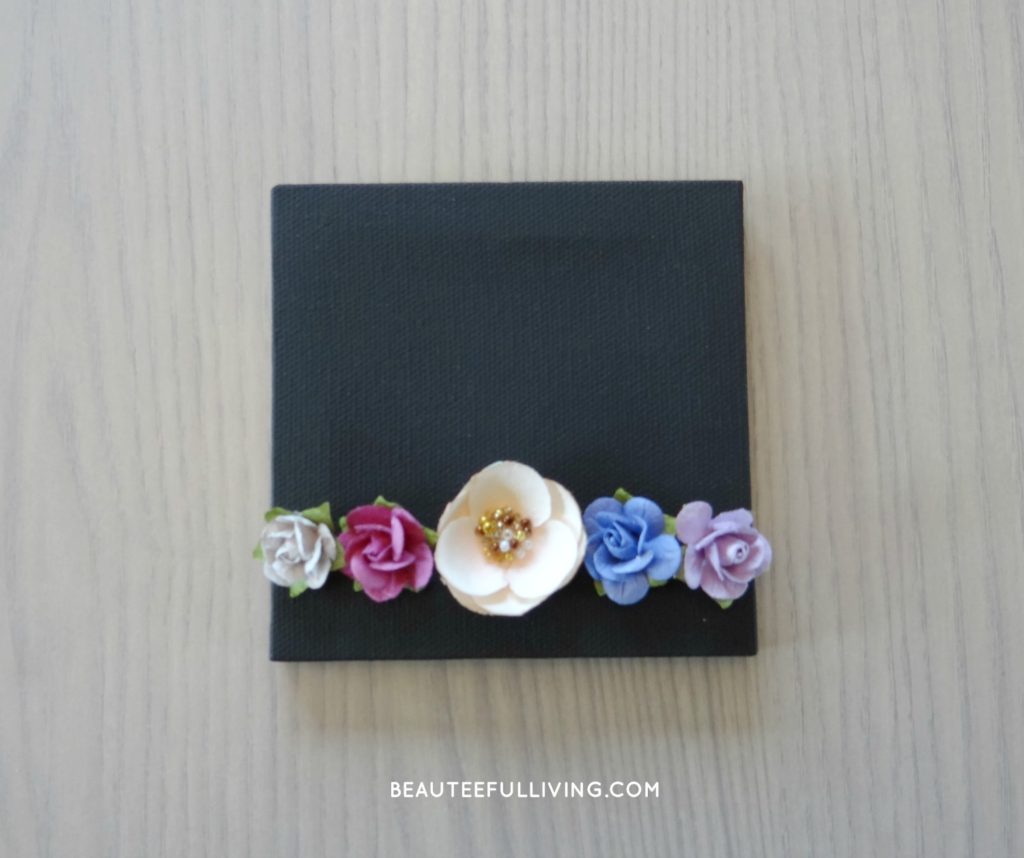
Step 1 – After putting a little glue (use glue gun) on back of large flower, place flower in center of canvas, at the bottom.
Step 2 – Add glue to each small paper flower and place them next to center flower. (Note: Snip wire off of mini-flowers first)
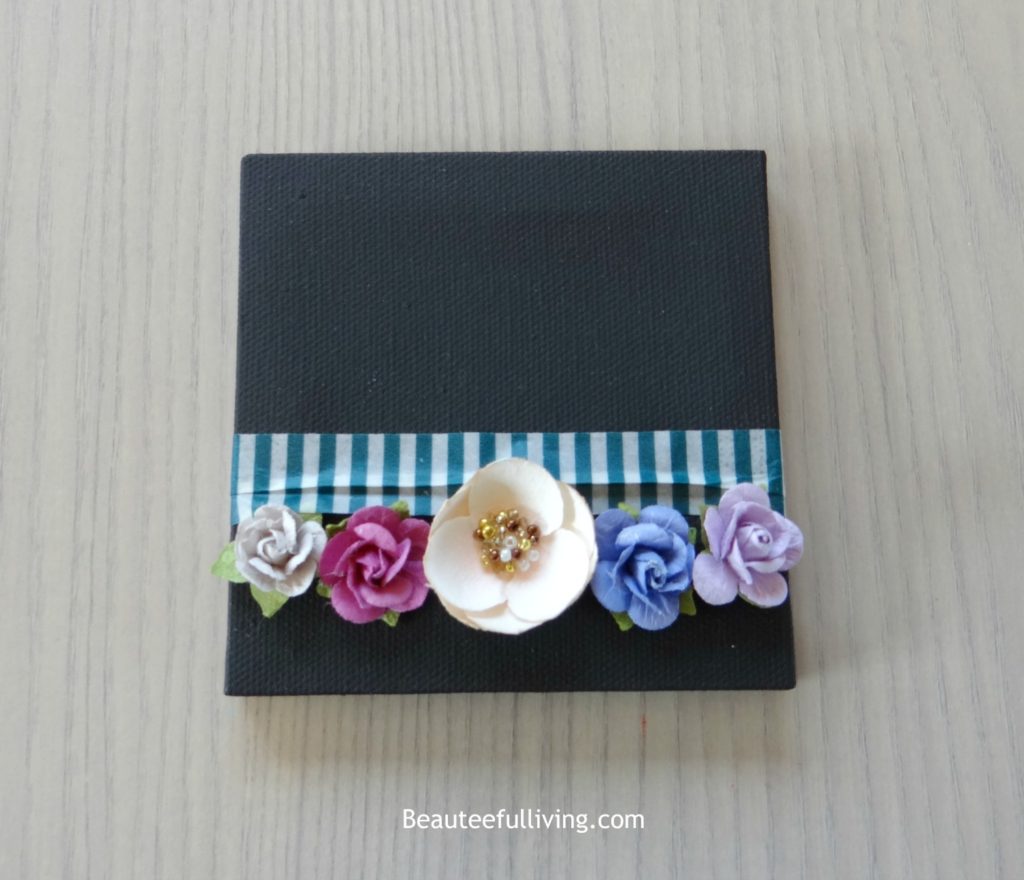
Step 3 – Place washi tape (any removable tape will do) above flowers. This step helps you with writing the word “dream” straight.
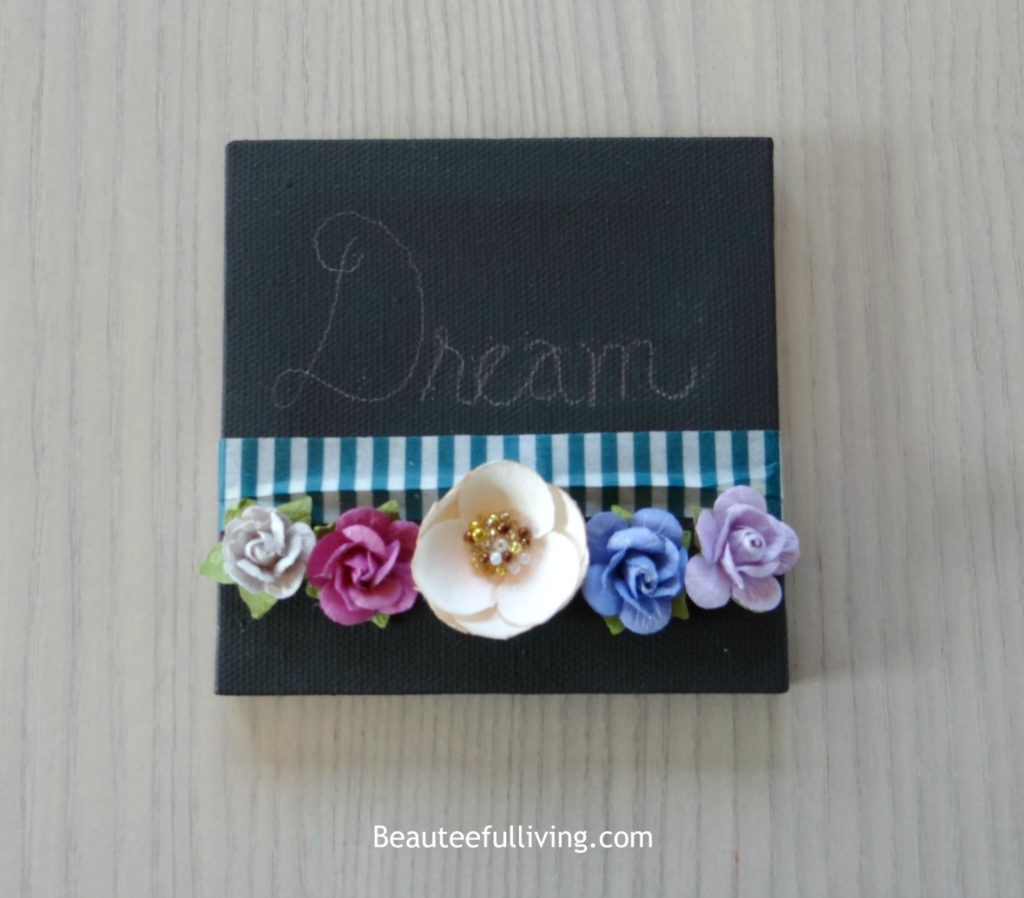
Step 4 – Using pencil, write “Dream.”
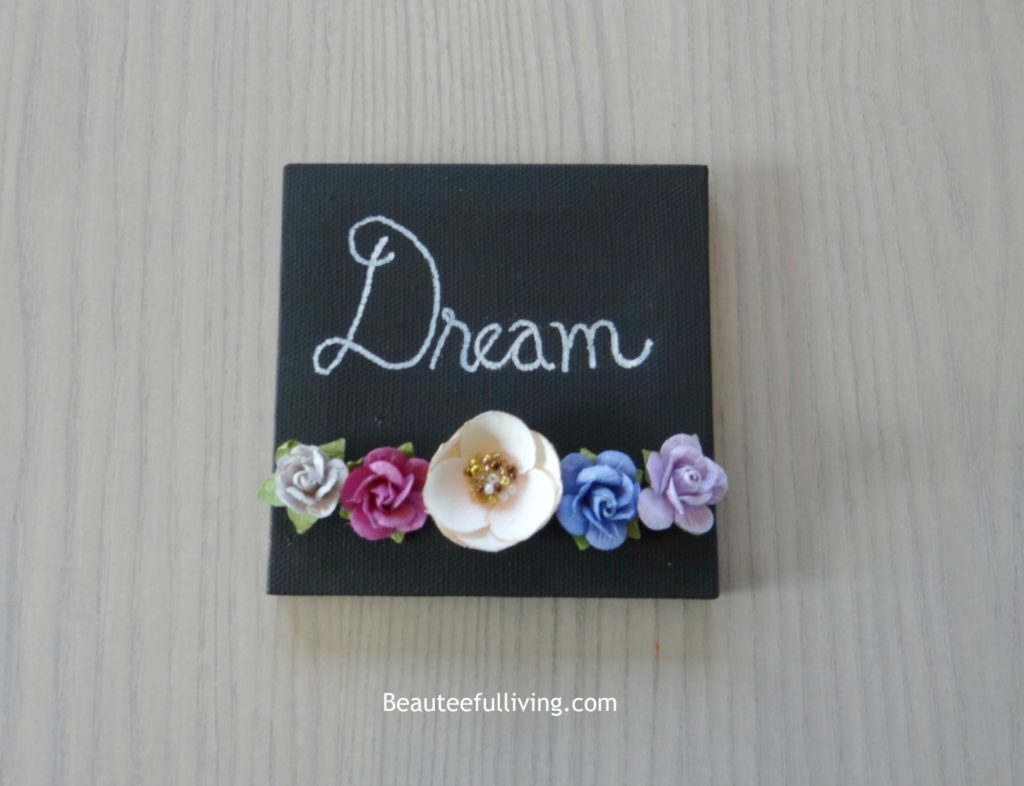
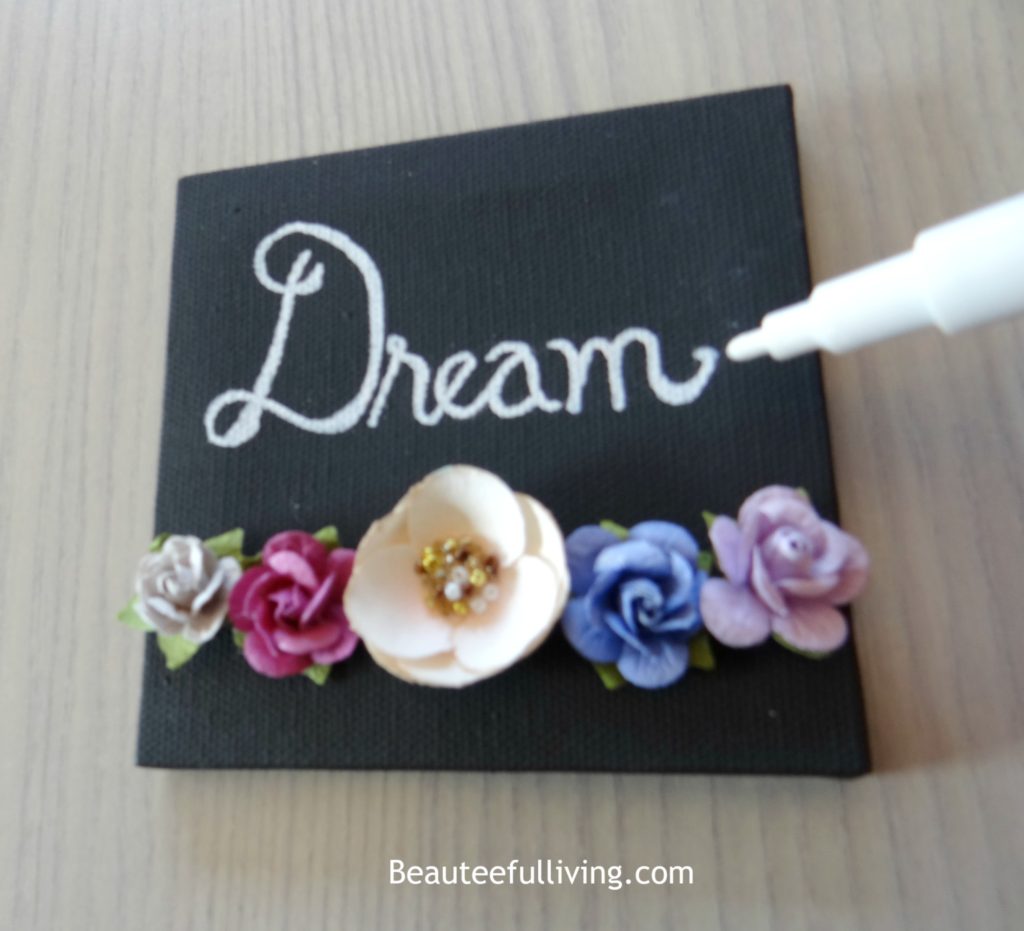
Step 5 – Use your white permanent chalk marker and fill in the word.
Step 6 – Fill in your word more by drawing in each letter, making it more pronounced.
Step 7 – Add 3 teardrop shaped rhinestones to your mini-canvas. ALL DONE! 🙂
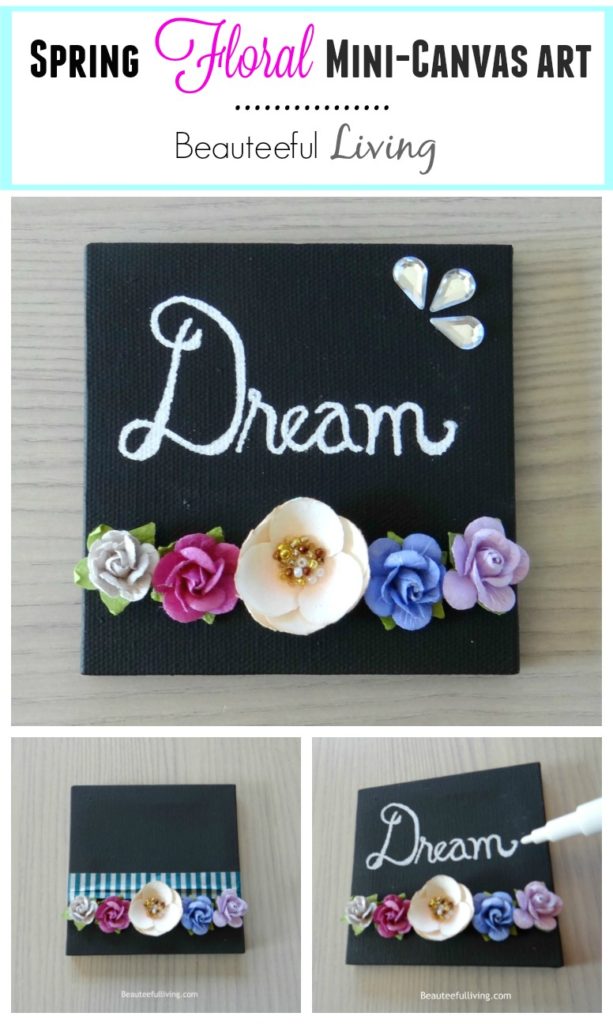
Love this Spring Floral Mini-Canvas Art project? Please PIN/Save.
Again, here’s info on my upcoming “Make It and Take It” workshop at The Philly Home and Garden Show:
Have a comment about today’s project? I’d love to hear from you. Until my next bog post, you can follow along Beauteeful Living via Facebook, Instagram, Pinterest, and Twitter. Have a great week, lovely readers! Xo, Tee.



This is so cute! And perfect for spring. I need to make something springy since it’s a full blown snow storm outside today with 4″ already and it’s still coming.
I wish I lived closer! How fun! I love this, it is perfect for the Spring with all the pretty flowers. I also love how the supplies are free, you can’t beat that!
Carrie
curlycraftymom.com
Congrats on your hosting a tutorial at the show, its such a cute project!
Maria
Wow!! I would have never thought this was so easy. What a fun project.
This is such a cute project! I am so ready for spring and I love the colors and the simplicity of this! Have to make it!
So pretty. Have fun at the show.
This is so pretty and it looks like so much fun! It also looks like it is not over complicated, which is awesome! It reminds me of the Paint Nite thing that my husband and I did this weekend! I would love to make something like this too!
What a darling project! It would look perfect in my daughter’s room and it doesn’t look too hard to put together! Thanks for the step-by-step tutorial, it helps so much when someone breaks down every step and gives tips as well!
This is adorable, I wish I could make it over there!
This is such a great idea. So fun!
I am not a very crafty person but you really laid it all out and made it SO easy even I could do this! I wish I were in your area. I would love to go to an event night with you.
This is such a pretty craft! I would do a few of them with all different words written on them, like dream, travel, love, etc.
Those flowers are too pretty! I wish I were in the area. This would be so fun to make 🙂 I shared to my followers though just in case any of them are near enough!
Thanks so much for sharing with your readers, Corinna! Wish you were in the area too!
I really like this a lot. I’m not very crafty so I don;t try very many DIY projects, but this one I might have to try. I love the looks of the flowers on the black background. This could make a great present too.
Very cute! What a fun idea!
That’s great that you will be hosting a tutorial at the home and garden show — love your canvas art!
Thanks so much, Lauren! I’m looking forward to this workshop 🙂