When I updated my daughters’ shared bedroom a couple of months ago, I received the sweetest comments on how the room turned out. If you missed the room reveal, you can catch the post here. The jewelry pegboard DIY project I completed was one of my favorite elements. According to the feedback received, that organizer was also a favorite among my lovely readers.
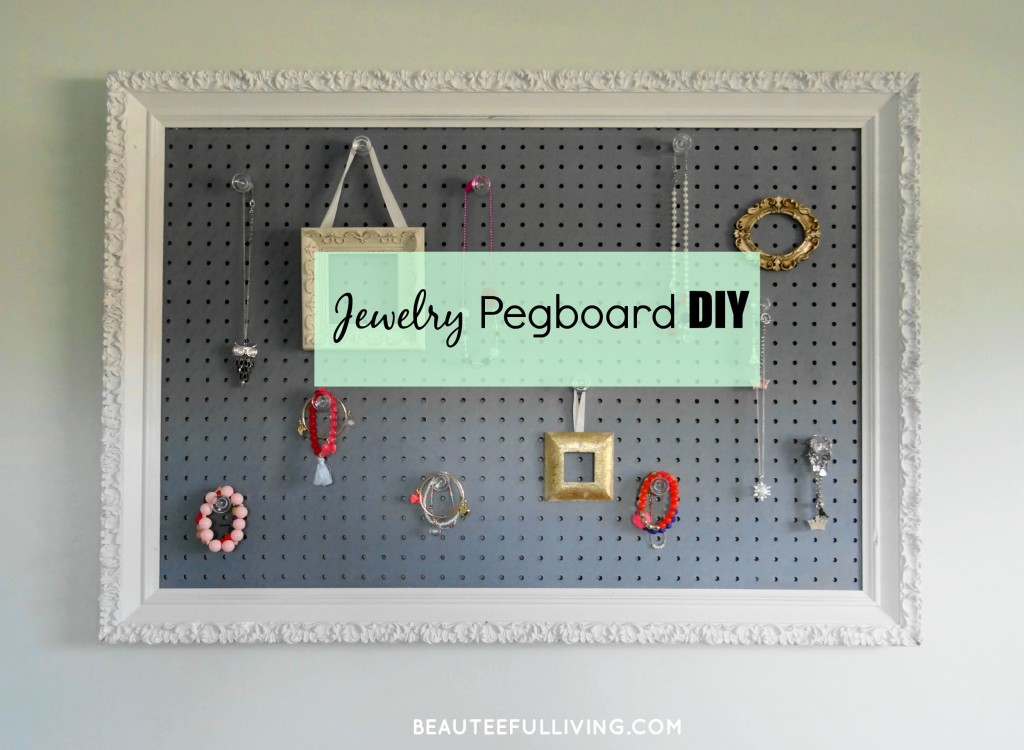
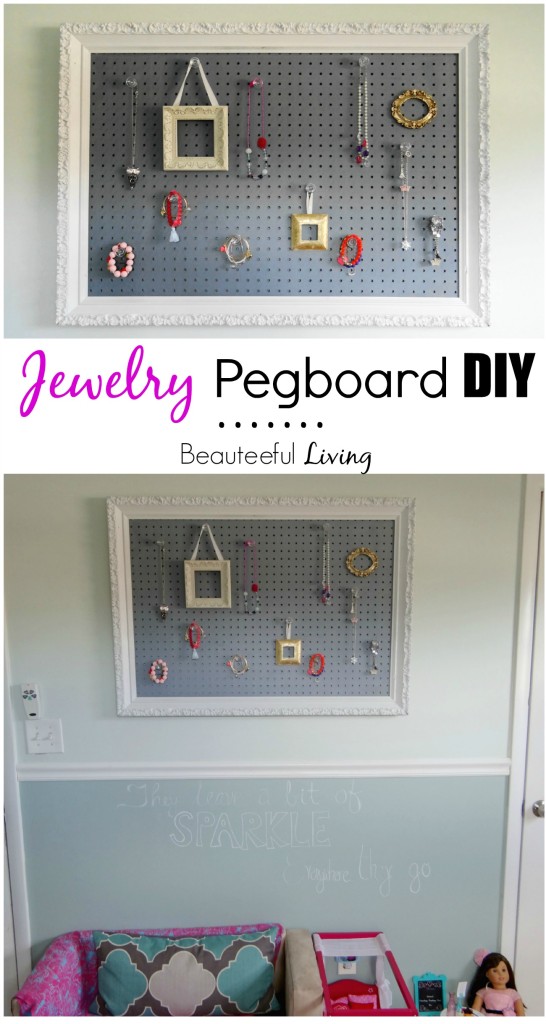
On the blog today, I’m excited to share a tutorial on the jewelry pegboard organizer that is hanging all pretty in my kids’ “modern girl chic” themed bedroom.
Before I share the tutorial, I must WARN you…
The beginning photos of the steps are NOT PRETTY! 😀
1. Find Large Picture Frame
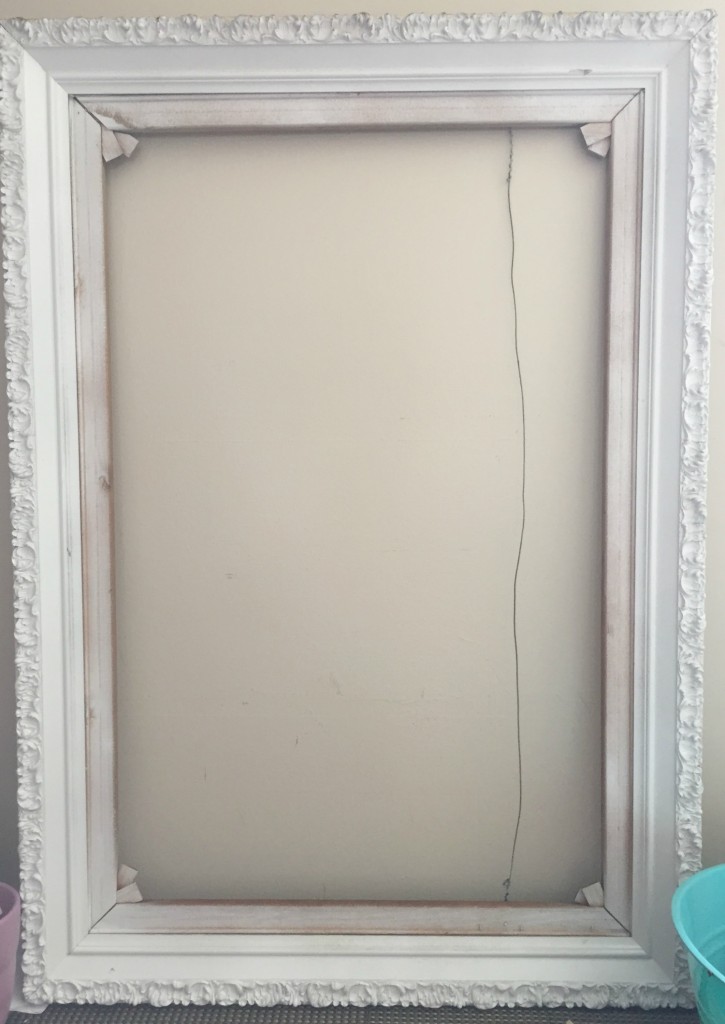
This project all started when I spotted this large vintage picture frame at my next door neighbor’s yard sale. The size of the frame measured 41 inches length by 28 inches height. When I told my neighbor that I loved the ornate details of the frame, she told me, “consider it yours now.”
Hooray for awesome neighbors! 🙂 Since she wouldn’t take money from me, I gave her a fresh loaf of bread that I purchased as a 2-pack. So…for the cost of a loaf of bread, I scored this beauty. Funny, right? 🙂
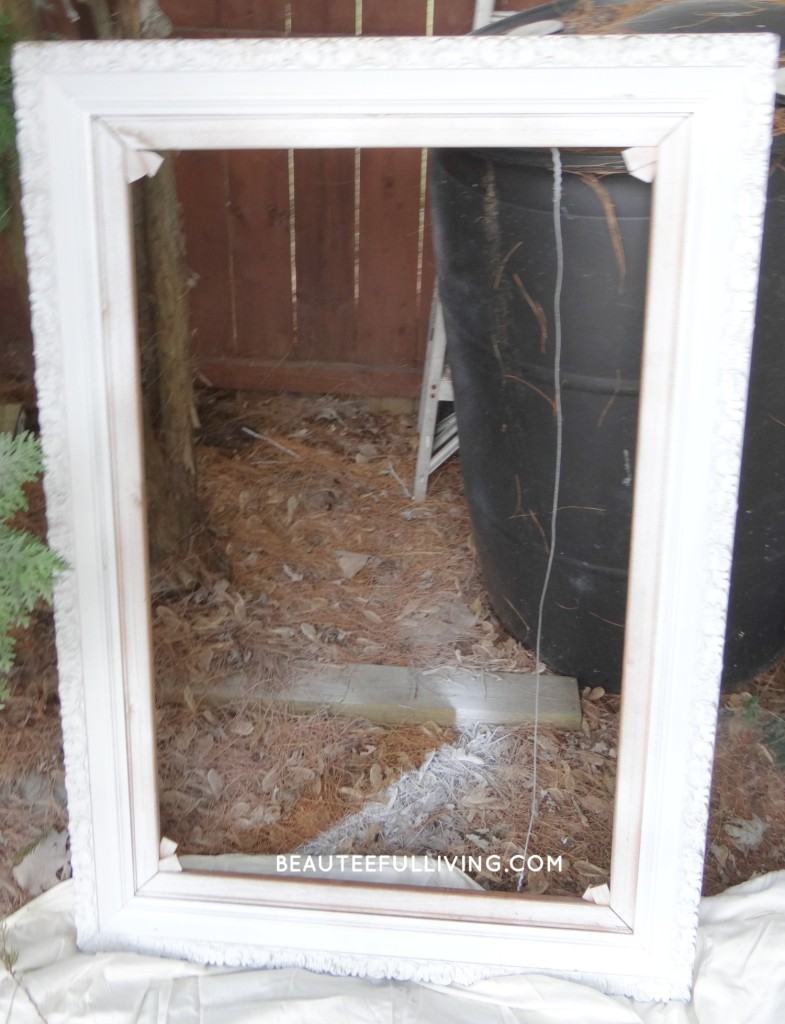
2. Repaint Frame
I used 1 can of white “semi-gloss” paint for the frame. You should do at least 2 coats. I did the spraying in a far corner of our backyard. Don’t we all have an “icky” part of our backyard for projects? 😉
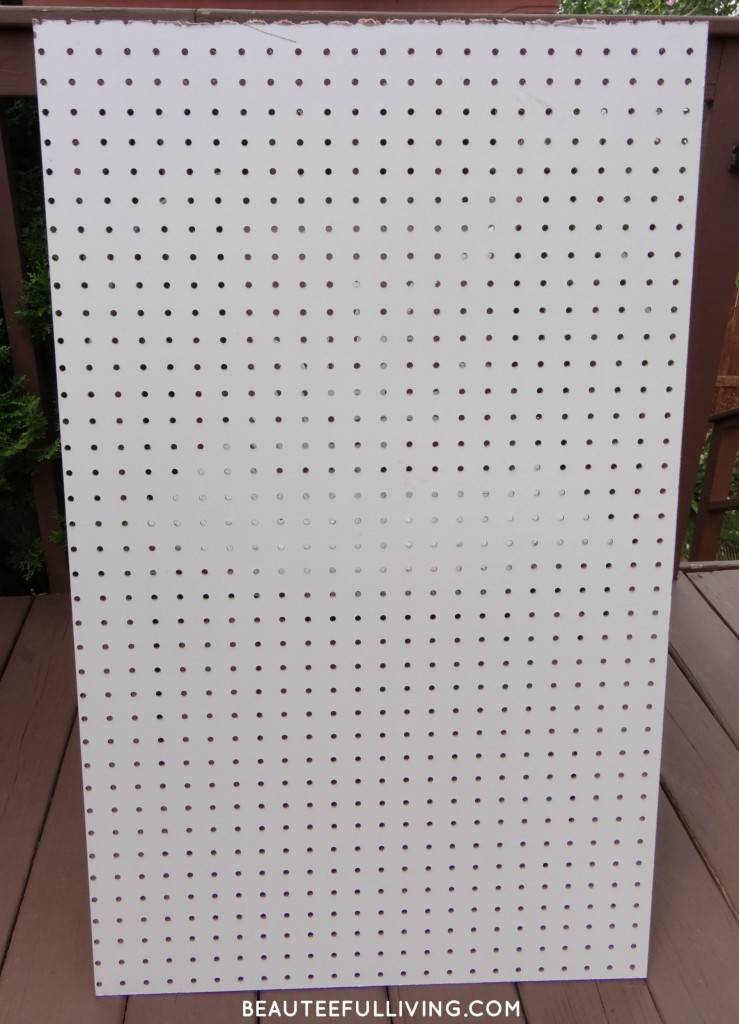
3. Cut Pegboard to Size
Make sure you don’t cut pegboard too small. You can always trim the pegboard if it’s too big for your picture frame.
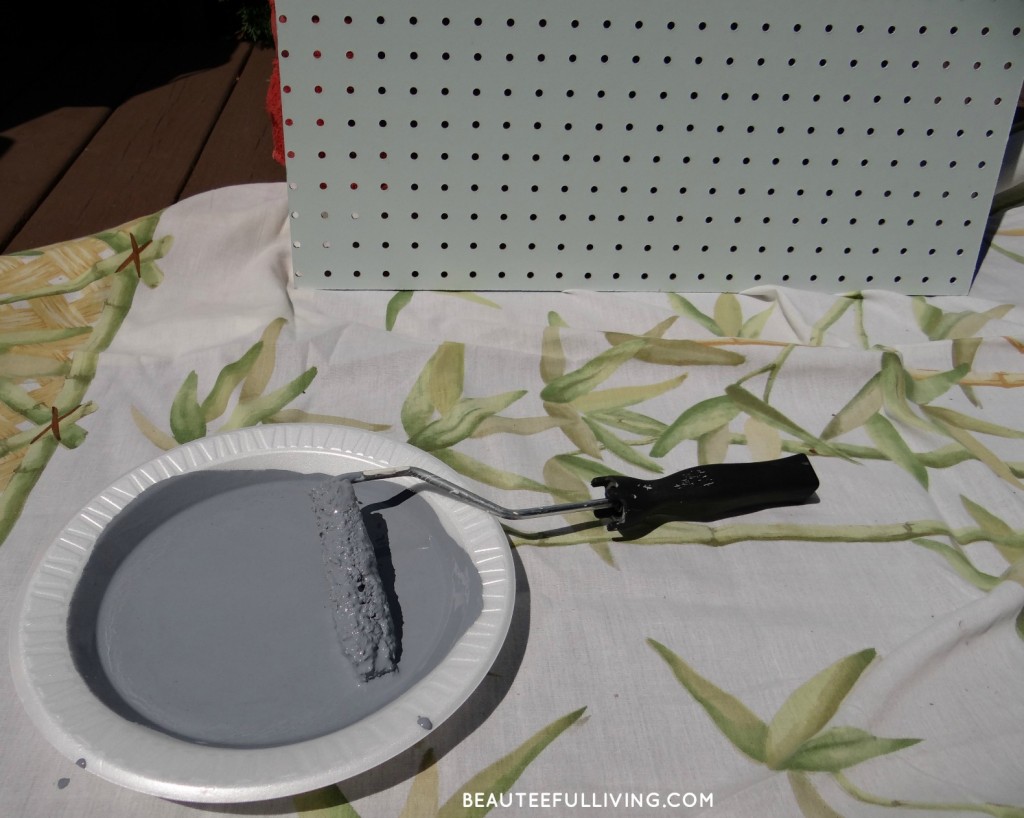
4. Paint Pegboard
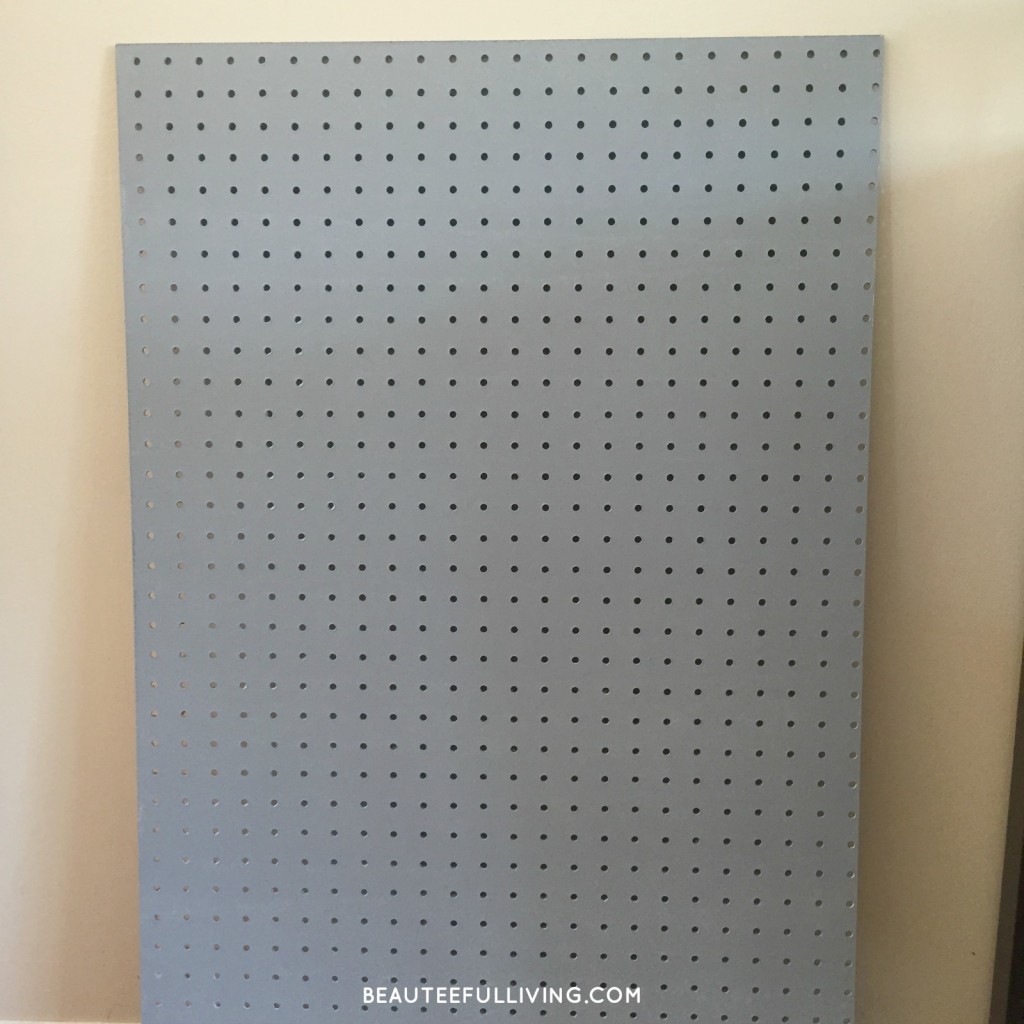
I chose a blue colored paint from Sherwin Williams. I thought the color would contrast well with the white frame. By the way, this is a great project to utilize the “leftover” paint from one of your previous painting projects. That’s exactly what I did!
I recommend 2 coats of paint.
5. Allow Paint to Dry
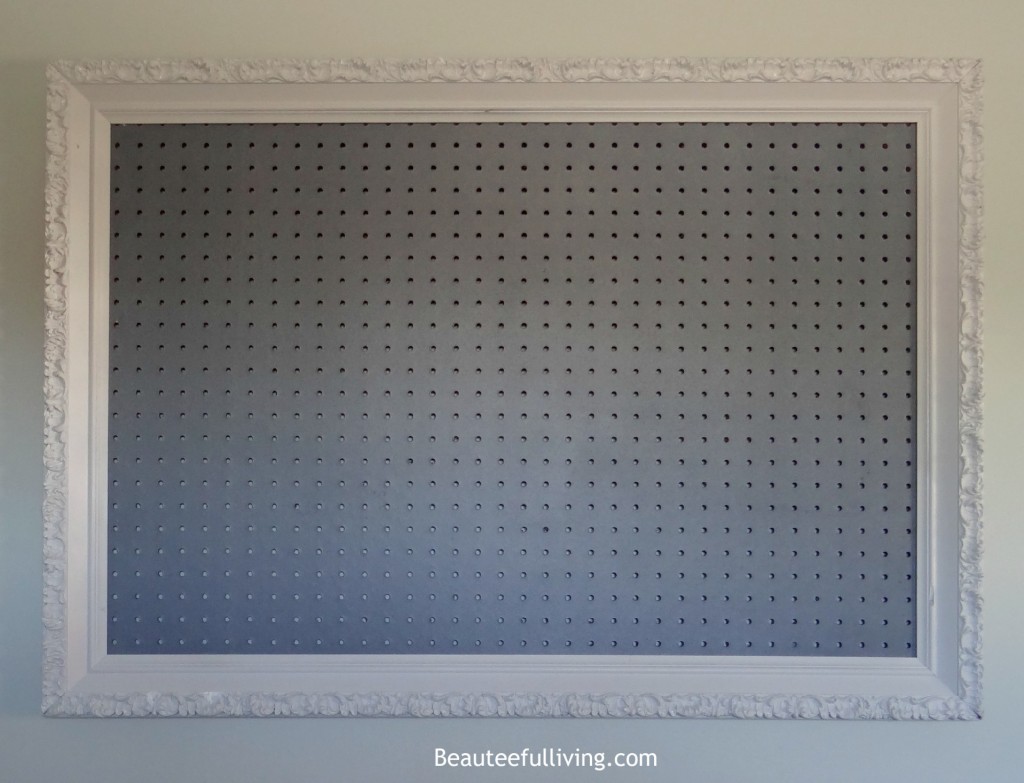
6. Secure Pegboard onto the Frame.
Love the color contrast between the grey-ish blue color against the white-colored frame.
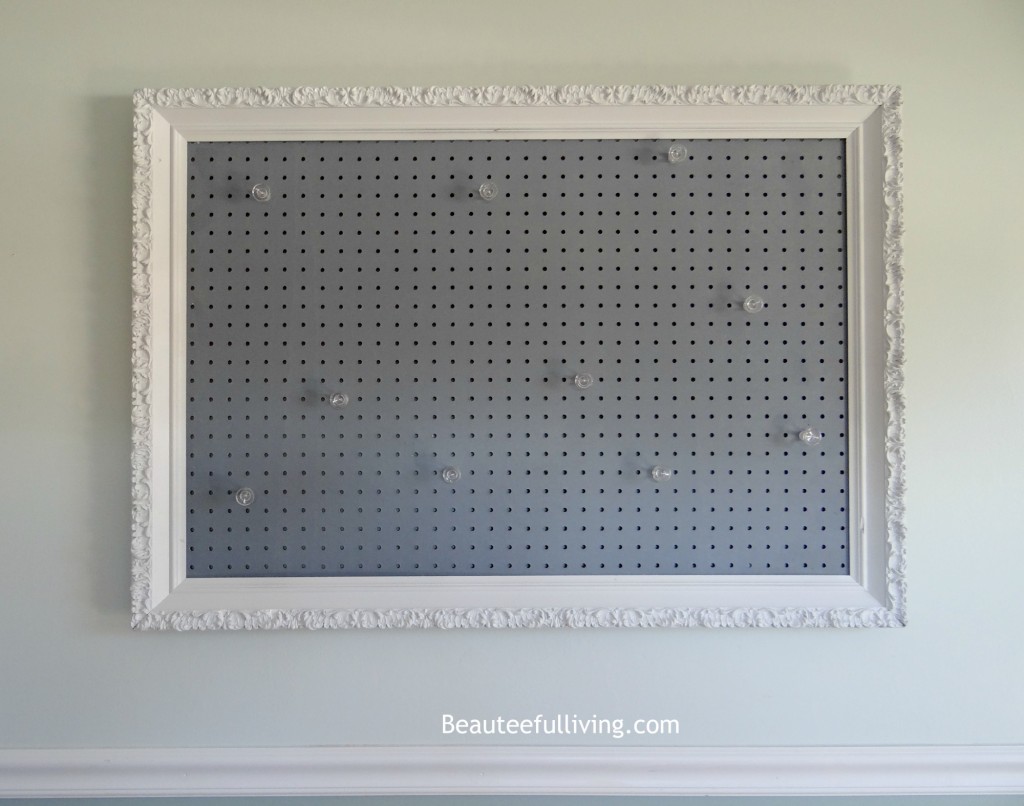
7. Use Hardware to Hang Jewelry
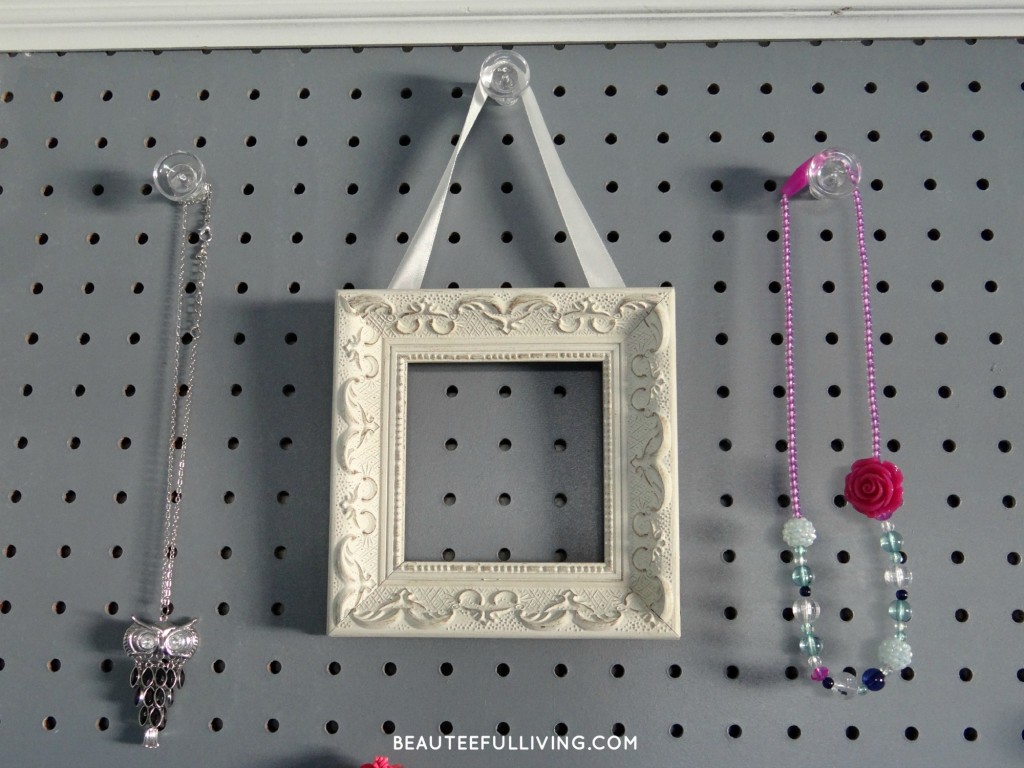
Most people use pegboard hooks but I decided to use these clear drawer pulls I had lying around.
Note: If you use drawer pulls, you’ll likely have to trim part of the hardware because the spacing will be too wide between the decorative knob and the backing.
8. Add Small Picture Frames to Jewelry Organizer
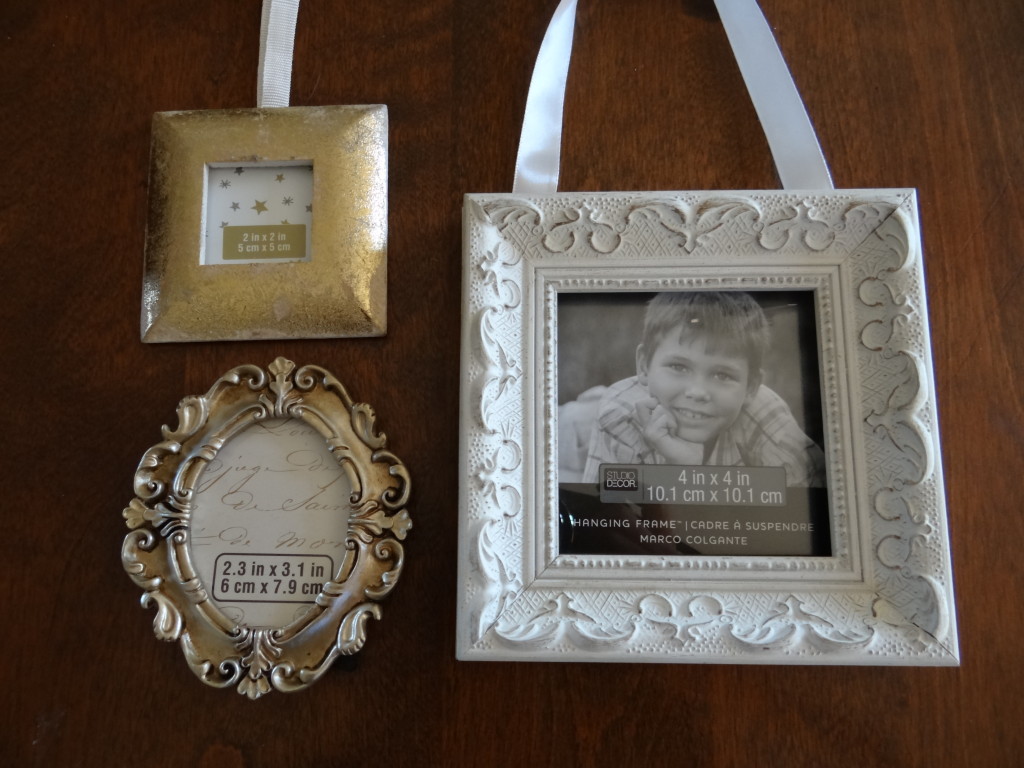
Adding these frames will give the pegboard more interest. Be sure to remove the backing so that you’re only using the frame. I purchased these pretty frames from Michaels.
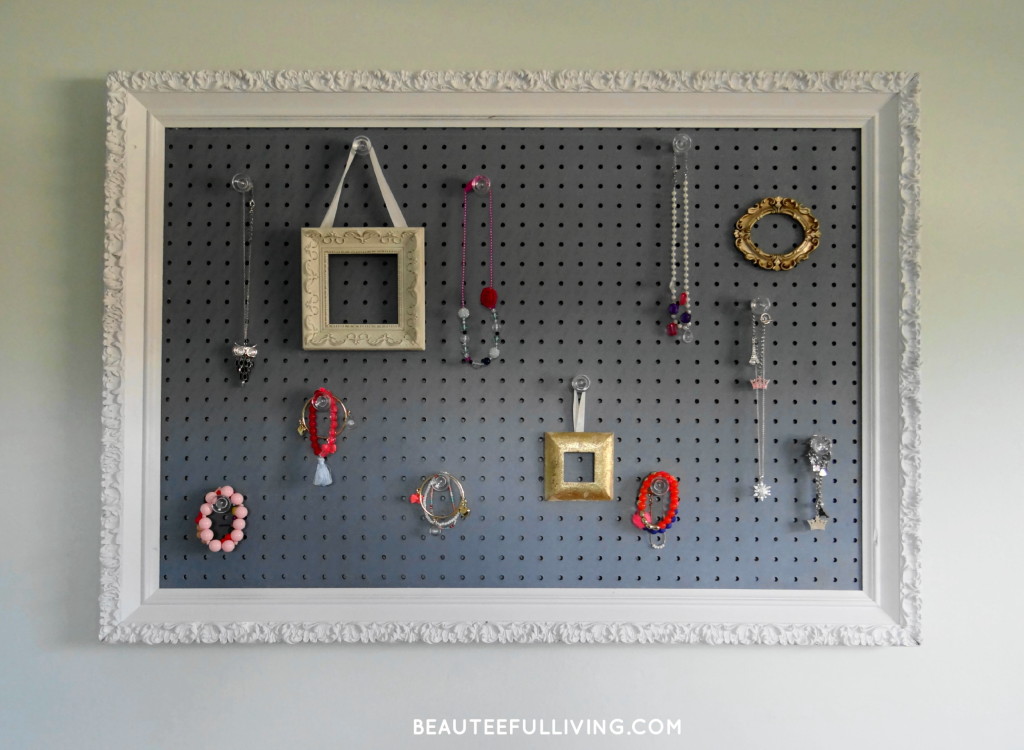
9. Adorn Your Jewelry Pegboard Organizer!
Thanks to this organizer, my daughters can easily pick out what jewelry to go with their outfits. By the way, 90% of the time, they don’t wear jewelry. They are still a little young. 🙂
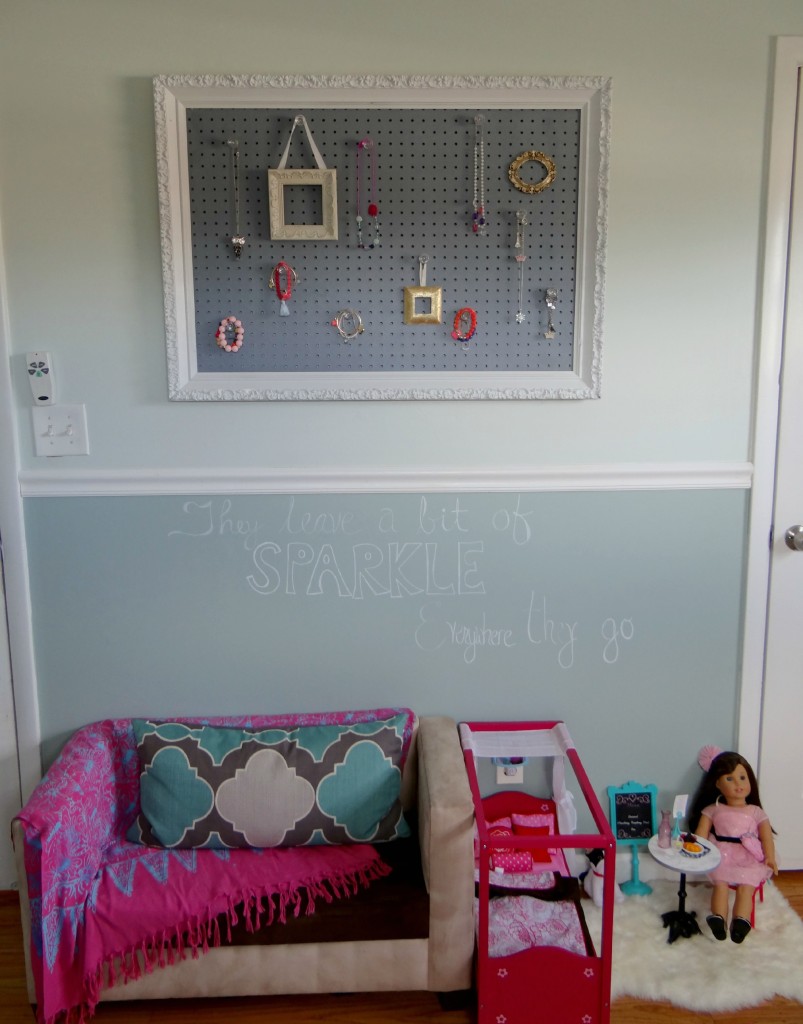
Here’s a full view of the wall with the jewelry pegboard organizer.
Love this project? Please PIN and share! You’re the best!
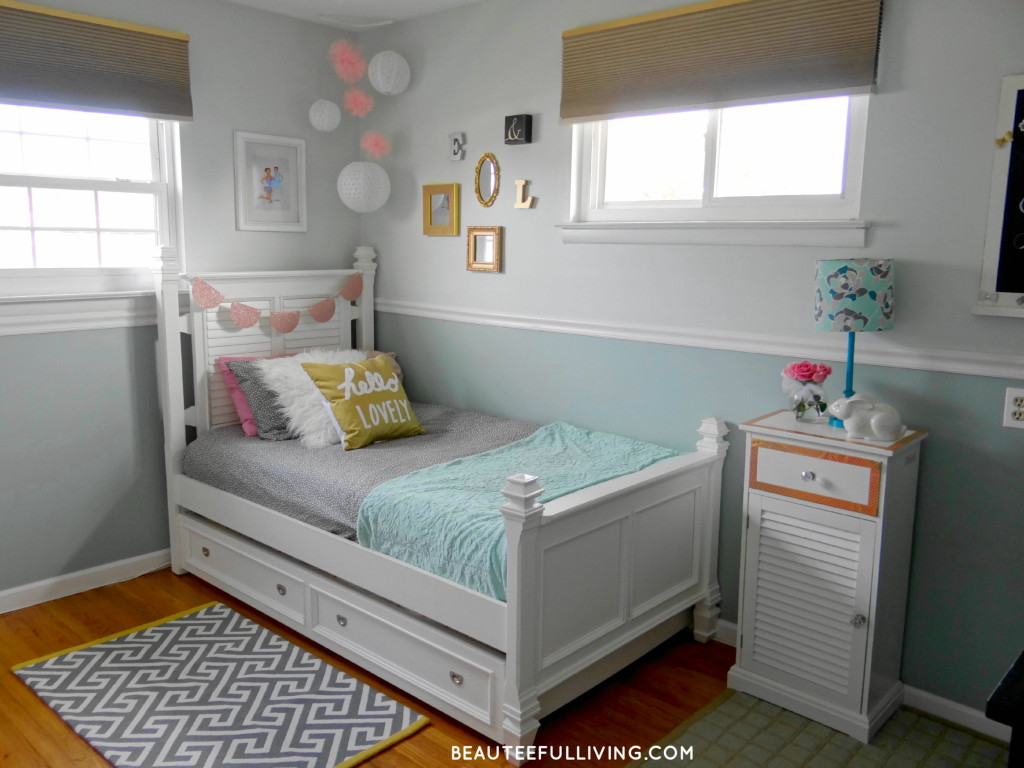
Here’s the other side of this room:
I hope you’ve enjoyed this tutorial. If you’re new to Beauteeful Living, please join newsletter to never miss DIY projects like the one shown today:
Thanks for reading! Would love to hear your thoughts or questions on this project. XO, Tee




How could you hang it without the frame? If the pegboard is flat to the wall, can you hang pegs on it?
Hi Bonnie, the pegboard is nailed into the large picture frame. I used little nails to affix the pegboard onto the back of the frame. There’s some space between the peg holes and the wall so hanging items have not been a problem. I used knobs instead of those metal hangs that most people use. Thanks for your question and for commenting.
I love this! It looks so simple but beautiful! I think i might try something like this for my office. Your daughters room is beautiful too by the way, i love how it turned out.
I love upcycle projects like this!!! Your jewelry peg board turned out perfect, the gray color is my favorite part! I love how your daughters room turned out overall, such a cute space for her!
I really love that frame and it turned out so cute. I am not great with crafts and projects, but I’m getting better everytime I try something new. I bet she just loves her new room.
Oh wow! it definitely turned out great! Cool idea :), now I wanna do something like this for my jewelries. Nice nice idea!
What a cool idea. You wouldn’t think (from the early photos) that it would turn out so nice, but it certainly did! It makes an art installation out of jewelry, which I think is a really neat presentation. Nice work!
Love this idea for my daughter’s room! Hmmm…maybe mine too 😉 Great idea using the drawer pulls, so much prettier than hooks.
This DIY project is really pretty! I wish I could make something as beautiful as this one for my daughter’s bedroom.
The addition of small picture frames is genius!
That’s very lovely!!! And not to mention the cost of the frame is really cheap.
I guess this is something I could make for my little girl’s bedroom. Thanks for sharing this!
This turned out SO cute and I love how you used drawer pulls instead of hooks! I have been wanting to do a pegboard for my office, but this girly version is so unique and just adorable.
Carrie
curlycraftymom.com
Aww so cute! I bet your daughter adores the hard work you putt into making the jewelry pegboard. I love that it can totally be customized to whatever color paint you want. Love that it displays it but still keeps the jewelry neat.
This is so awesome! I need to make one for my daughter! Love it!
This turned out so pretty. I love the grey and white combo…every girl needs a pretty jewelry holder.
Oh I love this! I need a new option for my jewelry organization. I had a whole set up at my old apartment, but since I moved into my new house I don’t really have a workable solution unfortunately. This might work though!
Jewelry Peg Board, what a great idea. I think what I will do is make a bigger one so that I can hang some of my yarn crafts from it or display in in unique and cute way!
I love this idea can I have the frame back
Glad you like this idea, Robin! Thanks so much for giving me that beautiful frame! Sorry….you’re not getting it back 😉
This is such a cool DIY project and you did a great job! I love the frame you picked, it has a shabby chic style to it which is a favourite of mine. This would be so handy for storing my own favourite jewellery because all my necklaces get tangled with each other in my jewellery box.
I love the shabby chic style too! Yes, I hear you about jewelry getting all tangled in jewelry boxes. This would be a good solution.
Hi, Tee! I love how your project turned out — it’s so pretty and useful! I made a mini framed jewelry organizer for myself a while back, but now I am thinking that I could use a bigger one! BTW — nice neighbor! 🙂
Thanks so much, Lauren! Nice neighbors rock, right 🙂
I really love this……I have a couple of empty frames that would work perfect for this. Sharing and pinning.
Thanks so much, Bon! Empty frames are awesome to repurpose and decorate with!
LOVE this idea! Since I don’t have any girls, I’m going to have to make something like this for myself! 😀 😀
You should make this for yourself, Angela! :). Thanks for commenting.
I love this! I always seem to come across empty frames and this is a great solution for them. I love the colors you used in your daughters bedroom.
Thanks for your feedback, Emily!
that turned out so great! I love all the space it has and room for lots of Jewelry! They will love this for years to come.
Thanks, Emily! I love all the storage too.