It’s my birthday today and I’m celebrating with another blog hop! Okay, okay, I promise I will be offline as much as I can and go enjoy the day. I cannot wait for my birthday dinner with my husband and kids this evening! Hmm, wonder what place the husband is surprising me with today! 🙂
Oh…back to this blog hop. If you’re following my posts on Instagram, you’ll notice that for 6 weeks now, I’ve joined 15 blogger friends of mine on hosting a fall-related decorating challenge under the Hashtag #Homeforthefallidays. There’s a new theme each week. Since this week’s theme is “DIY,” eight of us hosting decided to post our DIY project on our blogs as well.
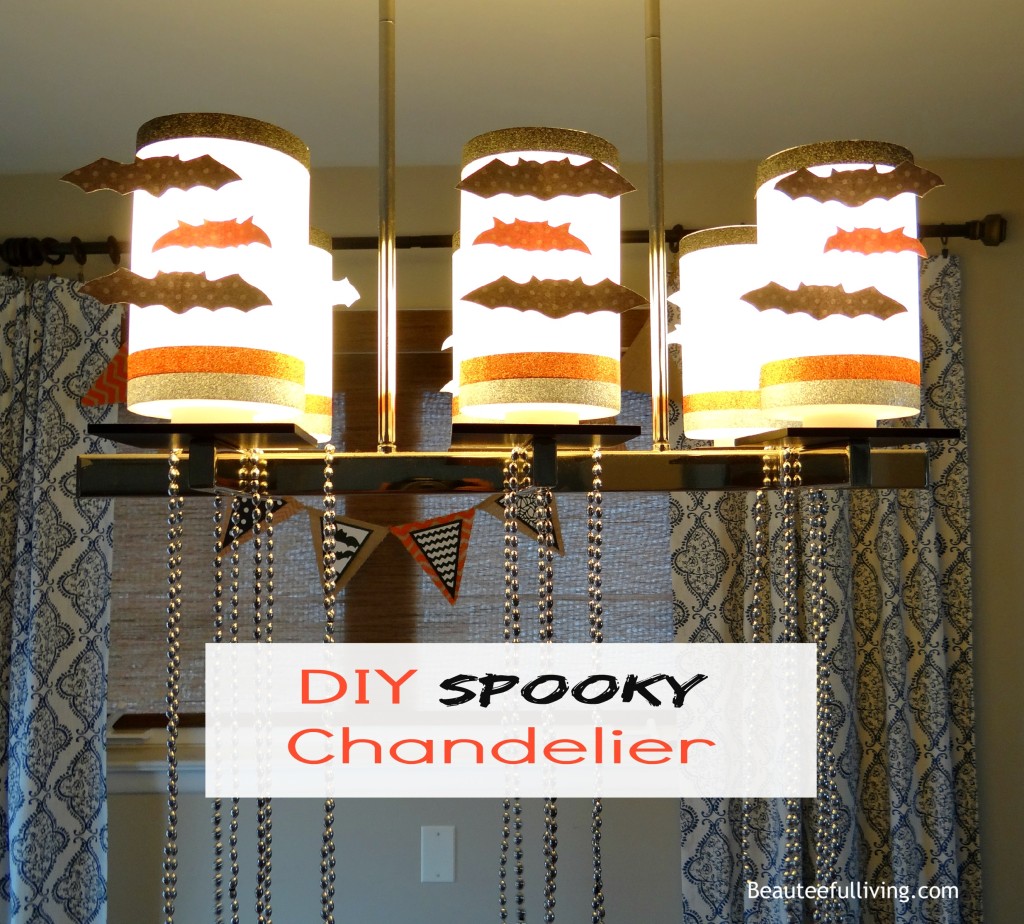
Since I’ve wanted to make embellishments to my pendant chandelier for Halloween, this was the EXACT project I thought would be perfect for this challenge.
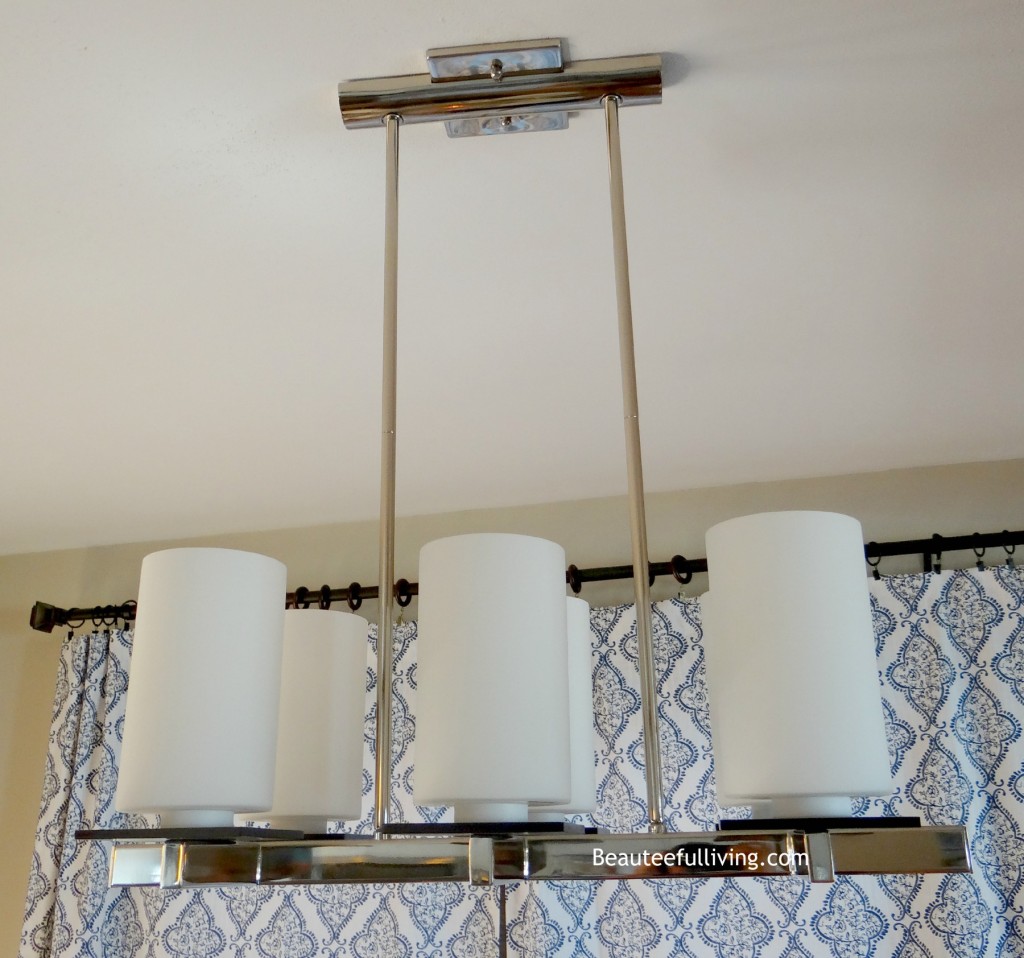
Here is the West Elm pendant chandelier that I’m constantly decorating for holidays and parties. Some examples here, here, and here.
Here are the simple steps to recreate my DIY Spooky Chandelier Project:
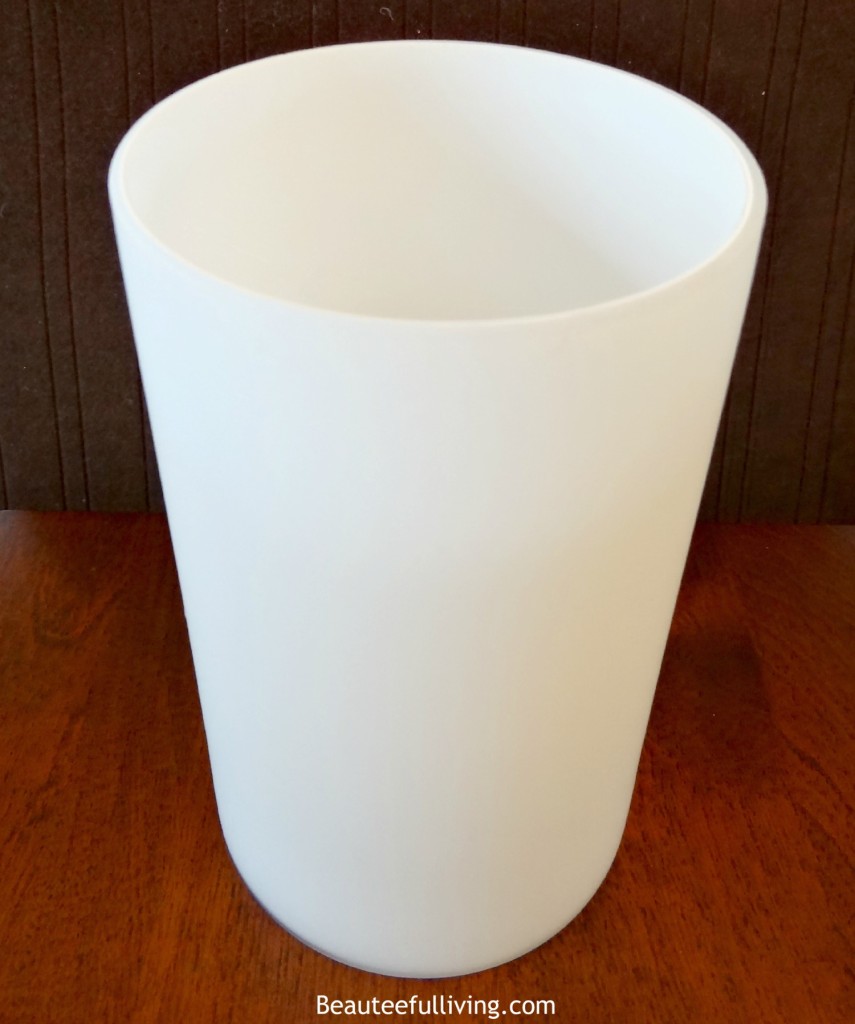
STEP ONE: Remove your glass shades from chandelier. It definitely wouldn’t hurt to clean and dust them off. It’s been hanging from the ceiling. You must’ve missed a spot cleaning it at some point. 🙂
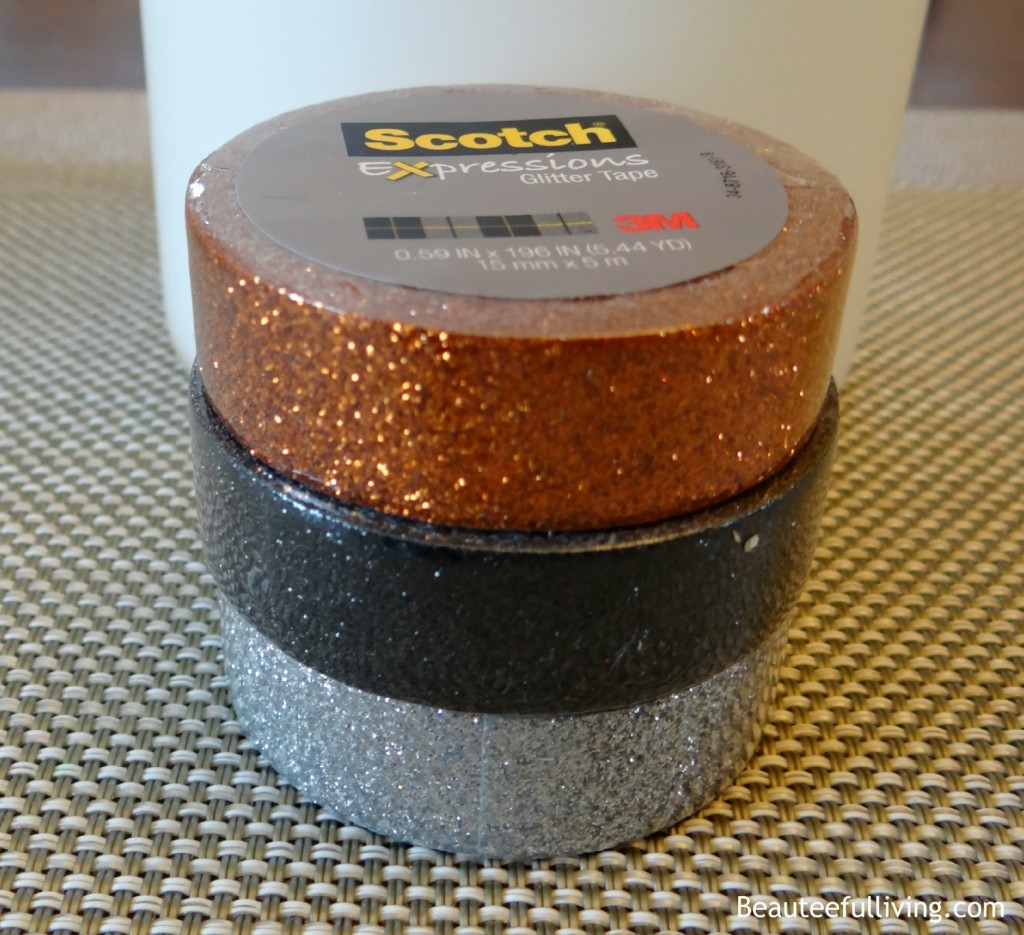
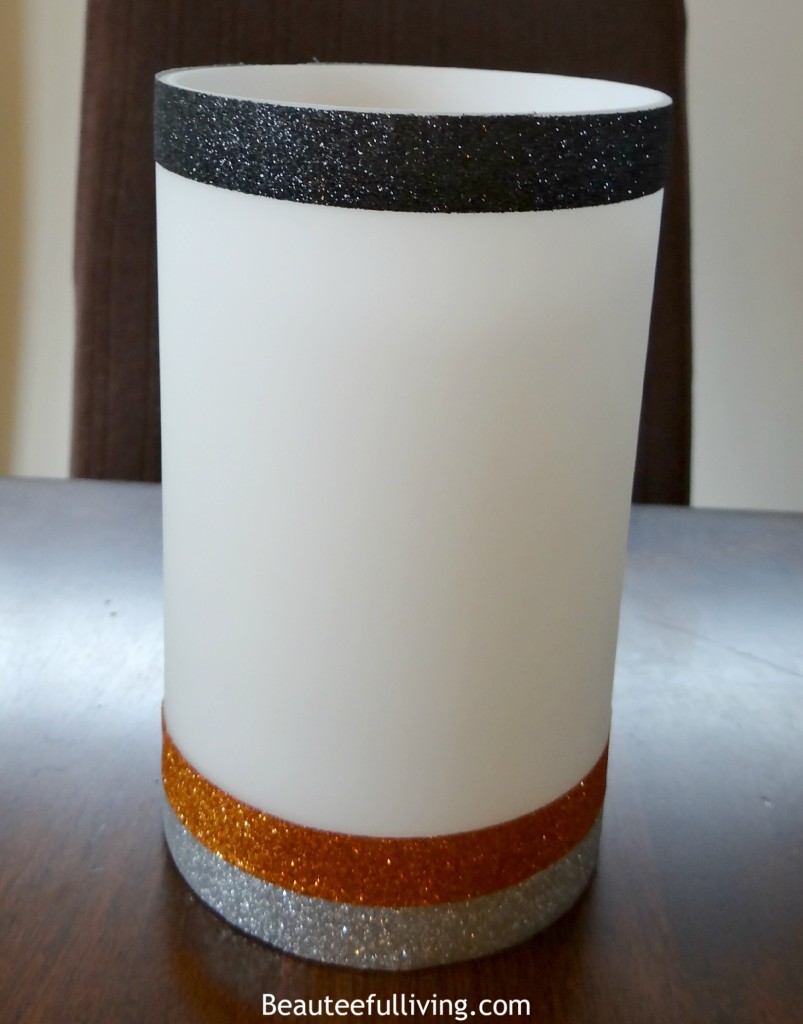
STEP TWO: Get Scotch Expressions glitter tape. I chose silver, black, and orange to go with Halloween theme.
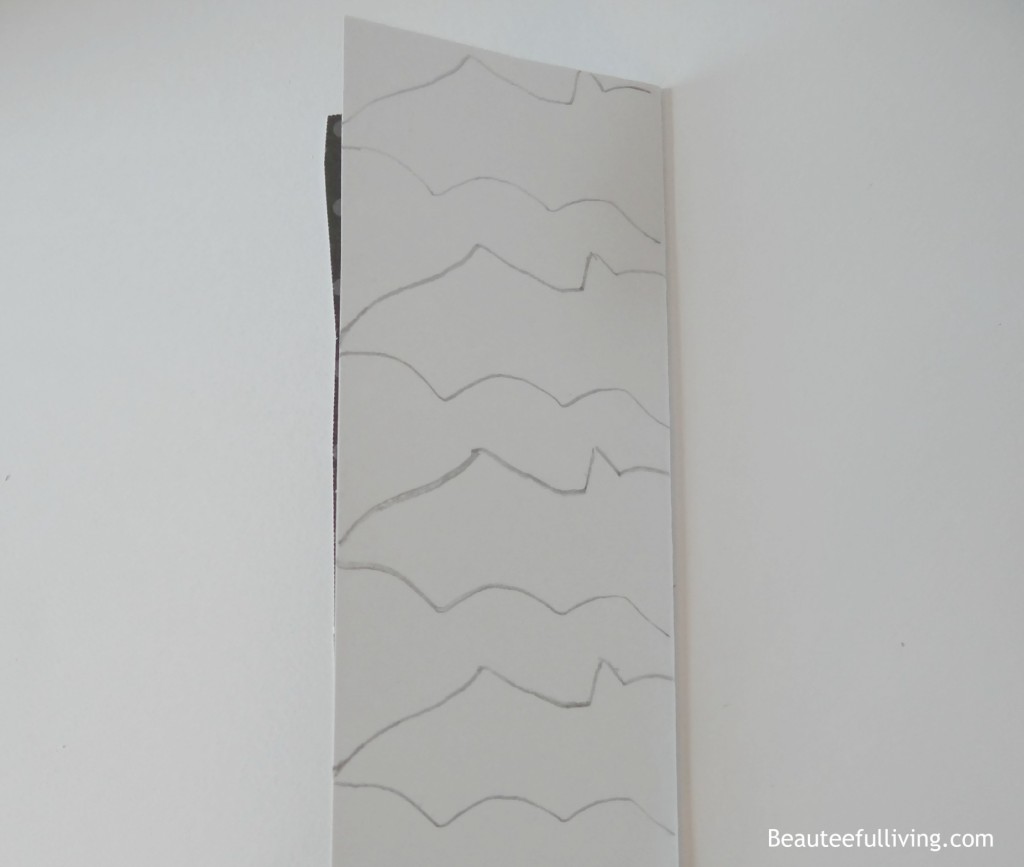
STEP THREE: Fold a piece of paper stock in half and draw a silhouette of bats (only half of body is needed, of course). Cut out shapes. I just drew these by hand. No need to be fancy. 🙂
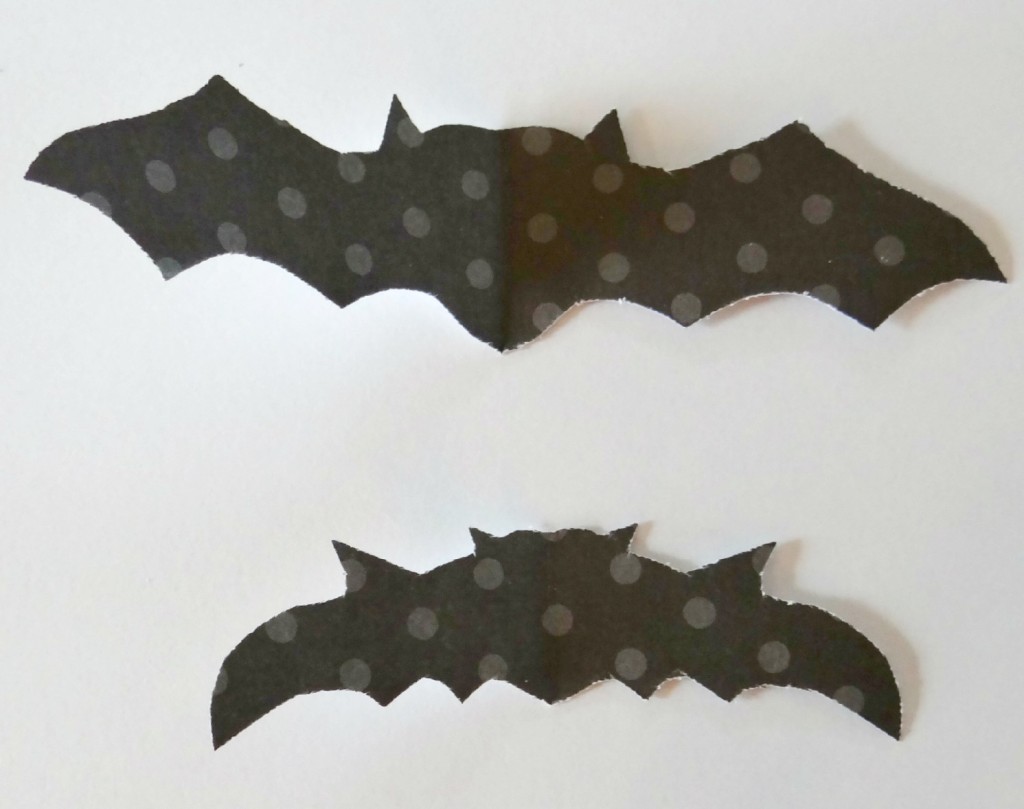
This is how they look once all cut out. I made ones with orange card stock paper as well.
STEP FOUR: Start wrapping your glass shade with the Scotch Expressions tape.
Tip: I used the black glitter tape on top because after Halloween, I can simply remove the top layer. The silver and orange glitter ribbons will still work for Thanksgiving! 🙂
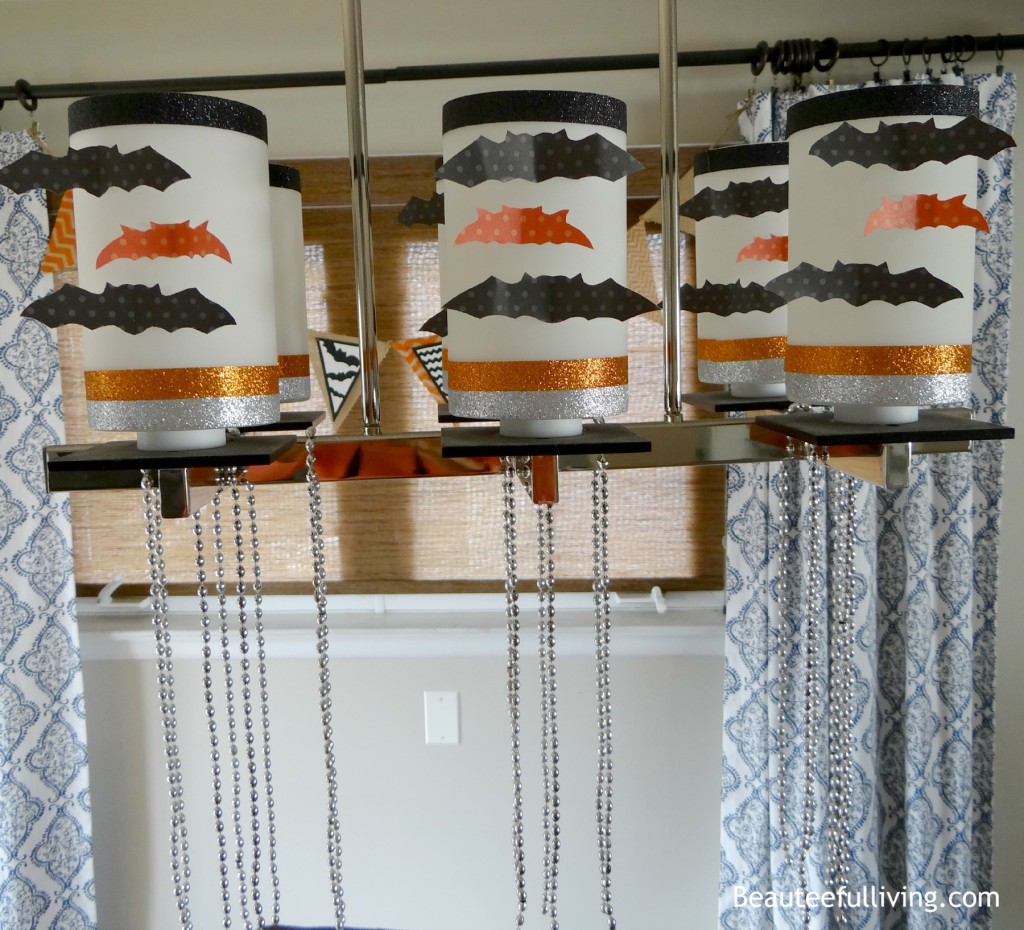
STEP FIVE: Stick your cool bats on your pendant shades! Removable glue dots or masking tape would work. By the way, you can crease the bat wings a little for a more 3-D look.
BONUS: If you want to give this look a little GLAM, dangle some silver beads to the bottom of your chandelier! All you have to do is cut those “mardi gras” beads by half. 😉
Below is a photo of the shades lit! Love that glow. Hope you’ve enjoyed this DIY Spooky Chandelier project! Please bookmark or Pin this post for future reference.
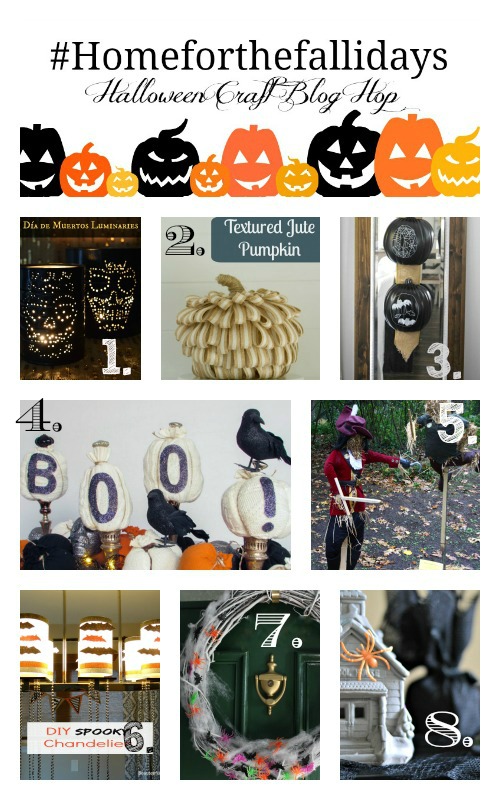
Don’t forget to check out these amazing projects from my talented blogger friends. Links below.
- Flourish and Knot – Día de Muertos Luminaries
- Little bits of fun – Textured Jute Pumpkin
- Our House Now a Home – Boo Pumpkins
- Pocketful of Posies – Boo Sweater Pumpkins
- Lehman Lane – Scarecrows for Halloween
- Beauteeful Living – Spooky Chandelier
- Oh the Fun – Spider and Bats Wreath
- Shabby Grace Blog – Spooky Halloween Village
Thanks for reading! Xo, Tee





Happy, happy birthday!!! Love how you decorated your chandelier! My chandelier has the same shaped glass, so I could totally copy this! Thanks for sharing!
Aww, thanks so much Samantha!
Happy birthday Tee! Your spooky chandelier is perfect! So simple and fun. I bet your kids love it.
Thanks so much, Tara. Yes, they do 🙂
This is amazing!
Thanks, Whitney!
Hi, Tee! Happy birthday! Love your DIY Halloween chandelier! SO cute — I might have to decorate mine!
Thanks so much, Lauren! I’d love to see how you decorate yours 🙂
What a simple yet effective decor idea! I’d honestly never thought of using decorative tape like that. Great job!
Thanks so much for your compliment!
Happy Happy Birthday Tee! I love the way you dressed up your chandelier! I would have never thought to do this, but I love, love the way it looks! Thank you so much for the awesome idea!
Thanks so much, Cat!
Happy Birthday Tee!!!!! Have a fabulous day and wonderful dinner tonight!!! GET out, on your light! So many talented gals, I can’t handle it. I would have NEVER thought to do that and it turned out great!
Thanks so much, Sara! I’m so blown away for the projects shared!