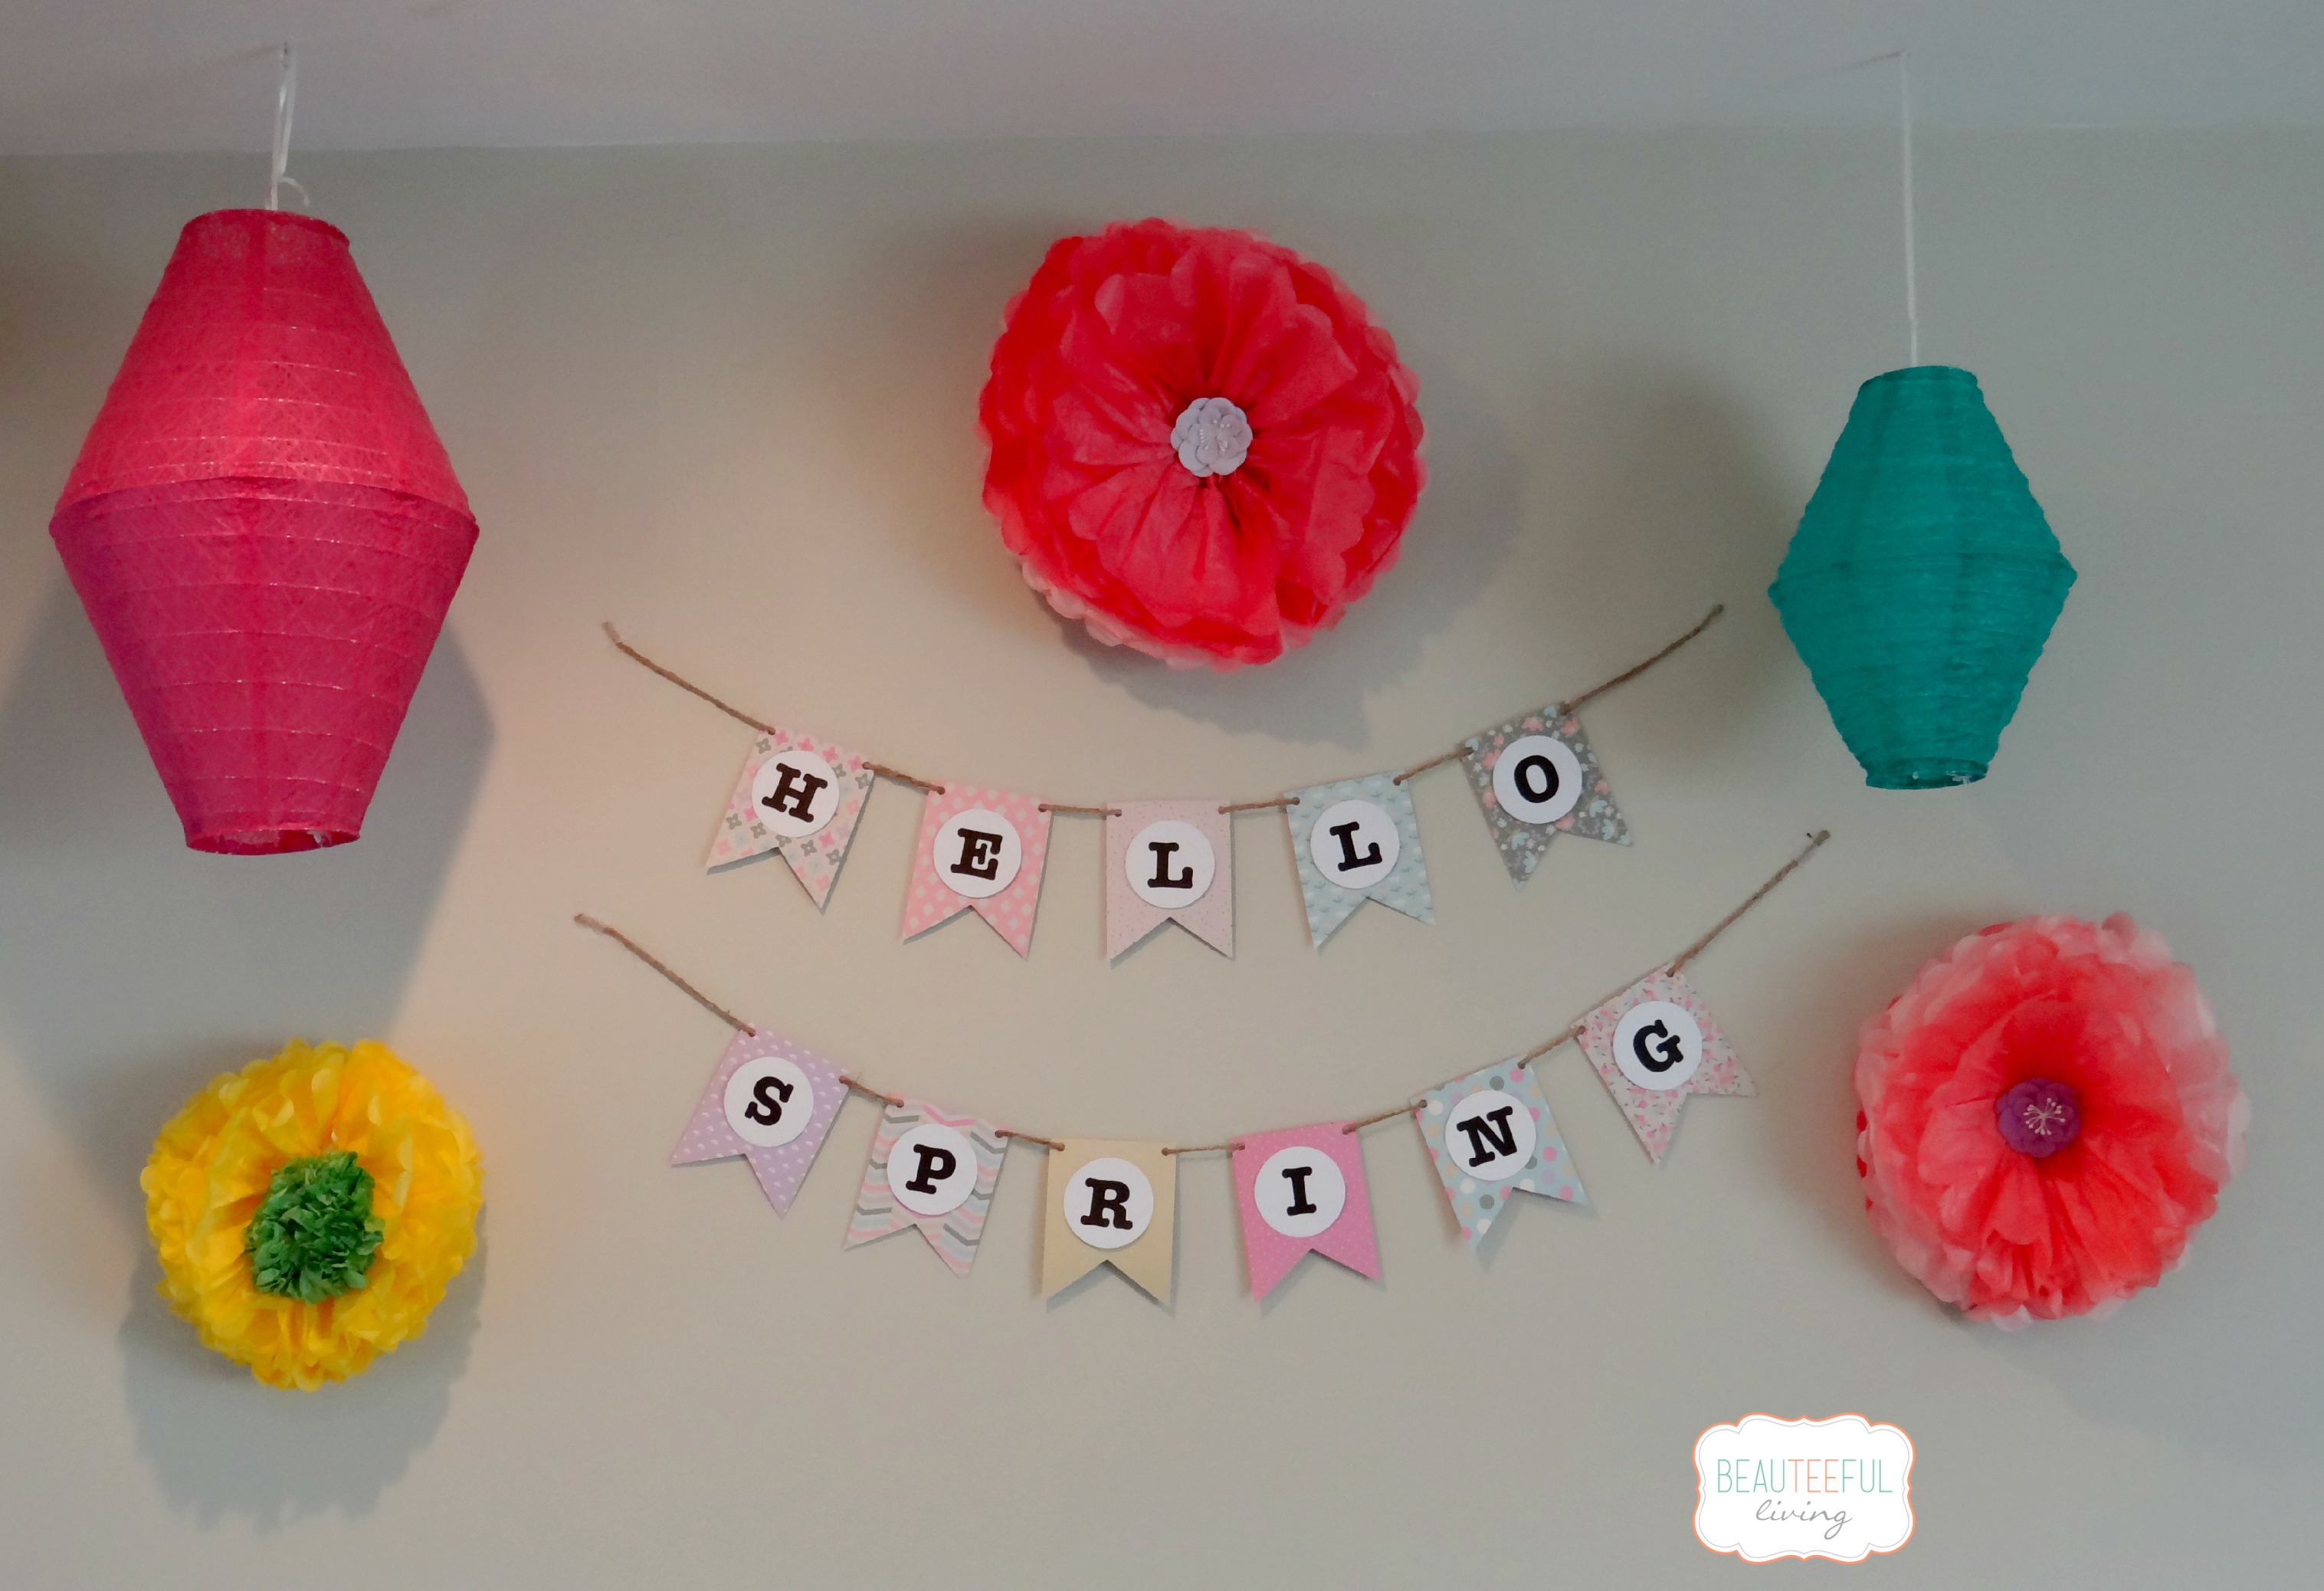
Pennant banners are among my favorite elements in party decor. But that doesn’t mean that they should only be used exclusively for parties. There’s nothing wrong with using it to welcome a season. After enduring extremely cold temperatures this winter season, I’ve been dying to say h-e-l-l-o to SPRING. Well, I put those sentiments into a banner I created for the latest Spring Craft Blog Hop Challenge (read about it here).
In this tutorial, I’d love to walk you through the simple steps into making your very own pennant banner. No fancy cutting machines needed! (Psst: That’s because I don’t own said fancy machine.)
Supplies Needed
* Cardstock paper (spring themed)
* Black letters
* Twine
* Tape or glue dots
Tools Needed: Ruler, Pencil, Scissors and Hole Puncher.
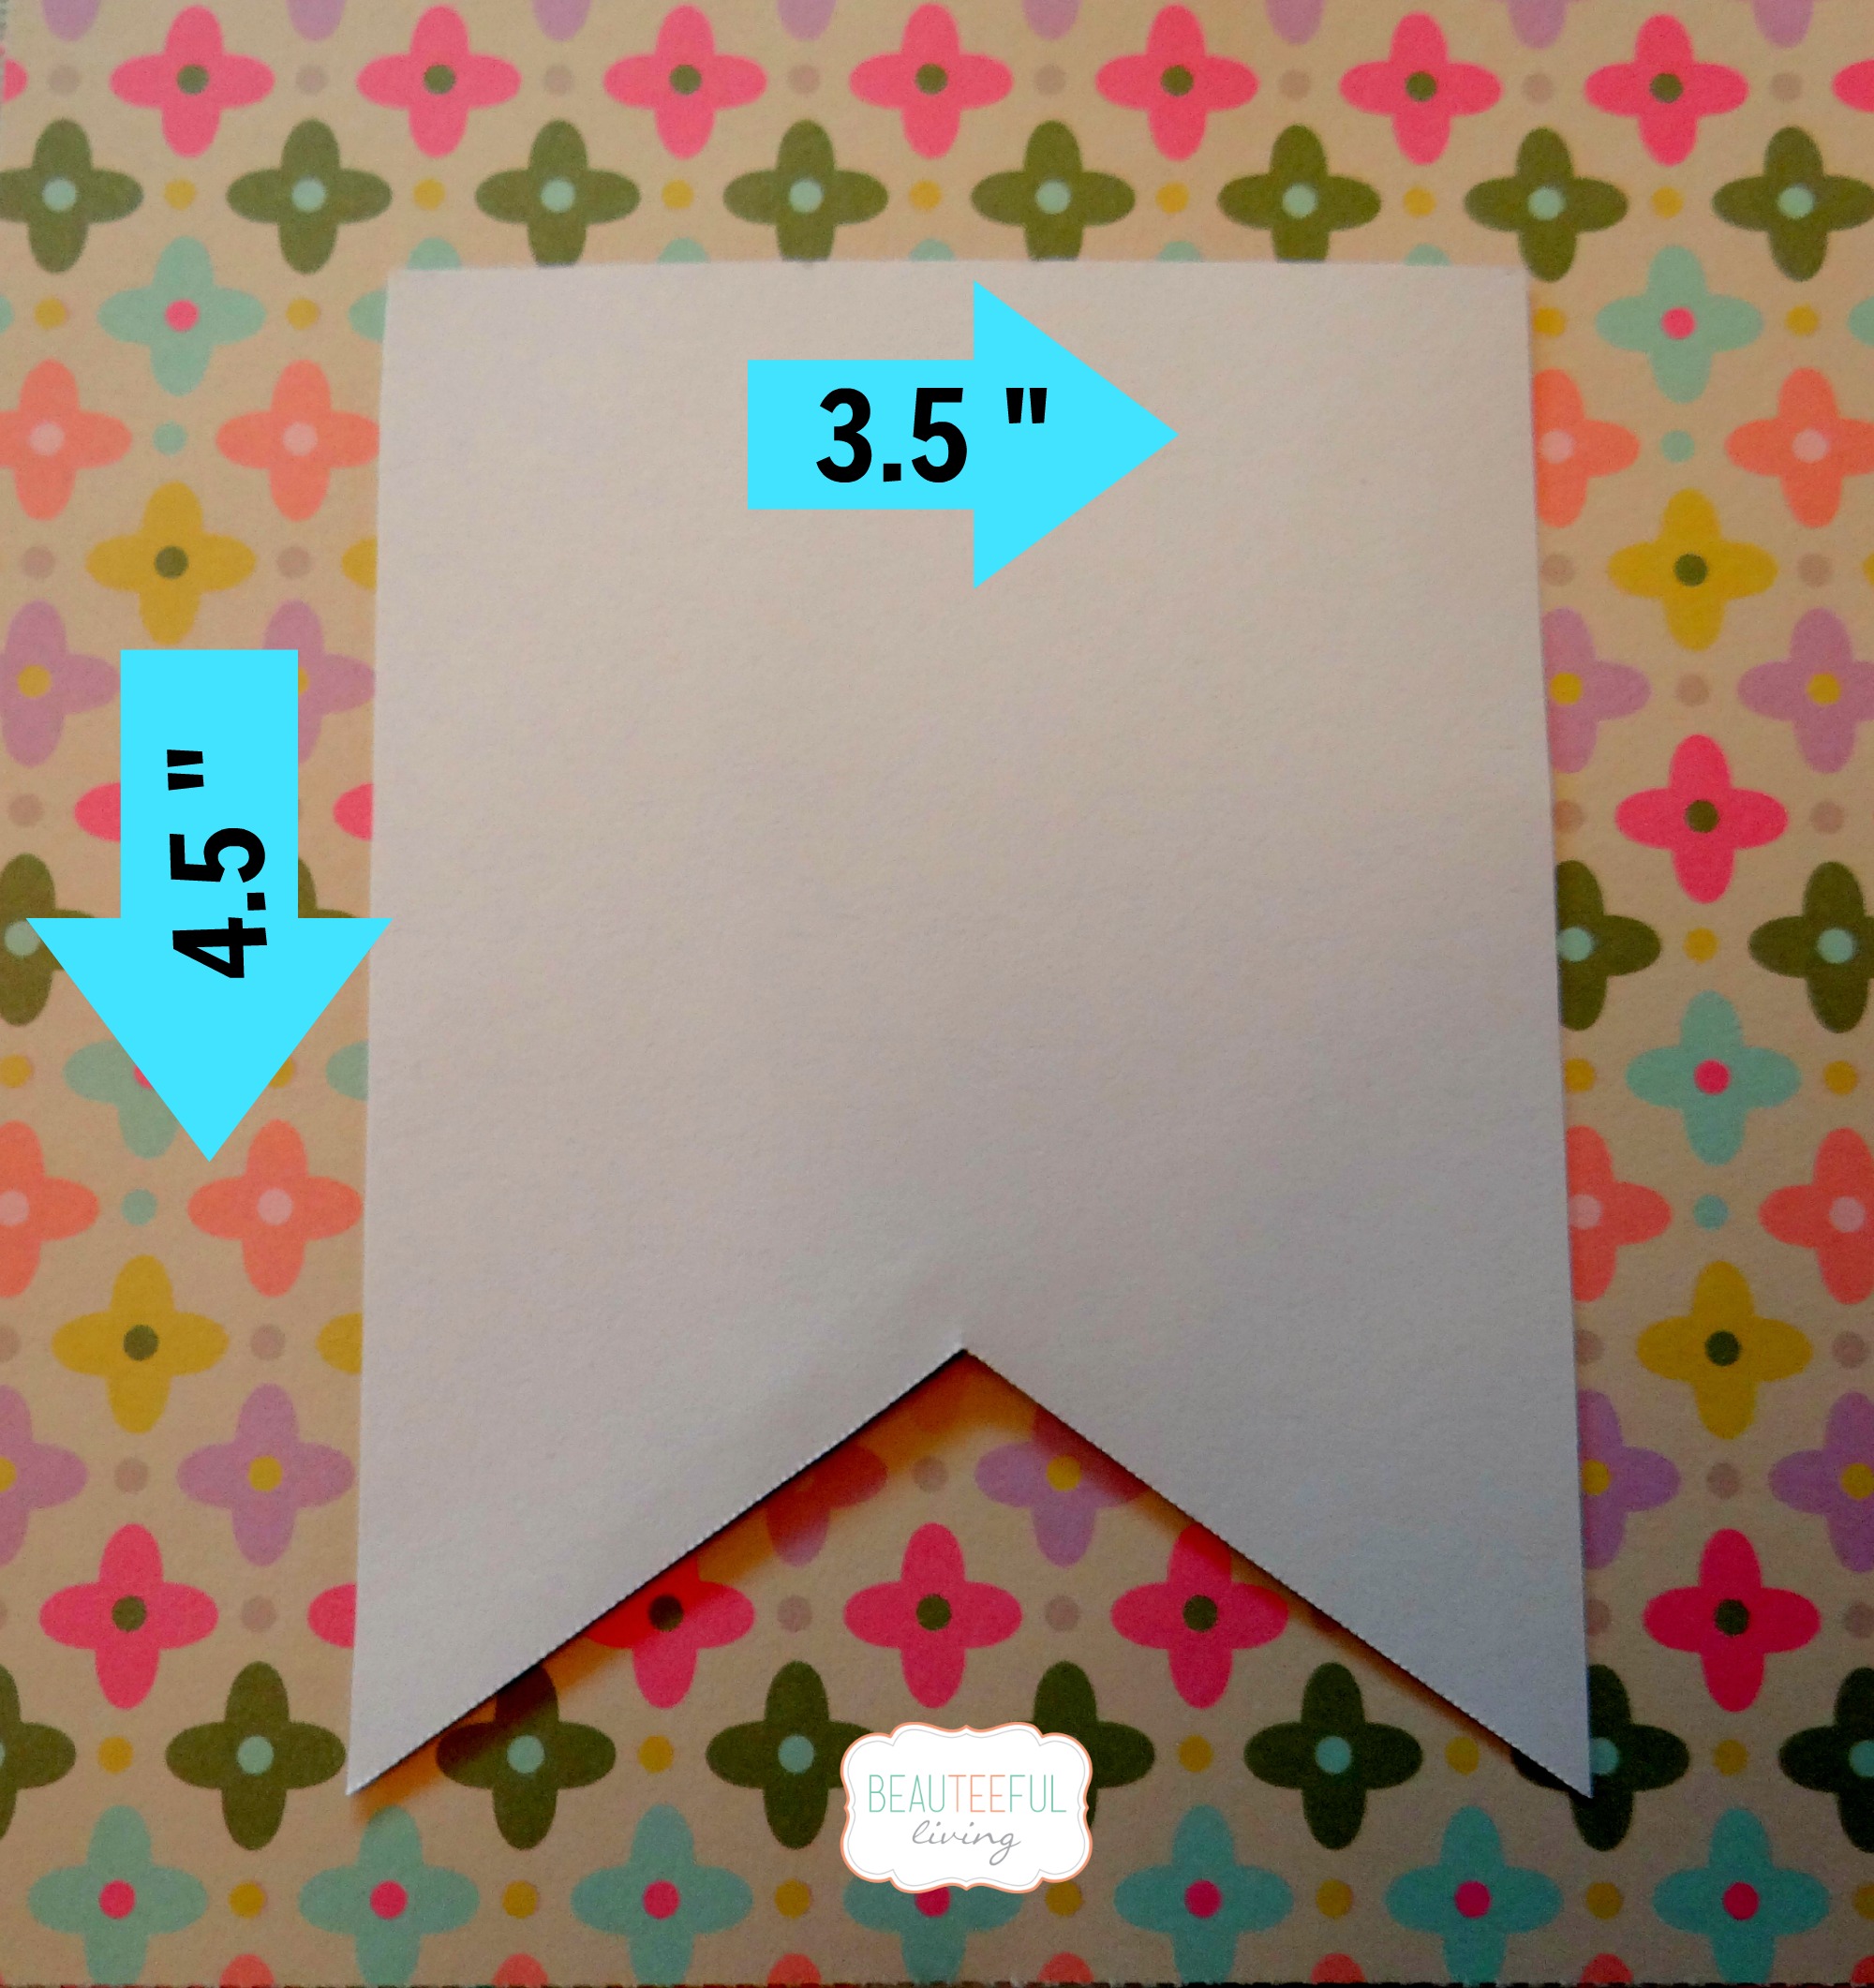
1. Using a ruler, measure and draw shape of pennant. Width: 3.5 inches Height: 4.5 inches
Note: For the bottom upside-down “V” cut, I placed a dot in the middle (approximately 1.5 inches from bottom)
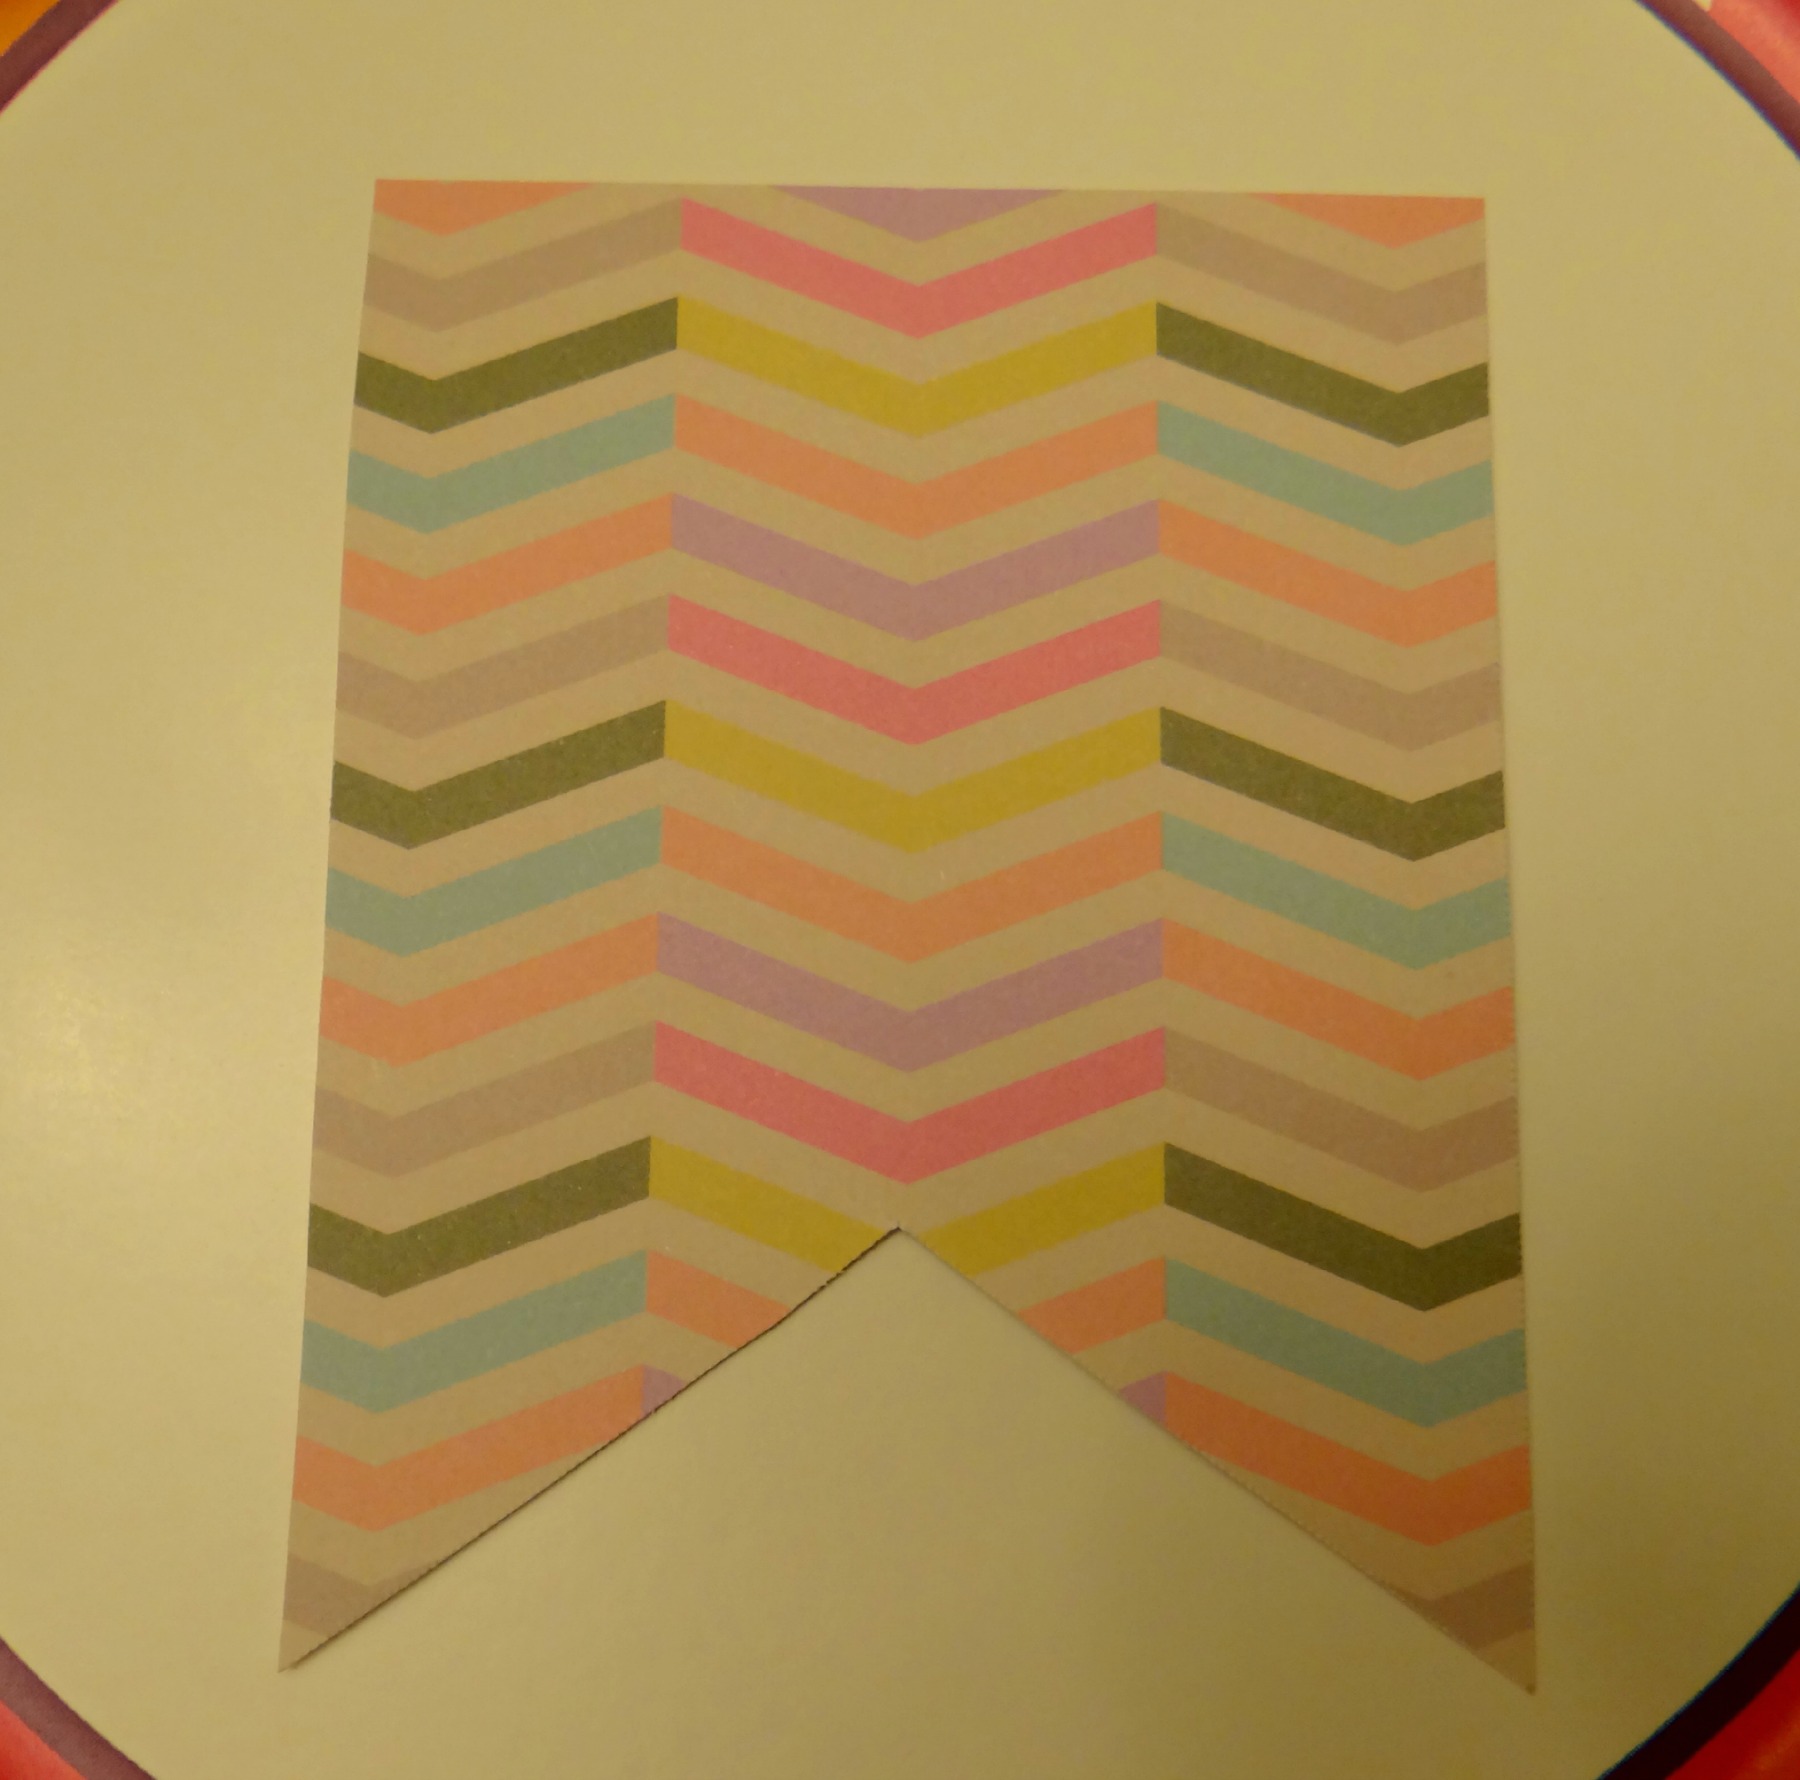
2. Trace and cut. You will need to make 11 of these to spell out “H-E-L-L-O S-P-R-I-N-G”
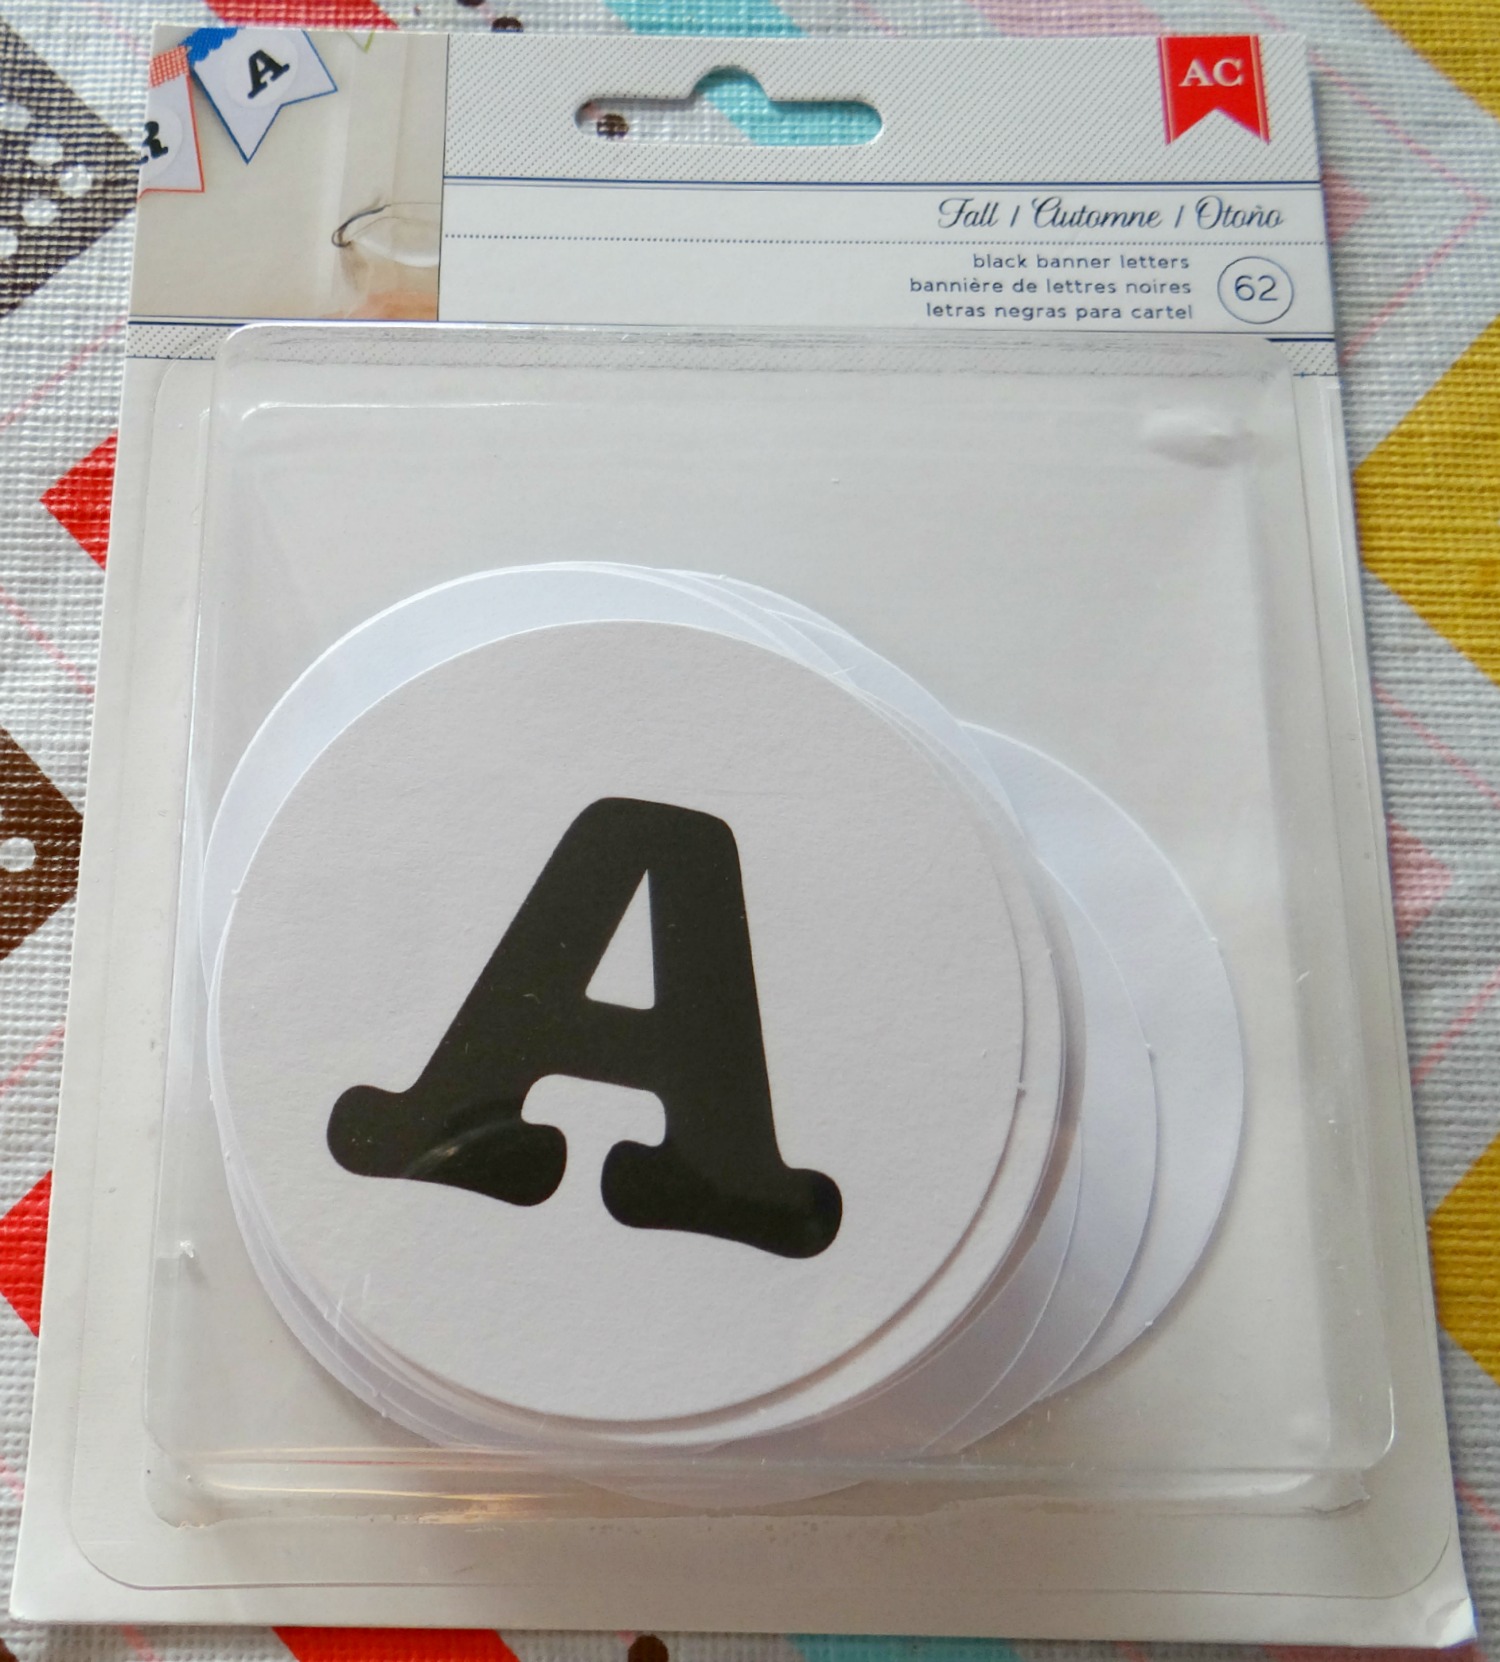
3. Grab your letters. I purchased this American Crafts set from Target. If you can’t find these, you can use letter stickers as an alternative.
4. Glue letter onto sheet. Punch 2 holes near corners.
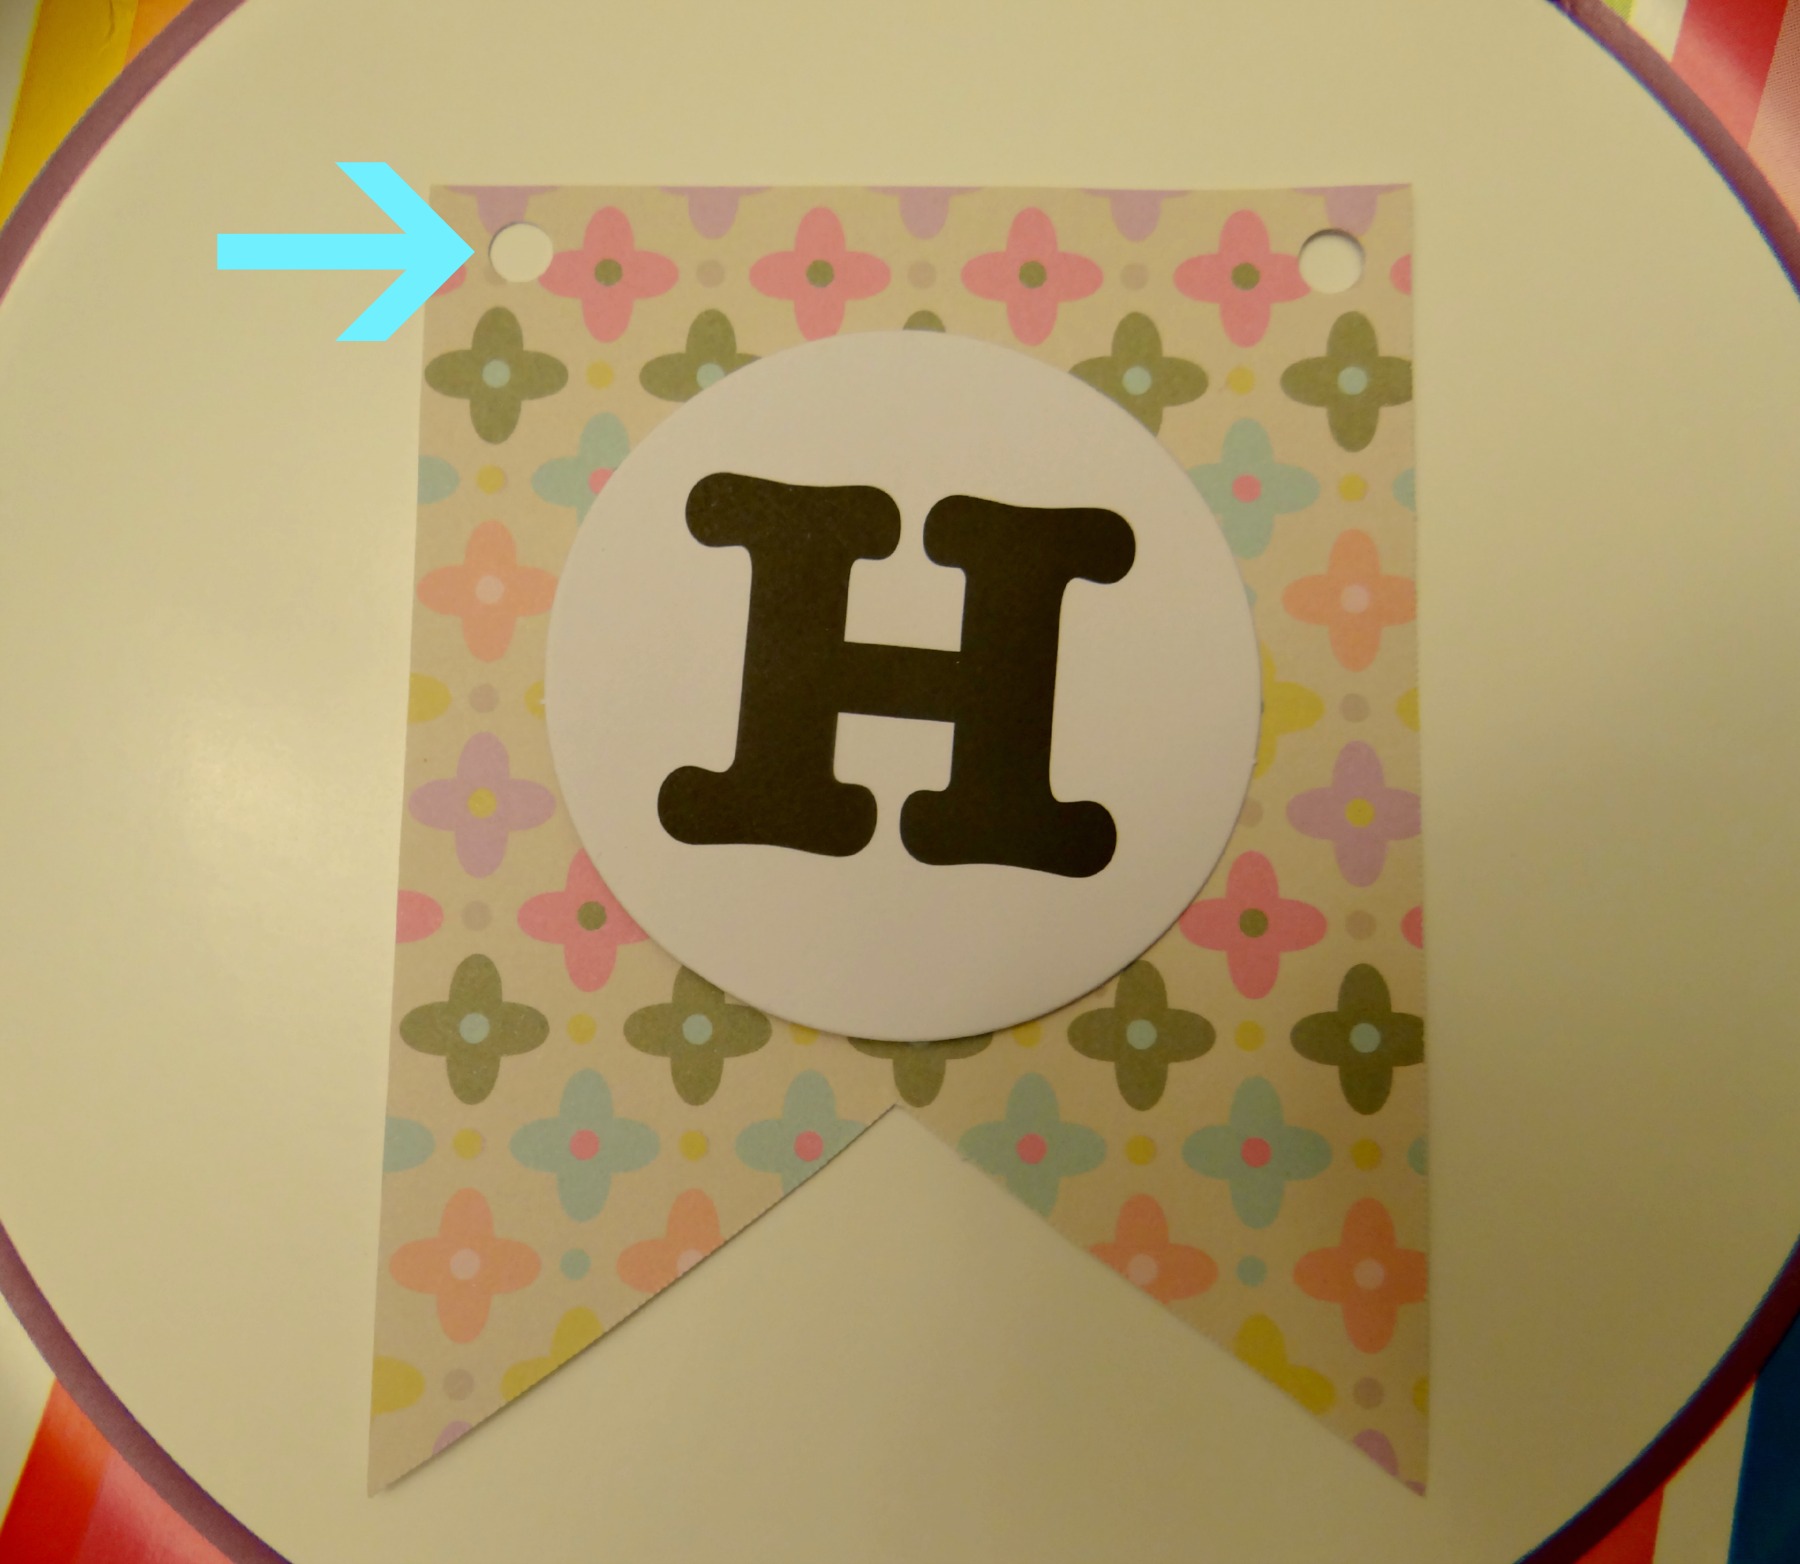
5. Thread twine into punched holes and hang. Yay – All done! 🙂
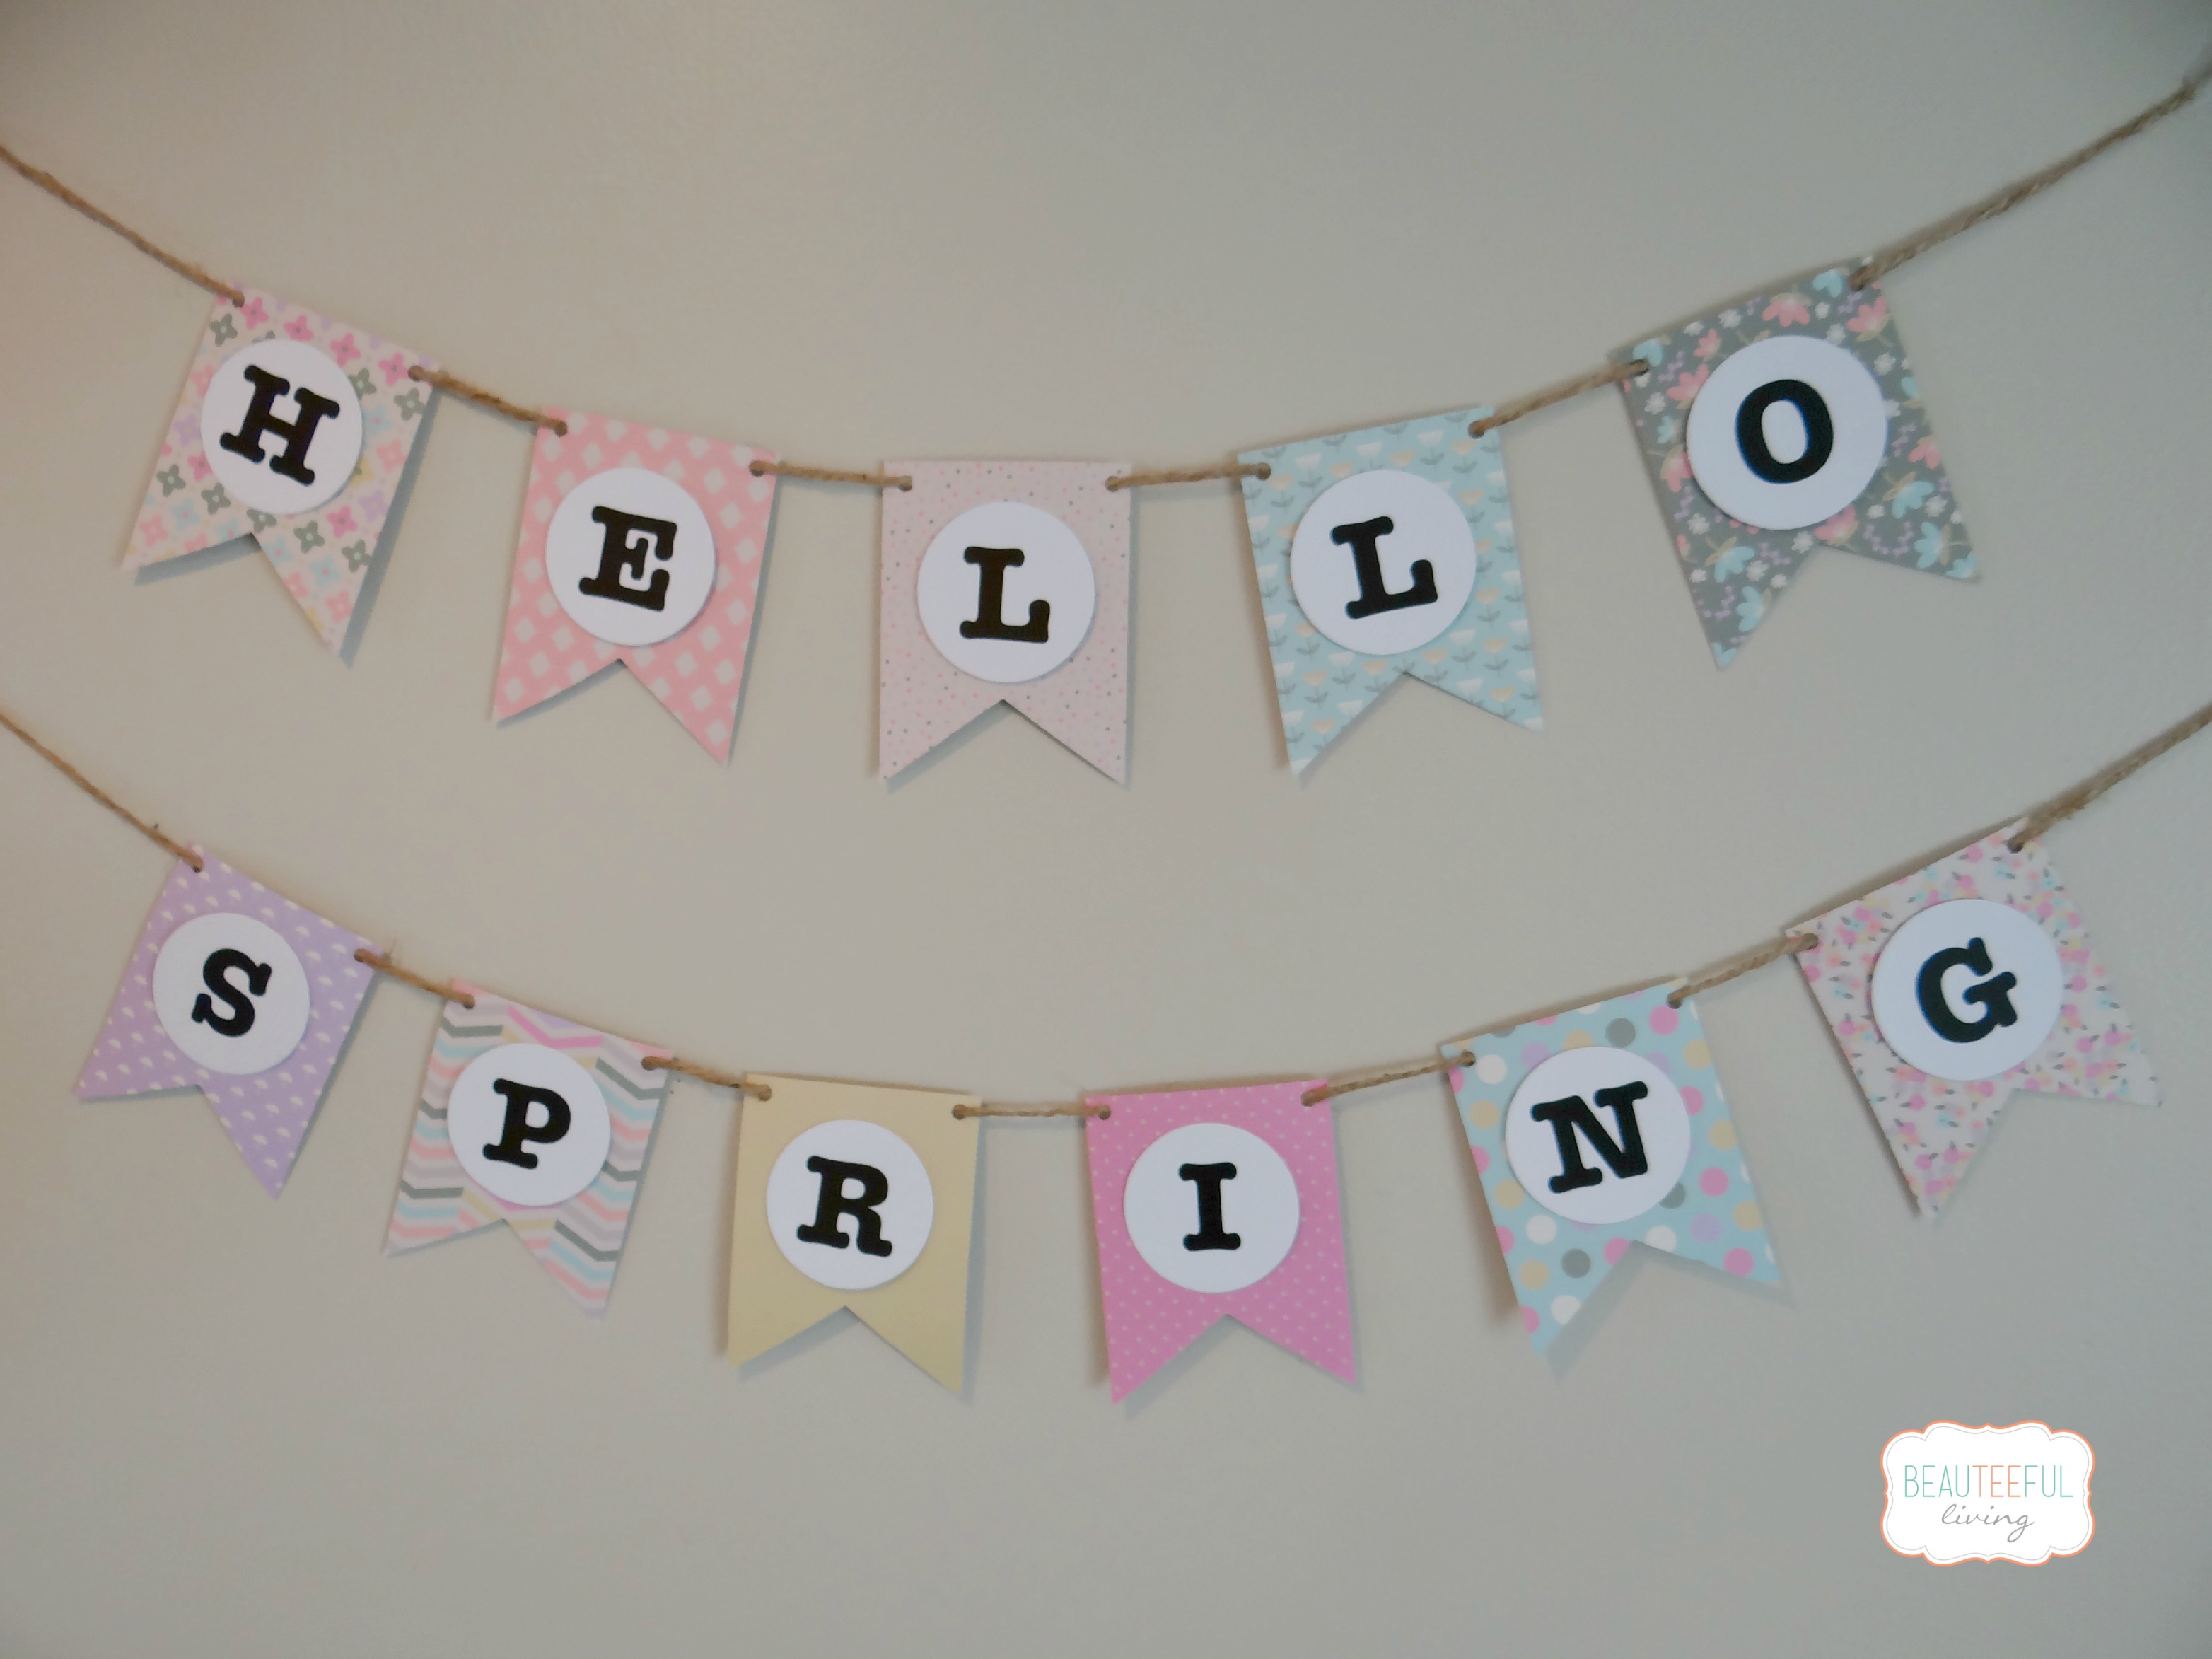
Remember my last post (link here) where I shared how I decorated for my 7 year-old’s spring-themed birthday party? Well, I’m so glad I can keep the majority of the decorations up a little longer since this spring banner goes perfectly!
I hope you’ve enjoyed this simple banner tutorial. Pin or bookmark this page for future reference. If you’re not already subscribed to Beauteeful Living‘s blog and wish to receive posts via email (plus future exclusive newsletters), please subscribe here :
Be sure to check back on the blog this Friday, March 20th. It’s the 1st Day of Spring as well as a special day for Beauteeful Living. As always, thanks for reading! Hugs and Kisses, Tee.

Love this and it’s easy. Now what will my slogan be
Thanks, Kelli! Your slogan should be “Peace and Love” of course! 🙂
So fun and cute. Love it!
So simple and cute for spring! Love it!
I’d like to do this on special occasion and to celebrate the little but important moments in my children’s lives.
This banner is so cute! I love anything paper:)
Oh that’s so pretty! Love it – just perfect for spring.
I love pennant banners! They are so cute and I use them in my scrapbooking all the time! Your banner is adorable!
Very cute! I want to make one of these for Easter.
What a pretty banner! It looks simple enough that even crafty-challenged ME could even figure it out! 🙂
Hi Ginger! Yes, anyone can do this project. Bet you’re more crafty than you know.
This banner is so cute! I love everything about it!
This is just perfect for spring. I love the combination of colors you used. Glad to be co-hosting #SCBH2015 with you.
This is beautiful and I can see my daughters doing this with their names in their room. Thanks for this tutorial.
Sounds like a great idea. I love personalizing things. They would go well in rooms 🙂
Very festive and colorful…perfect for spring!
Thanks, Erlene!
I love your Spring banner! I am SO READY for Spring! 🙂 It’s great to be co-hosting with you! #SCBG2015
Thanks, Christie!