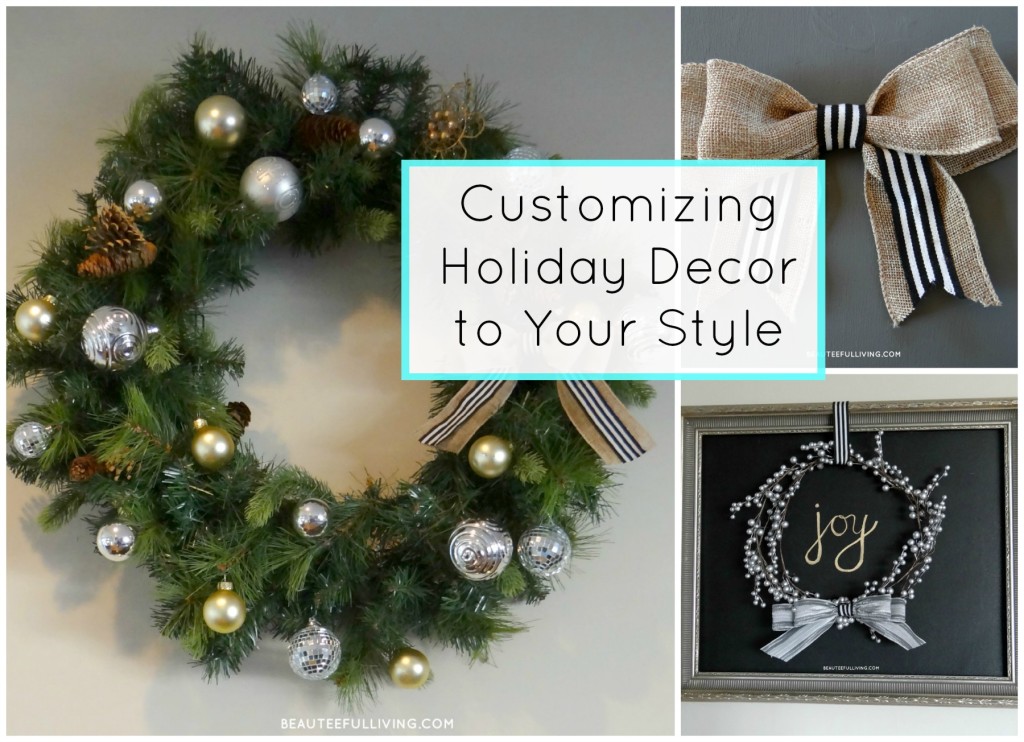
Earlier this week, I shared a Winter Holiday Wreath project on the blog. I mentioned how most of my holiday inspiration this year came from a simple black and white ribbon. In today’s post, you’re going to see how I updated two wreaths from last season into something much more fitting to my style. The bows I made recently definitely set the tone of how I wanted to decorate this holiday season. Simple, streamlined, and elegant.
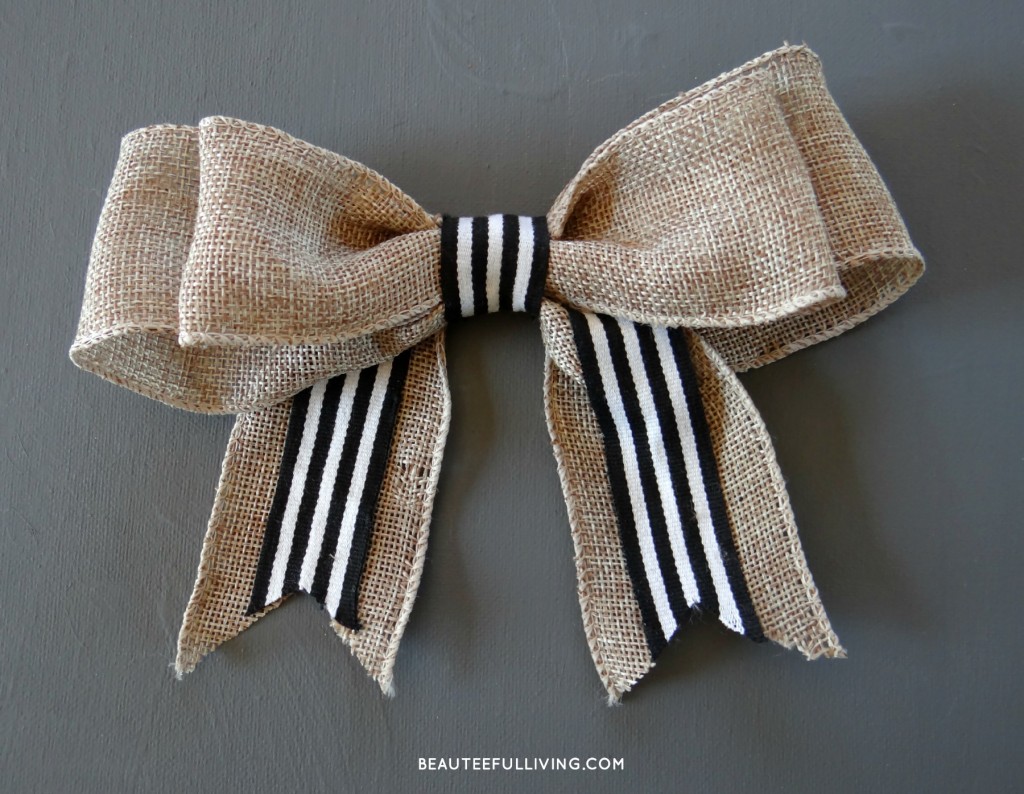
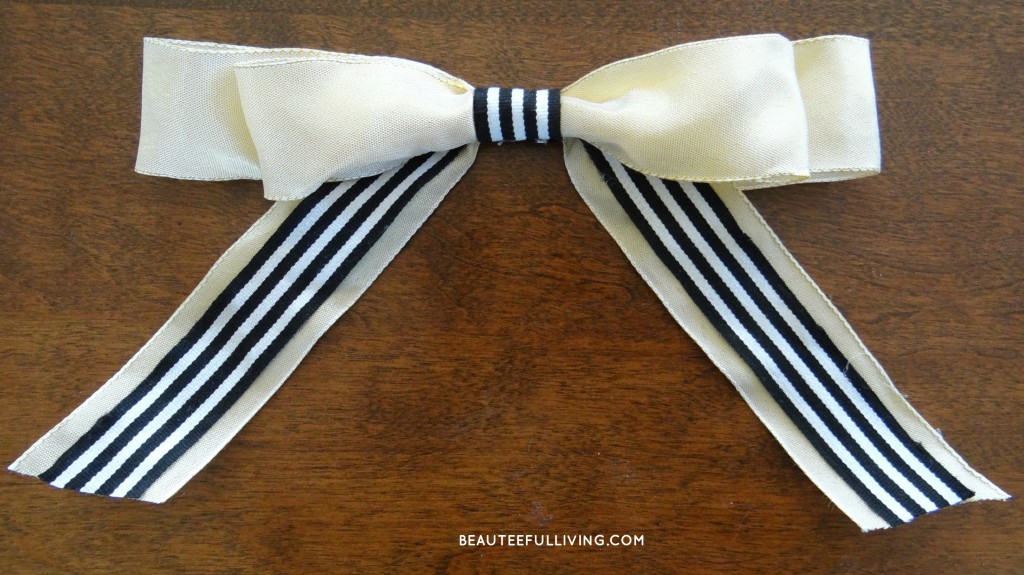
You can get step by step tutorial for the bow below here.
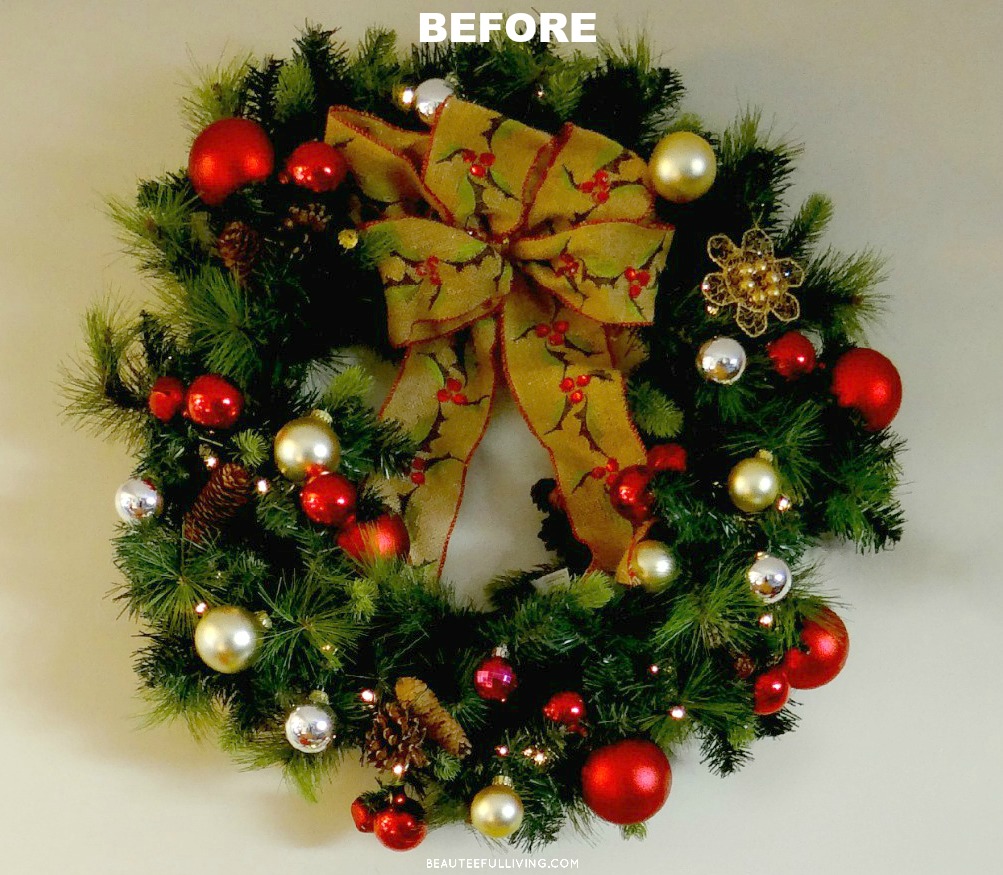
In just creating that bow, I knew it was time to say “peace out” to the traditional-looking burlap bow that came with the pre-lit wreath my husband purchased last year.
I have to give him credit for picking up a wreath for me to decorate. Unfortunately, it just wasn’t at all quite my taste.
The nice wife that I am, I still hung the wreath last year (only after I added some silver and gold to balance out all the red). This year, I knew the wreath had to be customized further to align with my holiday decor vision. 🙂
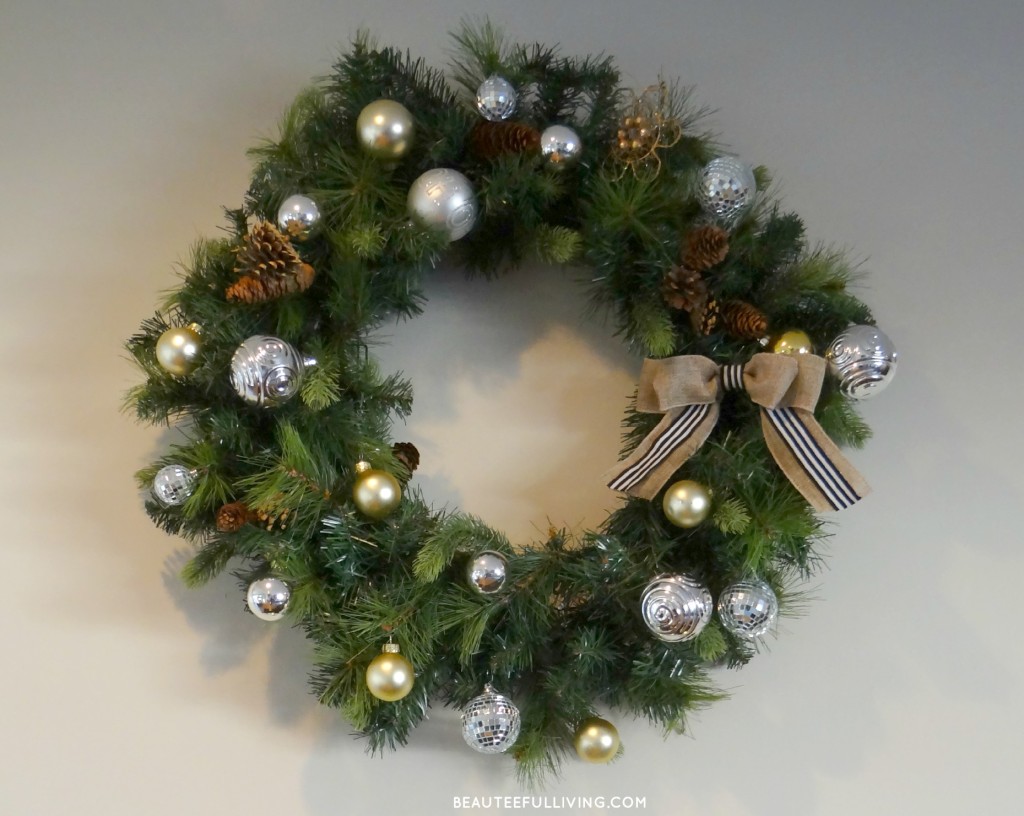
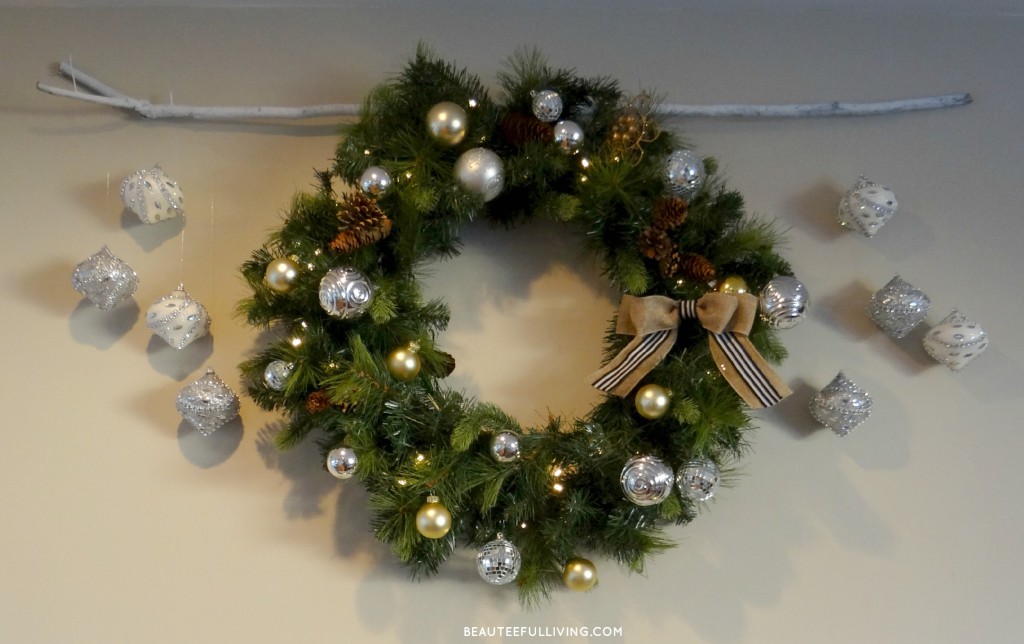
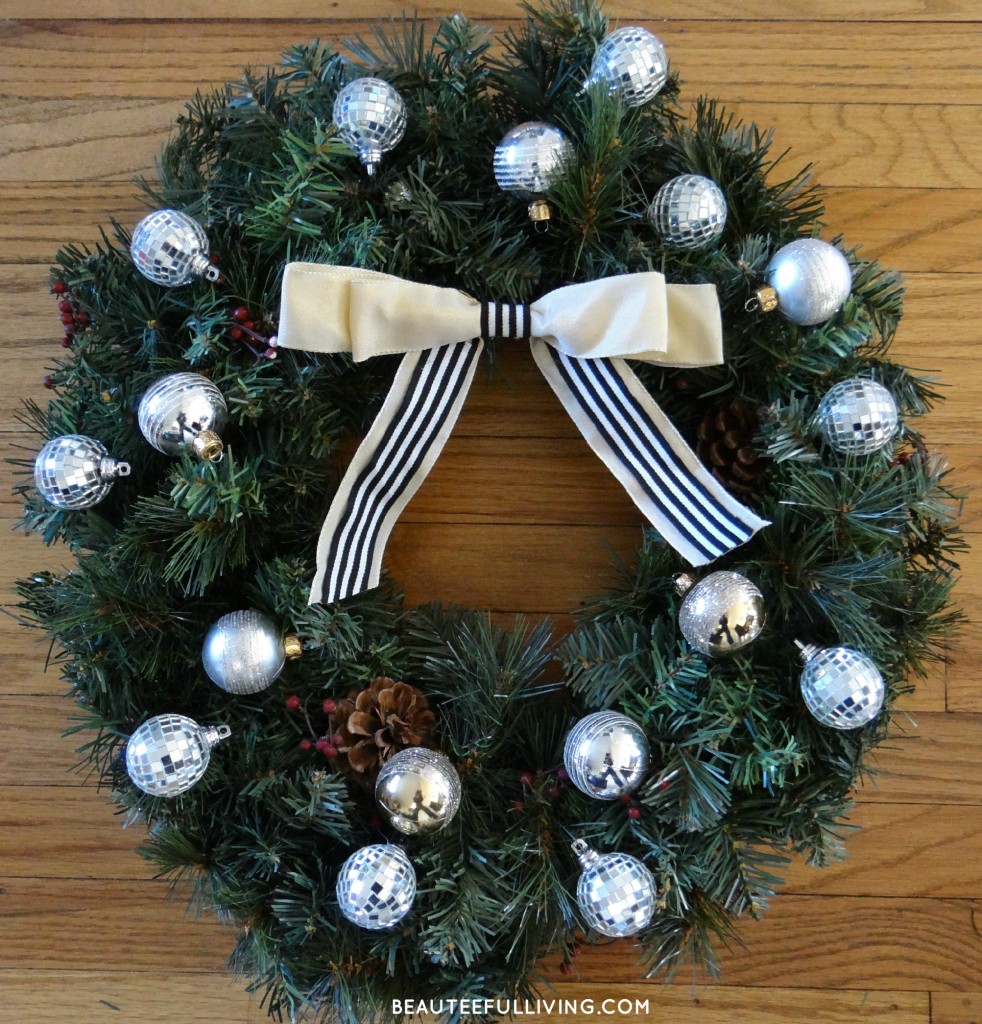
After removing all of the red ornaments, I added my DIY burlap bow along with some mirrored globe ornaments to glam up the wreath.
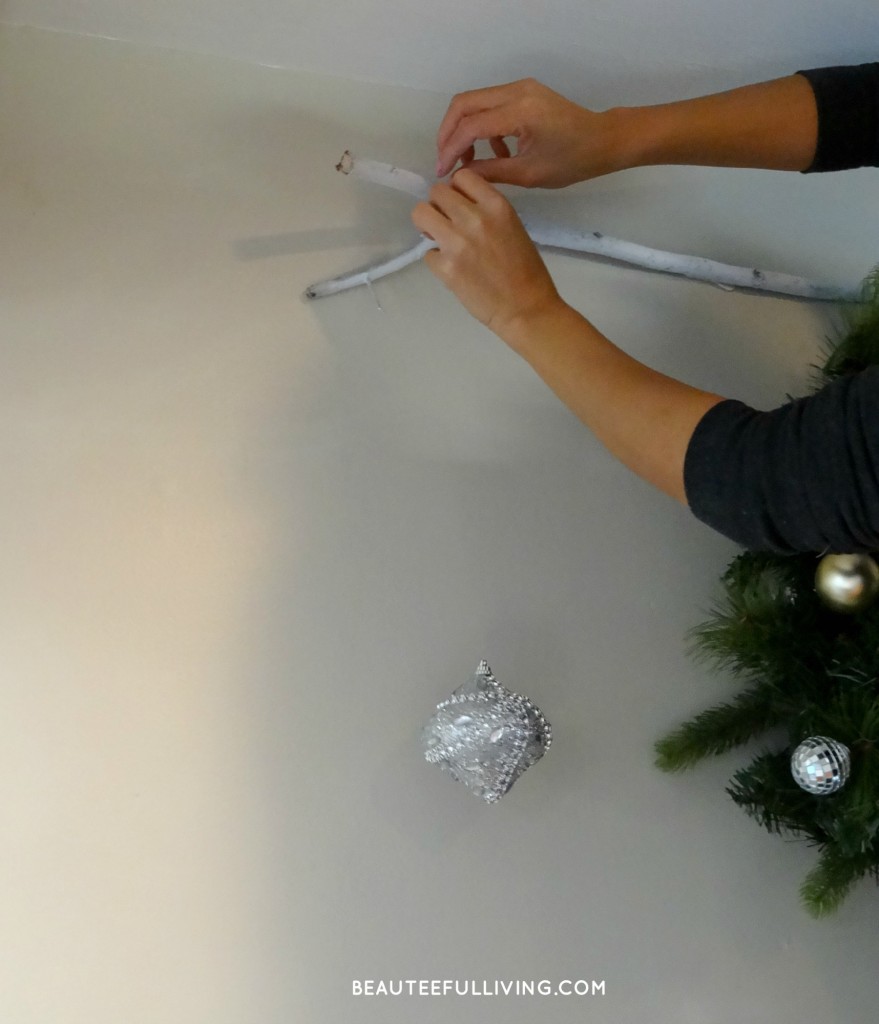
And while I was customizing things to my own liking, I decided to grab a fallen tree branch from our backyard. After spray painting it white, I placed it on top of my wreath and began hanging ornaments on it.
The finished look!
I loved the new look of the pre-lit wreath so much, I decided to re-vamp our front door Christmas wreath too! Once again, I made another bow.
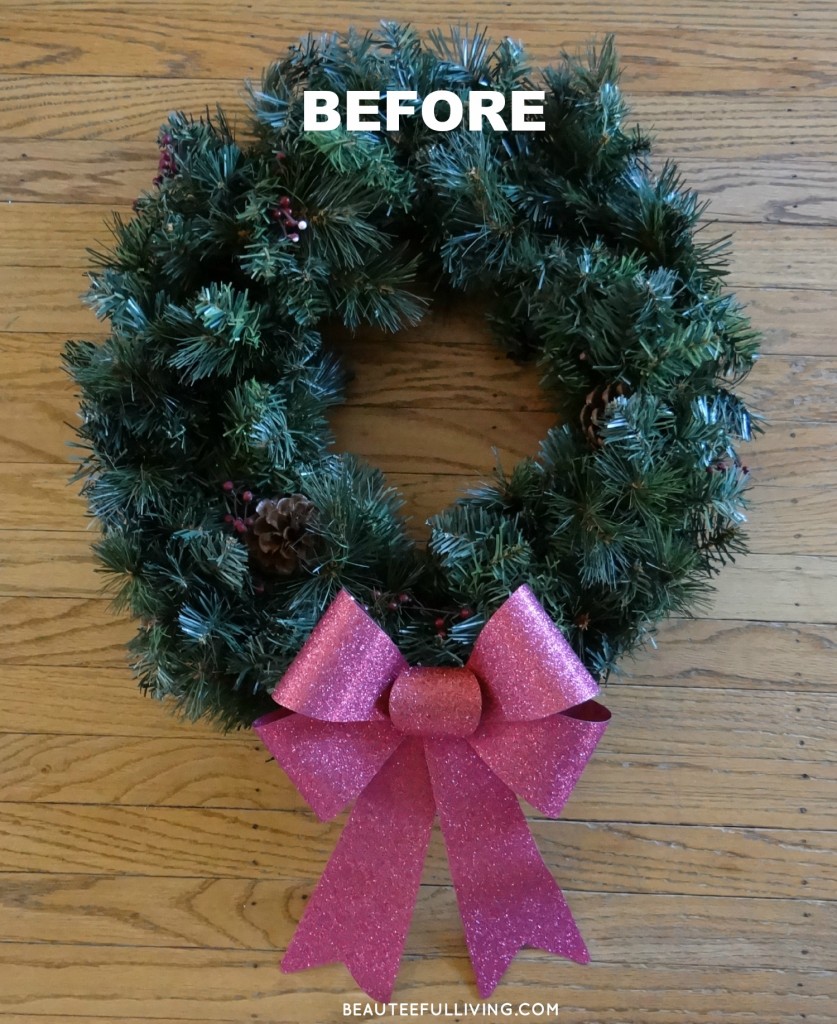
Here’s my old wreath with the store-bought bow that I purchased last year.
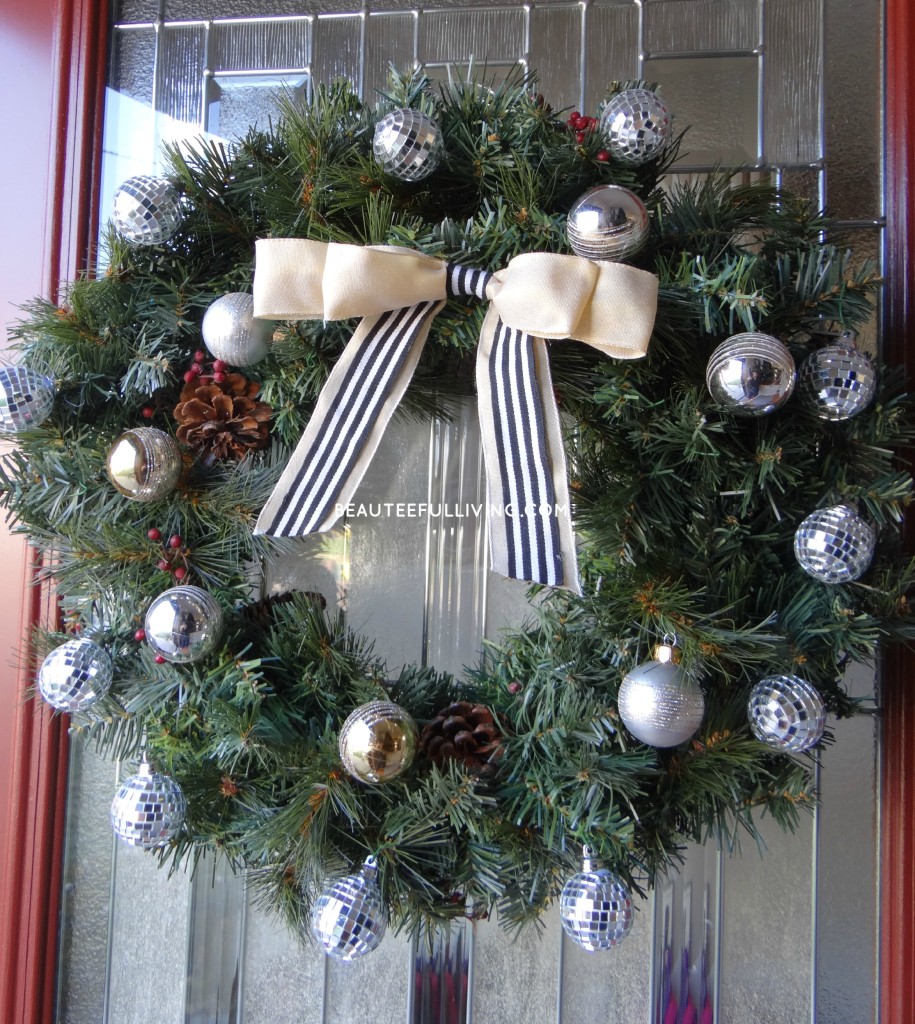
After adding my bow and lots of silver and gold ornaments, my wreath looked much more like my style.
Hanging nicely on our front door.
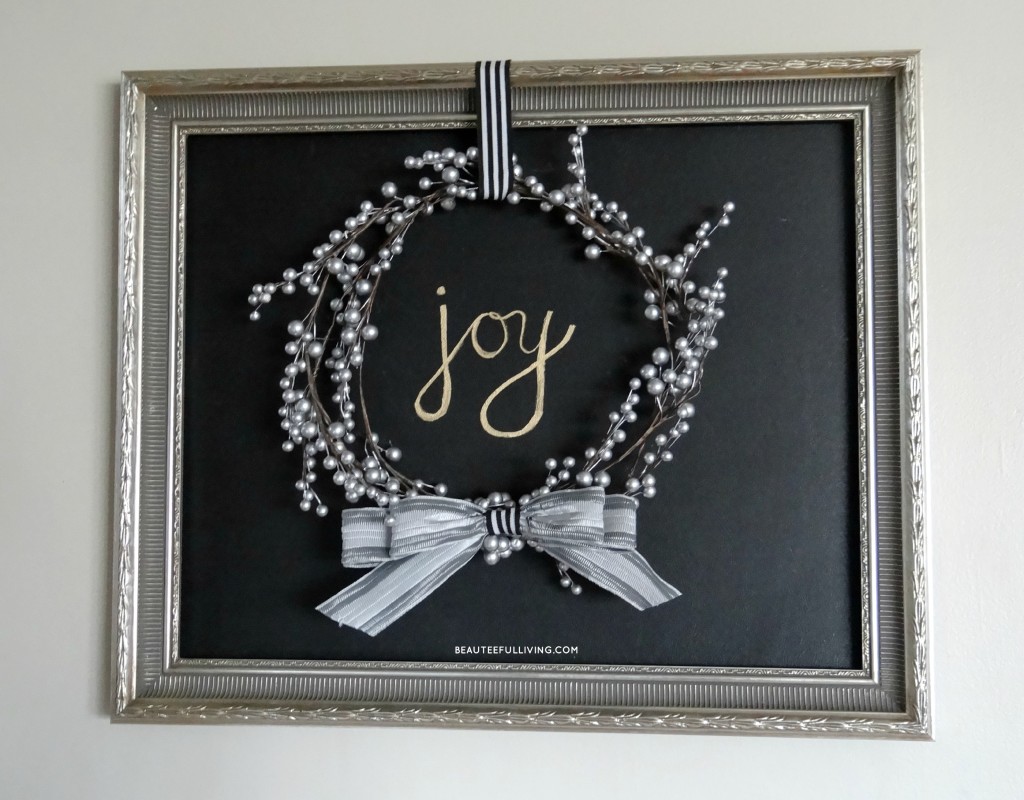
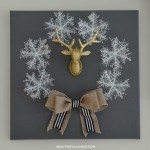
Before I end this post, remember this sneak peek I shared last week of this wreath on a frame?
You probably think the black background is made of some sort of black chalk material.
Guess what? It is NOT. It’s actually the back of the picture frame! I simply flipped the backing of the frame. Having a word written really gives it the illusion of chalk paint! That’s my little trick. 🙂
I hope you’ve enjoyed today’s post on how a little customization can go a long way to making your holiday decorations more suitable to your own style.
Stay tuned for Beauteeful Living‘s Christmas Home Tour next week! If you’re new to this blog, you can subscribe here to never miss a post or exclusive newsletter:
Thanks for stopping by. Have an amazing weekend, lovely readers! Xo, Tee


Such a good idea to transform a store bought wreath into something you like more; (and I love that little bow with the stripes!)
You make the most beautiful bows! I really love the idea of painting a stick white and hanging it with ornaments! I may borrow this idea next year!
Carrie
curlycraftymom.com
Thanks for the compliment, Carrie! I’m glad you liked the idea of hanging ornaments off a painted branch :).
I love the color pallet you chose for the wreaths. Where did you get your ribbons for the bows?
Hi Jenny, thanks for your feedback! The burlap ribbon was purchased at Michaels. The black and striped ribbon was purchased at Target (dollar spot section).