It’s week 4 of my guest participation in the One Room Challenge (ORC), hosted by Calling It Home and my little “corner office” is starting to take shape. If you’ve missed any of my updates, you can catch up on the below links:
THE “GLAM OFFICE MAKEOVER” SERIES:
Week 1 // Week 2 // Week 3 // Week 4 (Today’s Post) // Week 5 // Week 6
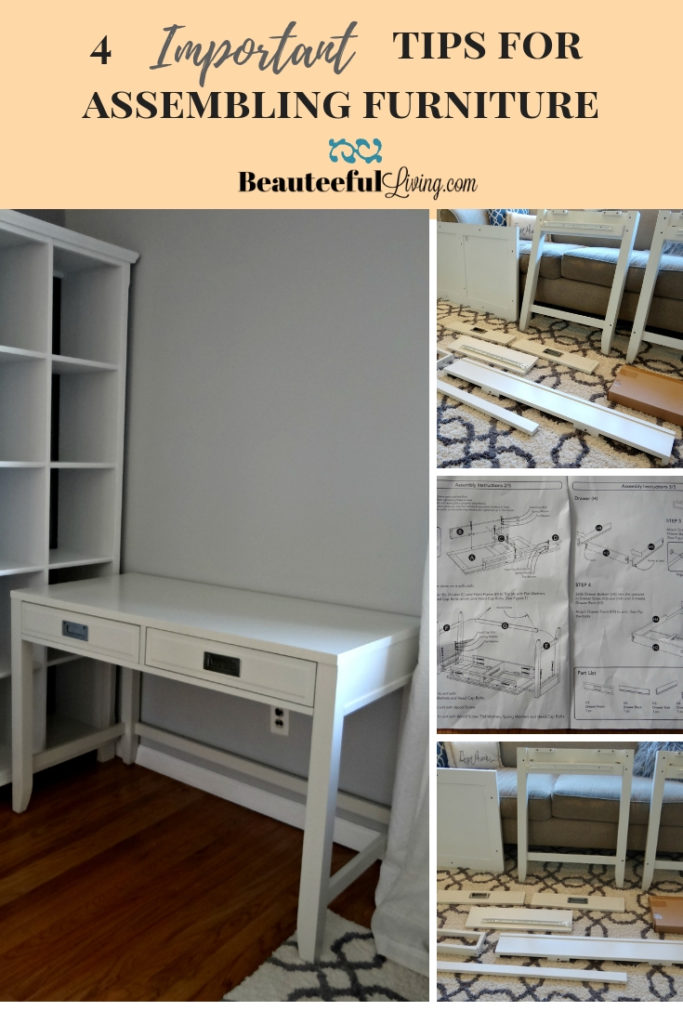
On the blog today, I thought I’d share 4 Important Tips for Assembling Furniture. One of most gratifying things about participating in these ORC makeovers is how much more self-reliant I’ve been in accomplishing these makeover tasks. Besides not relying on anyone (ahem…my husband) to do any part of painting projects, I also no longer ask for help assembling furniture that 1 person can do alone.
Since I’ve done multiple furniture assembly projects, I thought I’d share the 4 most helpful and important tips to keep in mind when assembling furniture: (Today’s post contains affiliate links.)
Tip # 1:
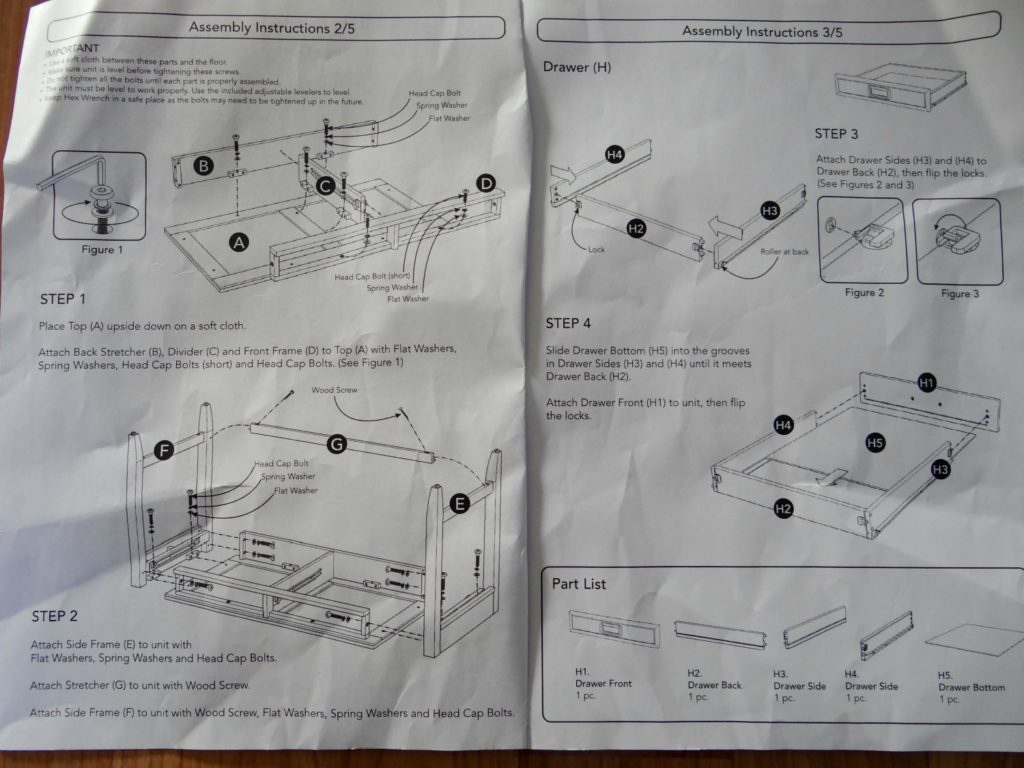
With manual in hand, do a complete inventory of all parts and hardware pieces before putting anything together.
Nothing is worst than being halfway through assembling something and realizing that you’re missing an important piece for your project. On Christmas eve many years ago, Santa delivered a large dollhouse without a roof! Let’s just say the elves figured out too late that some parts were missing. Nowadays, we never assume that everything is provided in the package!
Tip # 2
Place your pieces on a soft surface during assembly.
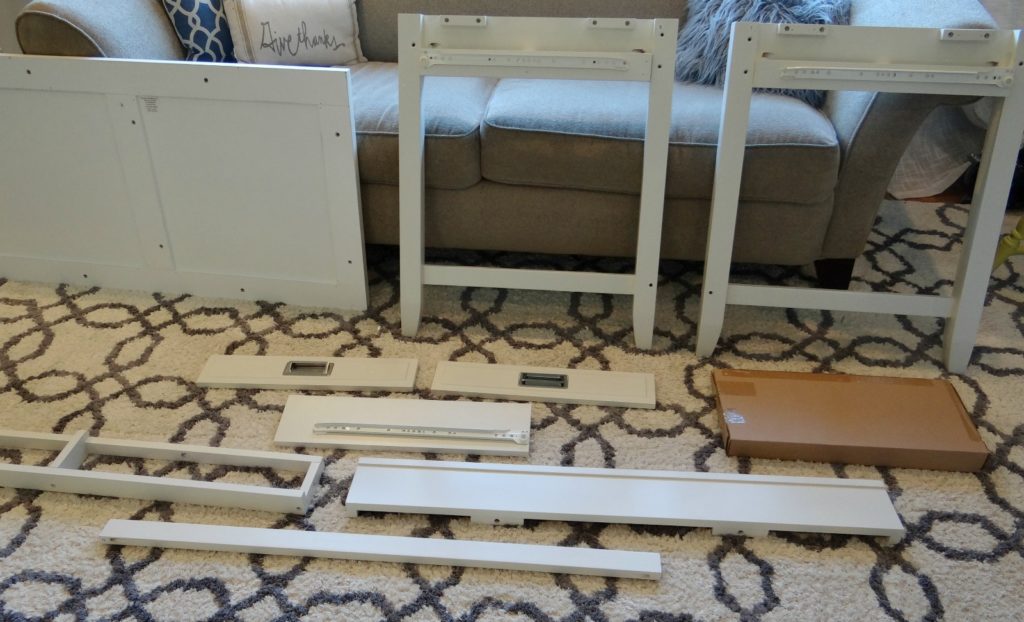
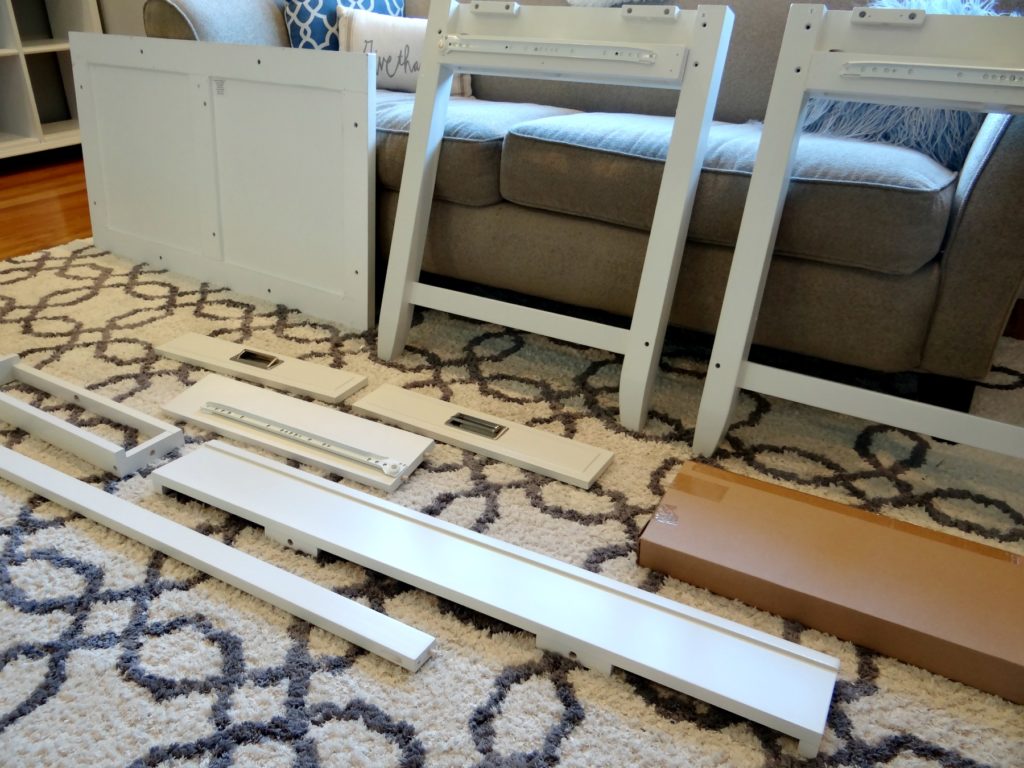
As you can see, I placed our desk parts on top of our large area rug in our living room. I didn’t want any of the wood pieces to scratch during the assembly project. I’ve made some slight nicks in the past with other pieces so didn’t want to repeat that mistake. If not on a rug or carpet, consider placing pieces on top of a large blanket or flat sheet.
Tip # 3
Assemble large or heavy furniture pieces in the room the furniture will be placed.
Our writing table came in a large package so after opening the box, I had all the pieces individually brought upstairs to our living room. No sense in assembling it downstairs by our family room (lower level) when it eventually needed to be brought upstairs! This may seem like an obvious tip but believe me, I’ve heard stories of people assembling large items (even toys like indoor trampolines) only to find out that they can’t get the item through the doorway!
Tip # 4
Read online reviews for any insight on assembly process.
Whenever I purchase items online, I ALWAYS read the reviews left by customers. I don’t care so much about how many stars they rate the item. Rather, I read more into the comments and feedback provided. I don’t always let a few negative reviews prevent me from ordering the product if I really love the item or if the item has also received a bunch of otherwise positive reviews.
If you read through the comments, oftentimes you will find reviewers who provide helpful feedback on the installation process. They may tell you that the job requires more tools than the manual specifies or that the job is really a 2 person job.
Like these tips on assembling furniture? You can PIN / save today’s post for future reference. 🙂
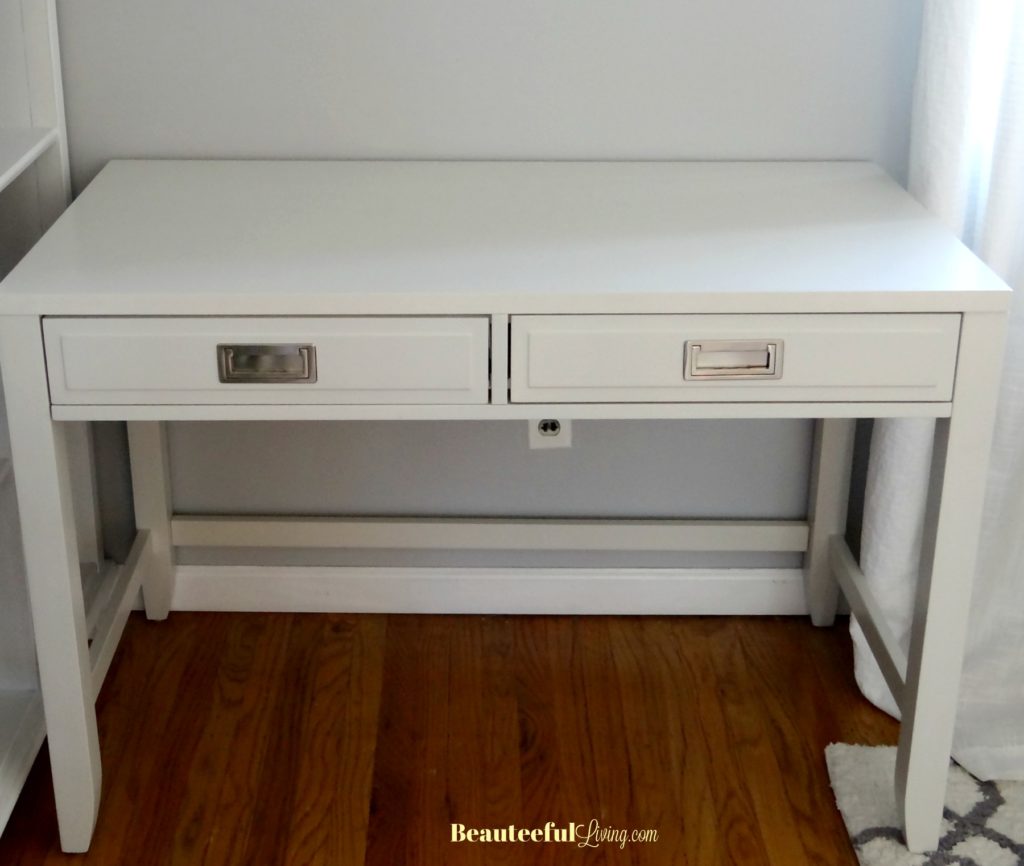
I was so pleased with how easy this writing table was to assemble. It took me less than 2 hours to complete by myself. I really LOVE the quality of the materials and how high end this Home Styles Newport White Desk looks despite it costing less than $200! There’s so much space on top and those 2 drawers will come in handy. How pretty are the metal handles?
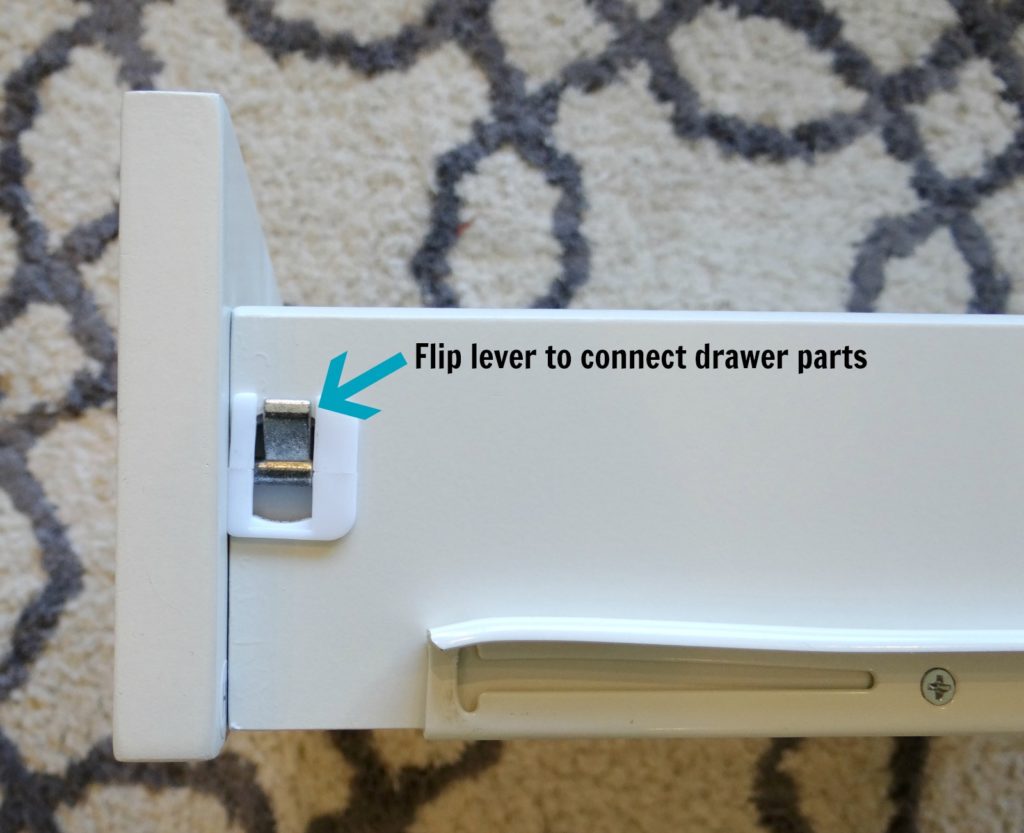
Want to know how I know this furniture piece was different from other desks I’ve assembled before?
There’s this nifty lever piece that connects the drawer pieces together! I’m confident that this design is going to prevent those drawers from coming apart. One of my biggest gripes with drawers is how they come apart after time goes by! You guys know what I mean, right? Well, I think having this metal lever that connects the pieces together is going to prevent that from happening. Fingers crossed.
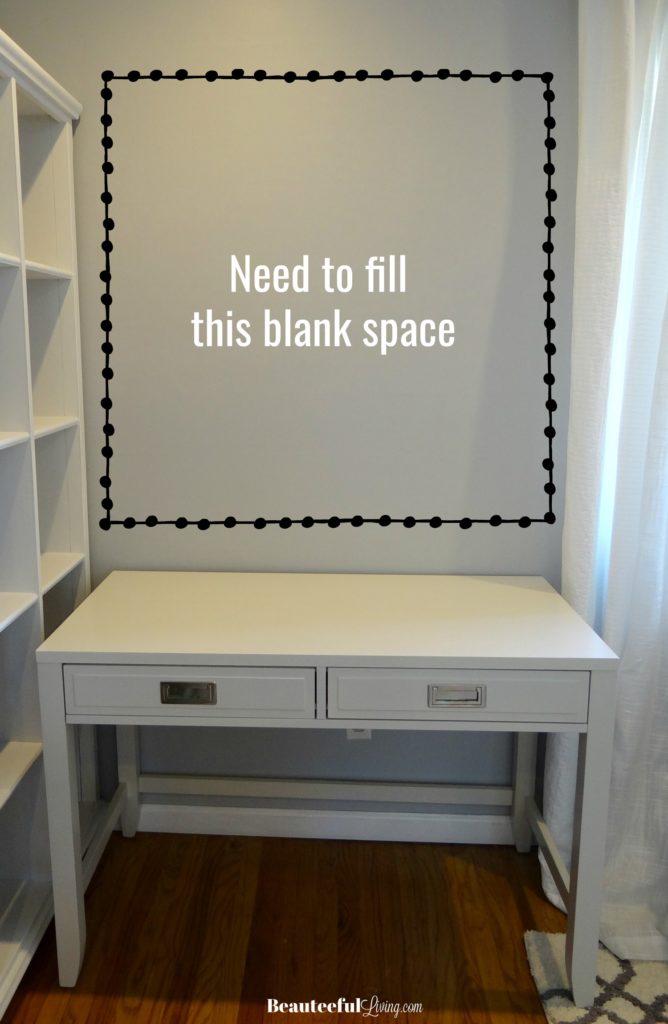
Now that my Home Styles Newport White Desk is all assembled, I can start planning around that blank wall space. I know there’s a lot of white right now, between the white bookcase and writing table. I assure you, there will be plenty of color injected into this corner space within the next couple of weeks!
My To Do list So Far:
Purge and organize bookcase itemsClean, Sand and Prime bookcaseRepaint bookcasePurchase and assemble writing desk- Repurpose vintage armchair or buy new one (Update:Planning to buy new chair)
Purchase small accent rug(Update: Repurposing an existing accent rug)- Purchase organization files/cubes for bookcase
- Paint and install wall storage shelves
- Create small wall art decor
- Style corner office for reveal post
Thanks for checking in on this week’s progress! Don’t forget to follow along my Instagram and Facebook accounts for additonal content. Also, you can check out Week 4’s posts from the 20 designers here and the guest participants here. Enjoy! 
UPDATE! — See The Reveal Post by clicking on link HERE:







Thees tips are awesome it can really help a person out !
Great article !
I like how this little corner is coming along! I have such a soft spot for small spaces. This is going to be magnificent.
Good tips! I often read the comments on Amazon, etc., to see how difficult a piece is to assemble. If reviewers say it’s really difficult, I often pass! Can’t wait to see your reveal!
Great tips!
I love assembling furniture. I like to inventory the parts beforehand as well. A big blank wall is my struggle right now as well. Good luck!
Thanks Emy! Too bad you’re not near or I’d have you assemble my furniture since you enjoy it! Haha. Good luck with this week’s progress!
Tee,
I’m sending these tips to my daughter and her husband who just bought a new house and are fighting over the furniture assembly! ;). The room is shaping up beautifully.
Aww, thanks so much Libbie! I remember those days of moving into a new house and having an endless amount of furniture to assemble! Good luck to them!
These are all great tips! I love the desk you chose!
Thanks so much, Nicole!
Love the desk Tee! Can’t wait to see what art you come up with. Thanks for the tips!
Thanks so much! I’ve got a lot of shopping to do in the next week 😉
What great tips!! This post should be included in every single box shipped out by IKEA. Very thoughtful, Tee. And love the desk. Beautiful space coming together here. So excited for you! ~~ Susie
Thanks so much, Susie! xoxo